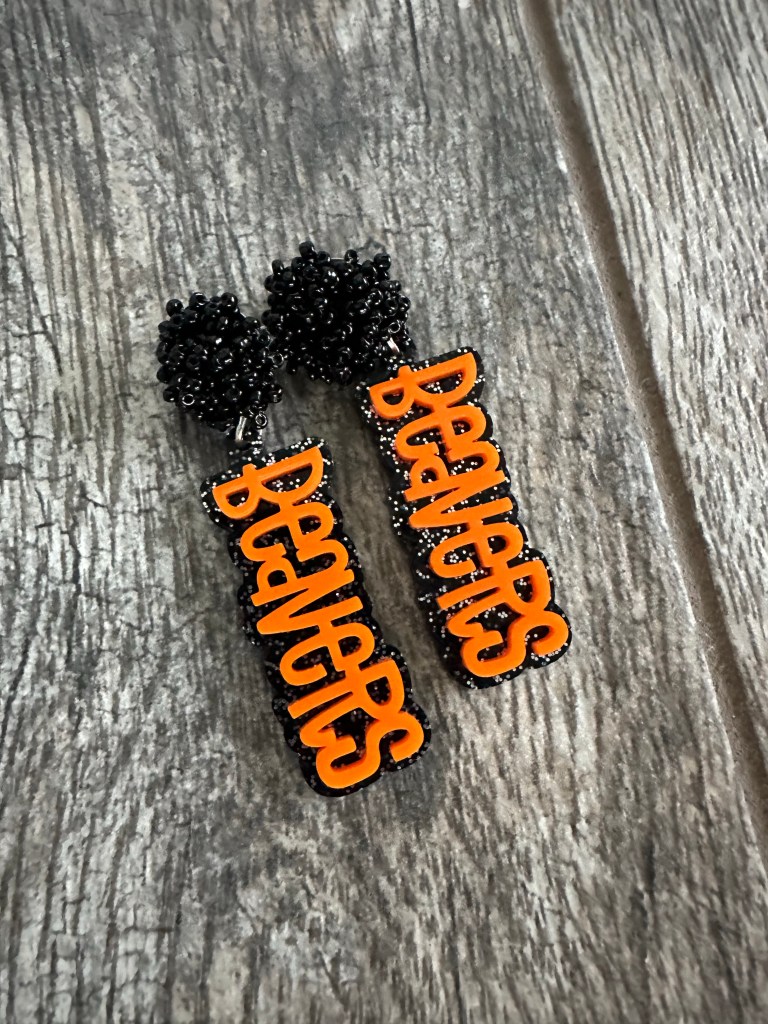
This one is self explanatory… I’ve loved this shirt since the first time I saw it and impulse bought it because it can be used for any sport. Check it out on Etsy or the other items in this outfit below!
Well, here in Ohio the weather can’t just magically be fall. That means a few last minute warm weather game day outfits! This one relies on maximum airflow, so as usual, my main choice is a dress. Pair it with a favorite sun hat and a team accessory and you’re set! Find all of these items below to cheer on your favorite team!
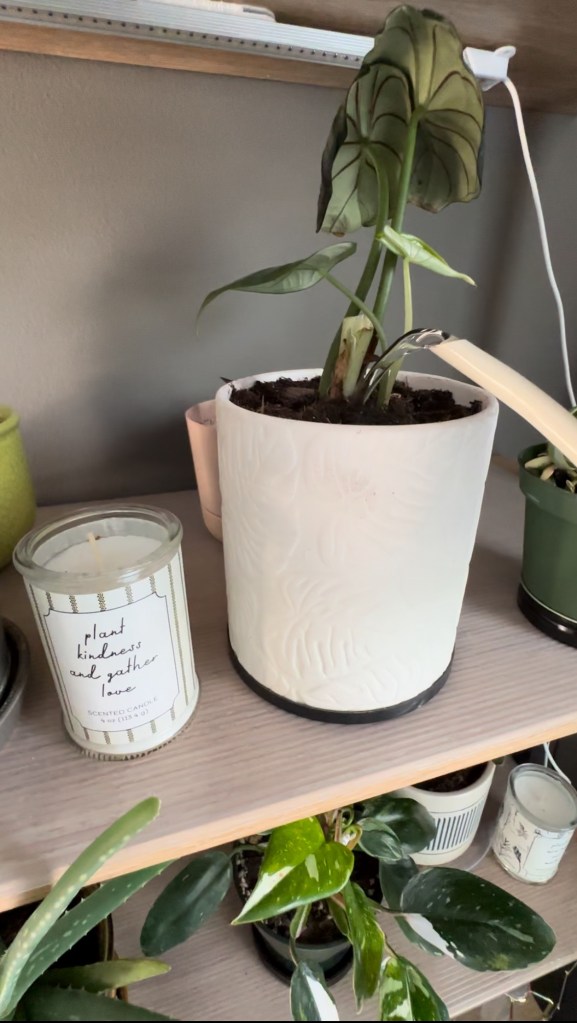
If you love your plants as much as I do, I’m sure you also get excited to share your amazing plant care finds with friends. This list has some of my tried and true plant care products. Whether you’re fighting pests, chopping and propping, or need something for your foliage to climb, this list will be sure to cover your plant needs. Happy growing, all!
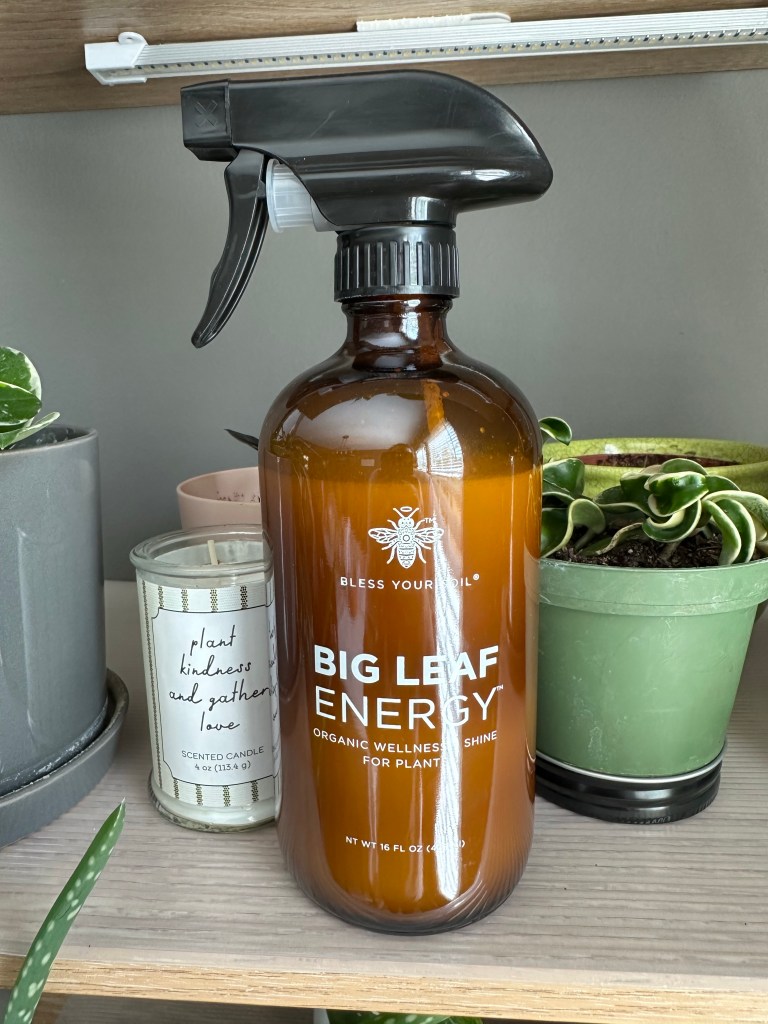
Shiny leaves. Pest control. Smells great. What’s not to love?! All of my plants are happy to see this bottle coming their way. I love using this for aesthetic and functional proposes. Pest free plants are happy plants!
This is my tried and true product for pest control of ALL kinds! Mealy bugs, spider mites, fungus gnats, you name it, this product eliminates and protects against it! It is systemic, so it works for 8 weeks if applied correctly. I use this for any new plant I bring home since a new plant with pests can create an infestation (no one wants that!).
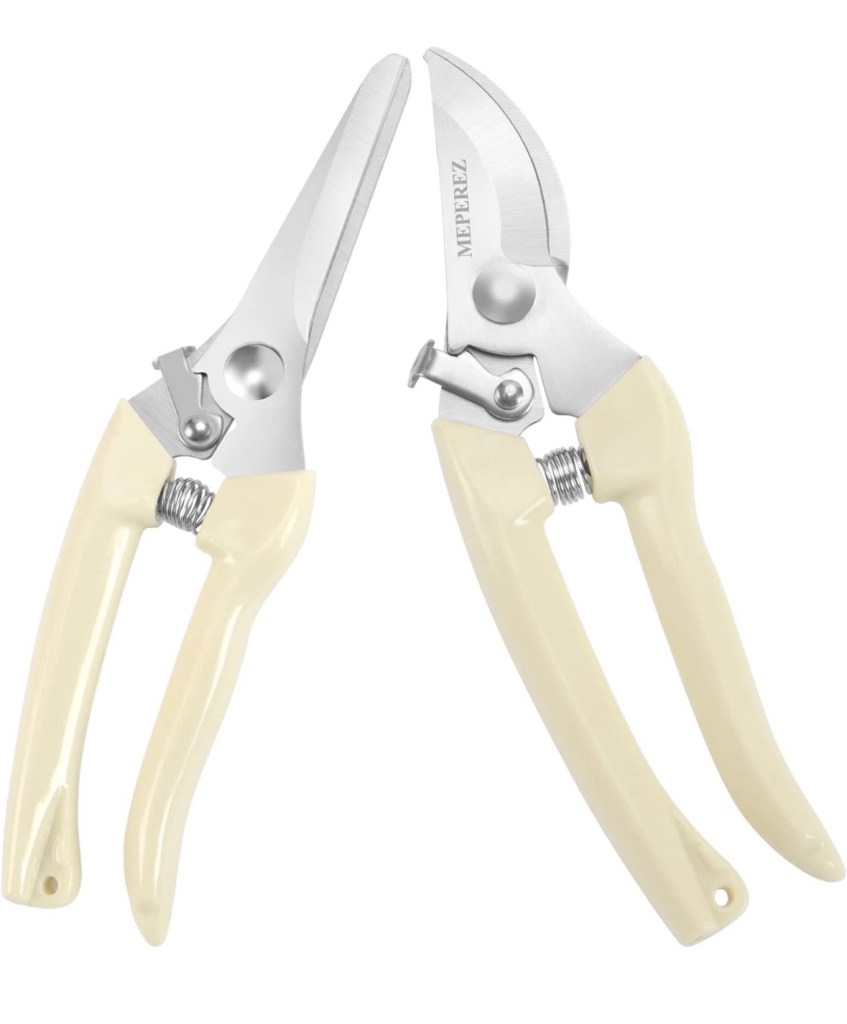
These garden clippers are excellent for trimming dead leaves or roots for regular plant maintenance or chopping plants that have a lot of overgrowth so you can propagate them. I carry them with me as I water so I can trim any dead or dying leaves as I go.
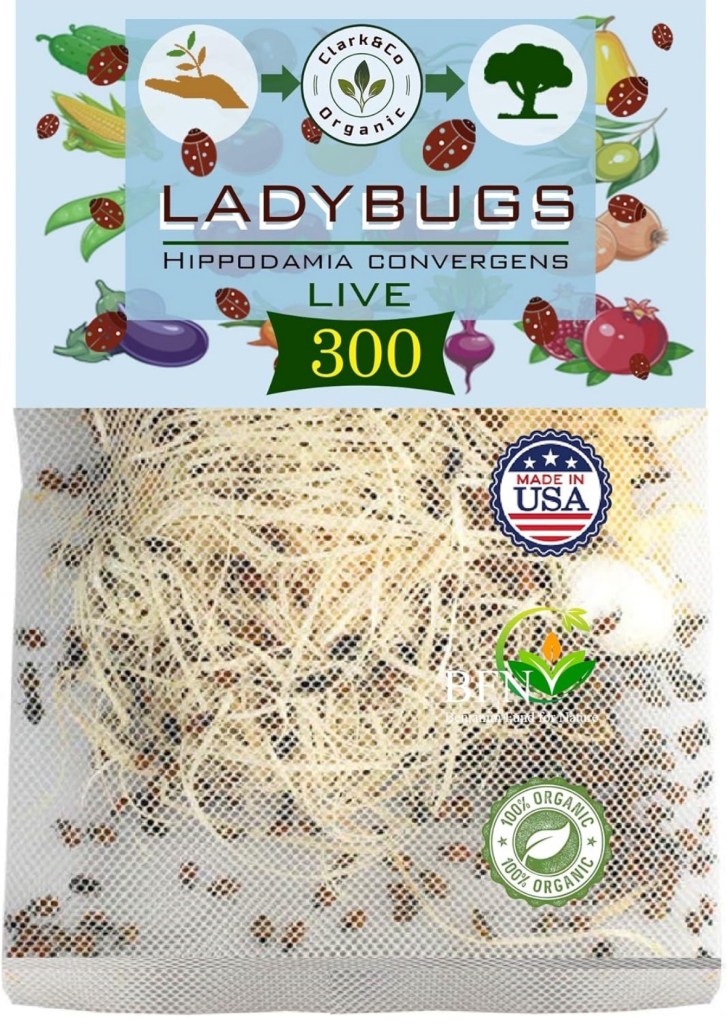
This insect trap is fantastic for areas with a large number of plants. The light attracts flying insects and the gentle fan sucks them down onto sticky paper. You can empty the bottom of the trap into the trash can easily and replace with a new sticky trap to catch more pests. This trap is particularly great for fungus gnats and thrips (aka my worst enemies!).
Again with the thrips and fungus gnats-these are a lifesaver! If you are struggling with fungus gnats or thrips, lining pots with these is a great, inexpensive solution to catch the insects as they leave the soil.
Just like the Katchy, this trap attracts insects by the blue light then traps them with a replaceable sticky film. I love using these in the kitchen, bathroom with plants, and any room I seem to be having issues with fungus gnats or thrips.
These moss poles are excellent for larger plants like monsteras or bird of paradise. The thicker base and sturdy nature of these make them my favorite. They also come with Velcro tape that is reusable and customizable for any size or shape plant.
If you have a smaller plant, these moss poles are excellent. They are lightweight and sturdy and are excellent for plants like pothos or philodendrons.
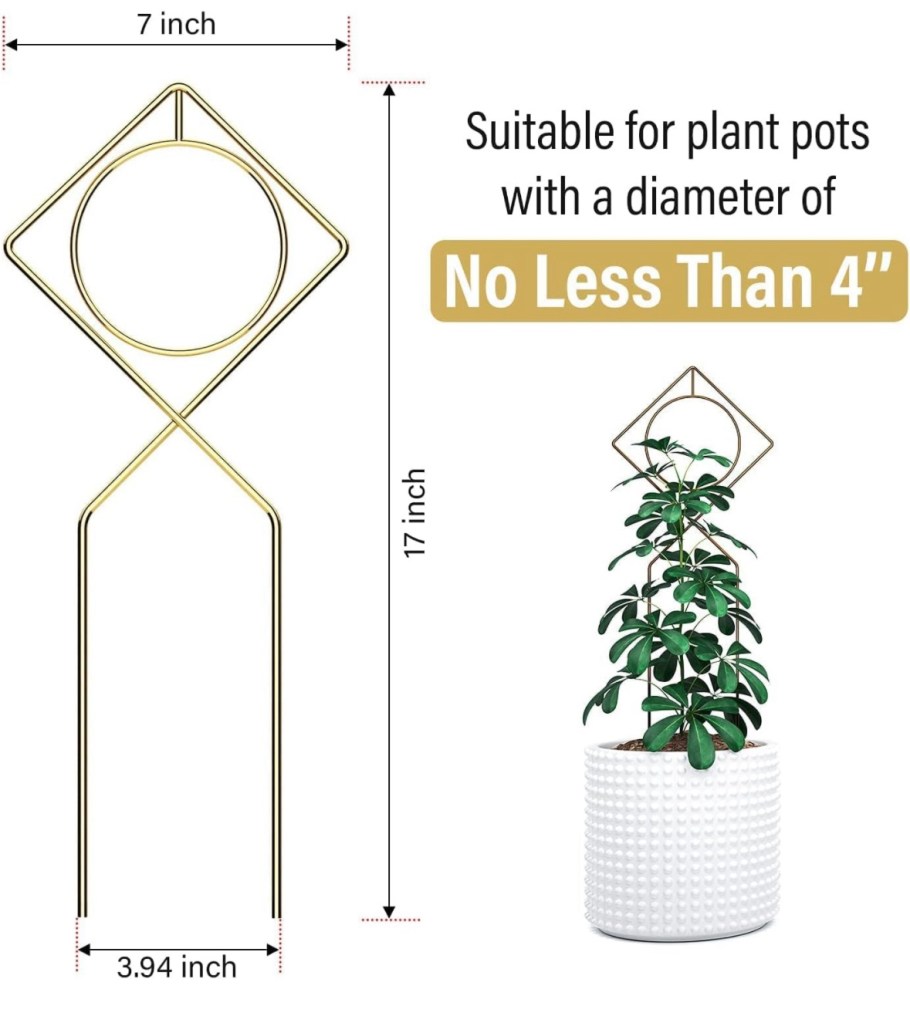
This wooden trellis looks great and is functional. I love using this trellis for Hoyas and other smaller climbing plants. Bonus-it comes with two in a pack!
These grow lights are excellent for places like bookshelves or smaller areas. They have a small footprint, don’t use much power, and have an easy to use timer and dimmer function.
These clip-on grow lights have a timer and dimmer function like their stick-on counterparts. I use mine for the top of a bookshelf that doesn’t get much light and it’s an excellent option to keep plants with higher light needs happy.
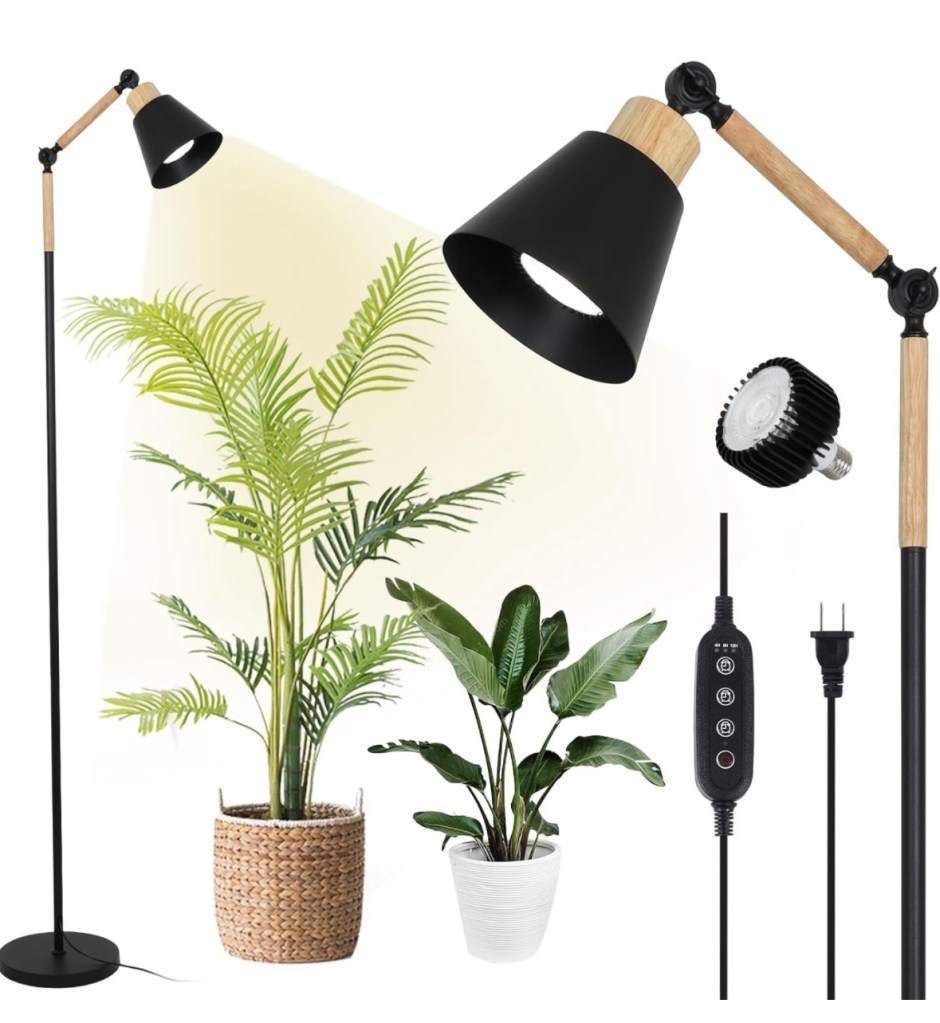
This one is for all of my plant lovers who care greatly about the aesthetic of their home AND their plants. Some grow lights can ruin the look of a room. This one, however, adds to the functional design element. I love this lamp in back of my living room where there isn’t much light.
These are excellent for plants like Alocasia and orchids. They love bottom watering and these clay pebbles hold just enough water to keep them happy, but their roots won’t be too damp.
Since I recommended leca, I also recommend these clear, plastic nursery pots. They have excellent draining and you can easily check the roots of any plants potted in leca with these pots.
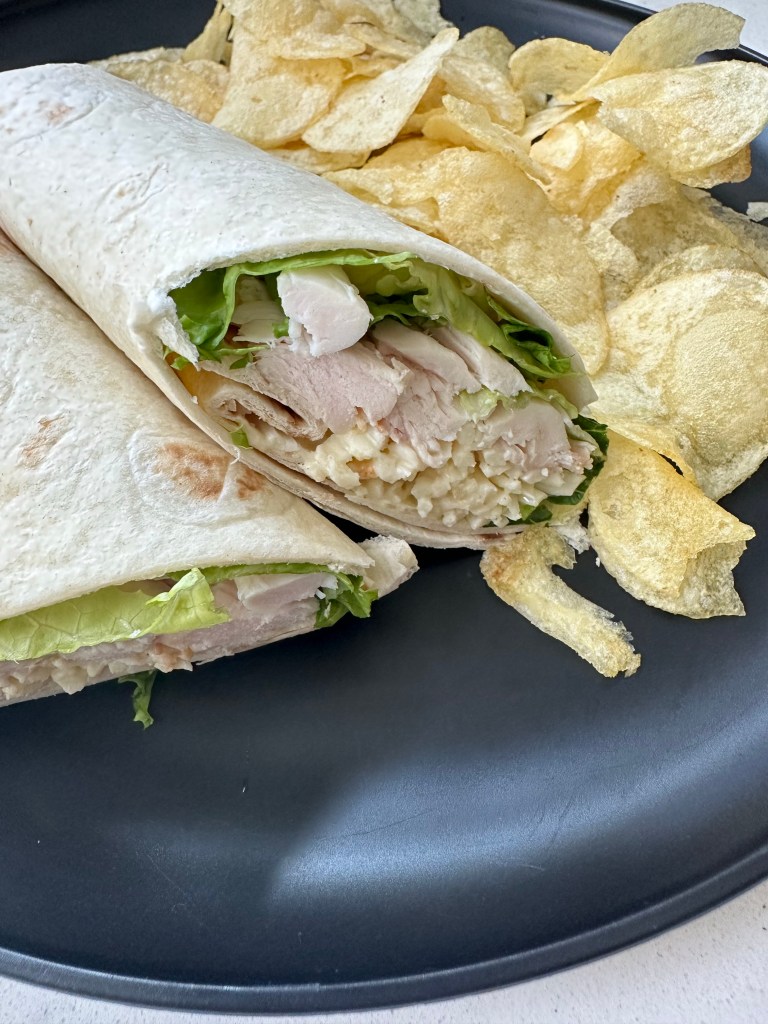
As much as I love grabbing a rotisserie chicken while I’m picking up groceries, there’s just nothing like a homemade roasted chicken. I have adapted this recipe from Cooking for My Soul, which is simple and flavorful and it’s my go-to when I want to roast a whole chicken. The best part of this recipe is you can save the carcass and vegetable scraps to make homemade bone broth later!
Ingredients
Vegetable Bed
9-12 small potatoes (I prefer Little Duos or Little Trios from The Little Potato Company for some variety)
3 medium carrots, peeled and cut into chunks
2 medium yellow onions, peeled and quartered
Olive oil
Salt and pepper to taste
Chicken
1 5-pound whole chicken – giblets removed
1 stick herbed butter
1 medium yellow onion, peeled and quartered
5 sprigs fresh rosemary, divided
5 sprigs fresh thyme, divided
Directions
Preheat oven to 425 degrees F.
Place the cut up vegetables for the vegetable bed (potatoes, carrots, onions) in the bottom of a large 7-8 quart Dutch oven pot. Toss with a few drizzles of olive oil, plus salt and pepper to taste. Set aside.
Pat the chicken dry with paper towel thoroughly, including inside the cavity. Rub half of the herbed butter under the skin (carefully separate the skin from the flesh to create “pockets” for the butter, mainly around the breast and legs). Then, rub the remaining half butter on the outside, all over the top, legs, and wings. Tip: Patting dry the chicken thoroughly will help you get crispier skin.
Stuff the cavity of the chicken with 1 quartered and peeled onion, 2 sprigs fresh rosemary, and 2 sprigs fresh thyme.
Place the prepared chicken in a roasting pan, breast side up. Tuck in wings under the chicken, or clip the wing tips to prevent them from burning. Place the remaining 3 sprigs of rosemary and 3 sprigs of thyme around the chicken.
Cover with the lid securely, and roast for 1 hour and 15 minutes COVERED. Then, UNCOVER and roast for another 30 minute to allow the skin to crisp up and turn more golden brown. If the vegetables look like they are burning, add a few splashes of chicken broth. It’s ready when a meat thermometer inserted in the thickest part of the thigh registers 165 degrees F. Tip: Avoid opening the oven too much to prevent the heat from escaping. If needed, rotate the chicken if you notice certain spots browning more, or tent any spots that are browning too fast with aluminum foil.
Let it rest in the Dutch oven for 15 minutes before serving, along with the vegetables. Serve and enjoy!
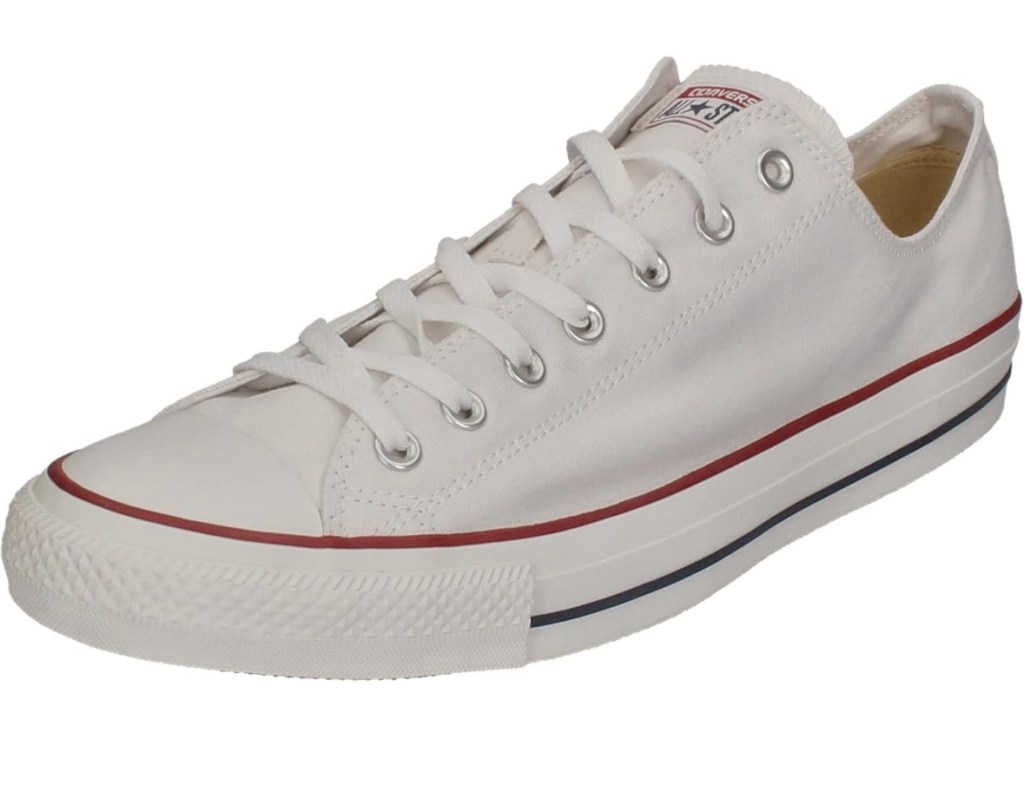
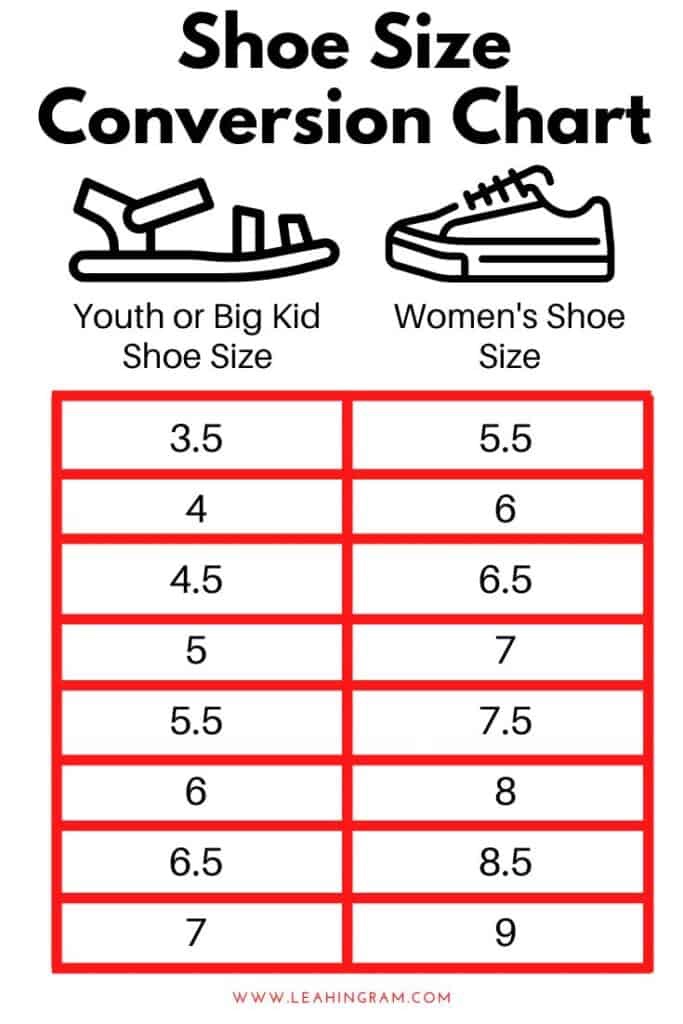
You guys… kids shoes fit me. Why am I JUST NOW figuring this out? So many missed shoe opportunities not realizing this until now! Here’s a handy chart to see if you can share in my new found joy:
It’s game day and it’s finally feeling like fall (even if it’s only for the next few days). I decided to bring out the sweatshirts to get ready for fall. This sweatshirt is one of my favorites because although it’s not very thick or bulky , it’s so warm!
Find all of these game day favorites linked below!
I absolutely love a good bargain plant, but I don’t love the root rot, pests, and other dun surprises they come with. There are steps you can take to help eliminate these issues when buying big box store and bargain plants.
Remove Decorative Moss or Tags
Remove all decorative moss topping the soil as well as any tags or other decorative items. If the plant comes in a decorative pot ensure that it has drain holes. If the pot doesn’t have drainage holes remove the nursery pot from the decorative pot to allow for better drainage if not repotting immediately.
Check the Roots
Check the bottom of the nursery pot to see if any roots are visible. If roots are visible, repot in a larger, well draining pot.
If the roots aren’t visible and the soil doesn’t feel saturated it shouldn’t need to be repotted right away. If you choose not to repot the plant, make sure to use bonide granules to ensure no pests will affect your new plant. Also make sure to isolate it away from other plants in case there are any pests on the plant.
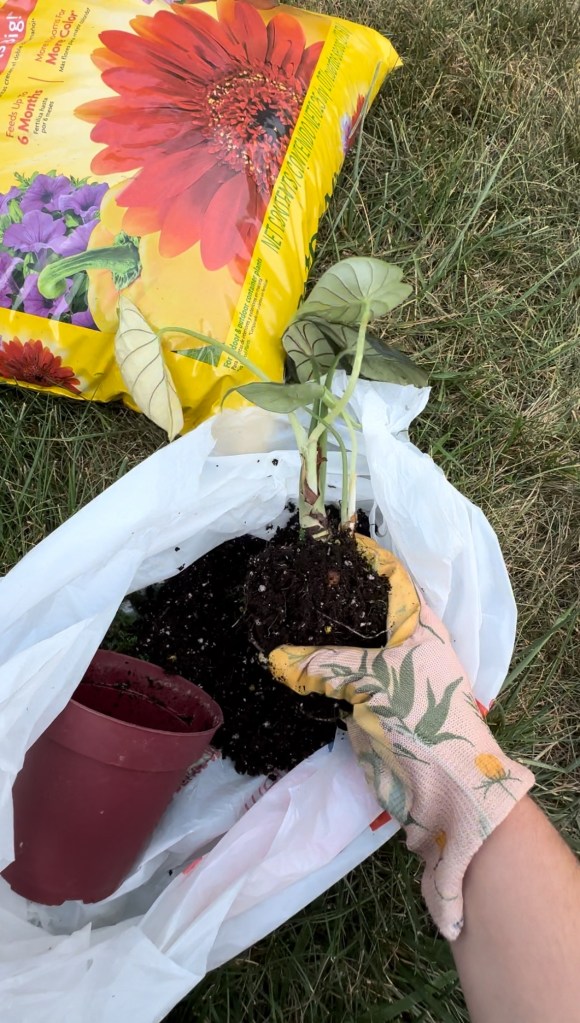
Clean and Inspect Roots
If the root ball is densely packed or overly saturated, completely remove all soil and inspect the roots thoroughly. Check for mushy or black roots and remove them gently. Inspect the root ball for a fine mesh surrounding the base of the plant. If your plant contains a mesh “death plug”, gently cut it off of the plant.
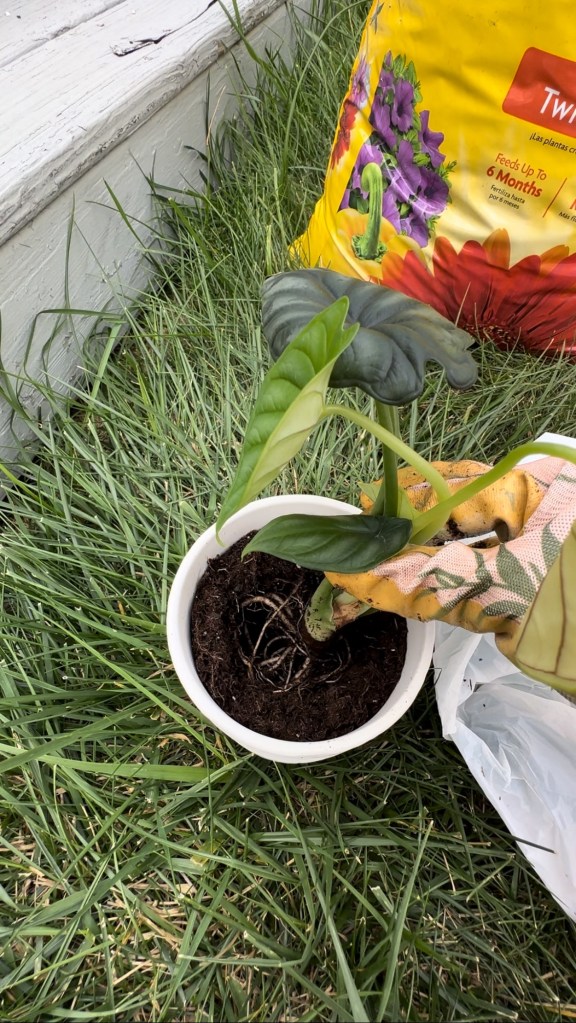
Repot Plant
Repot your plant in a well draining pot with well draining soil. Gently place the roots of the plant in the center of the soil and gently pack soil around the plant.
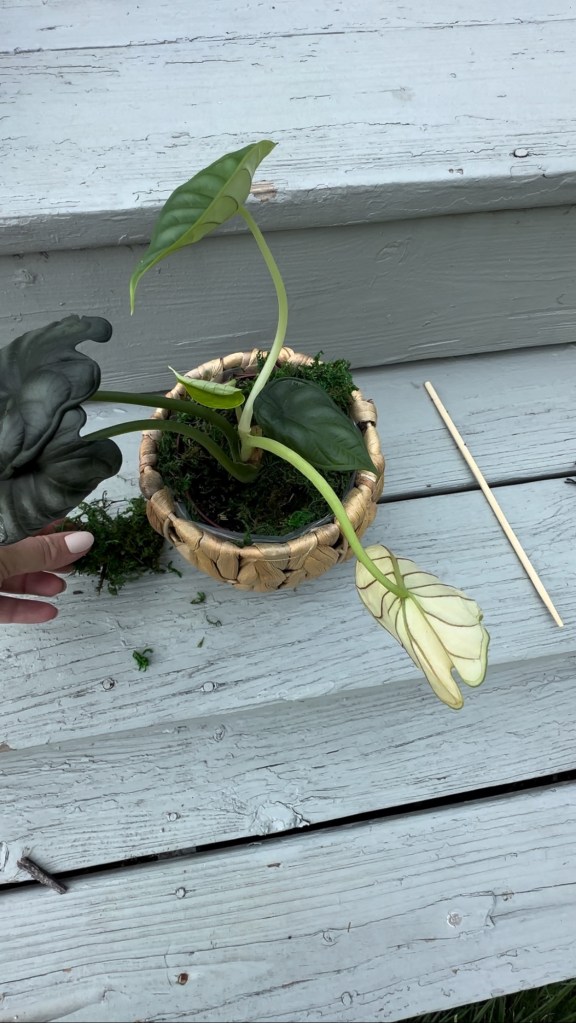
Trim Dead or Damaged Leaves
Trim any dead or dying leaves off of the plant. This will allow the plant to use its energy for new growth instead of dead or dying leaves.
Add systemic insect control granules to the top layer of the soil and mix into the first inch or so of the soil. This will prevent fungus gnats and will help control any infestation that may already exist on your plant.
Water Plant
Water the plant thoroughly. This will help the plant receive the moisture it needs while activating the bonide granules to ensure pests are kept at bay.
Treat Leaves and Foliage
Treat leaves and foliage with a Neem oil product such as Bless Your Soil’s Big Leaf Energy. This organic blend helps keep leaves and foliage shiny and healthy and helps eliminate pests.
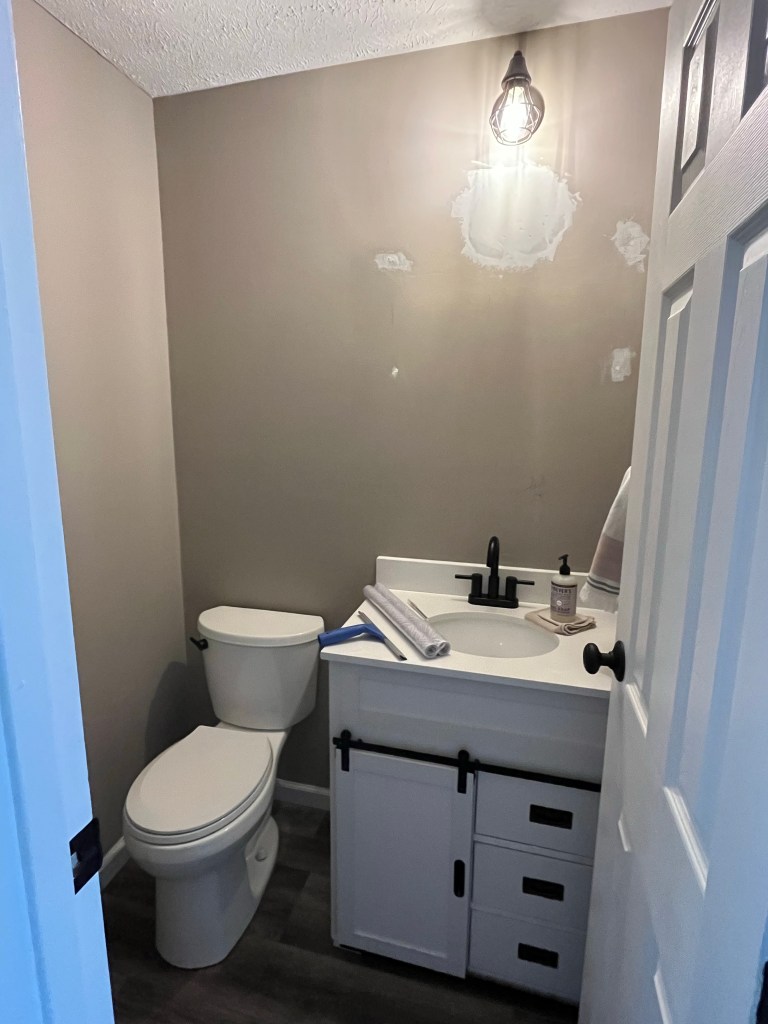
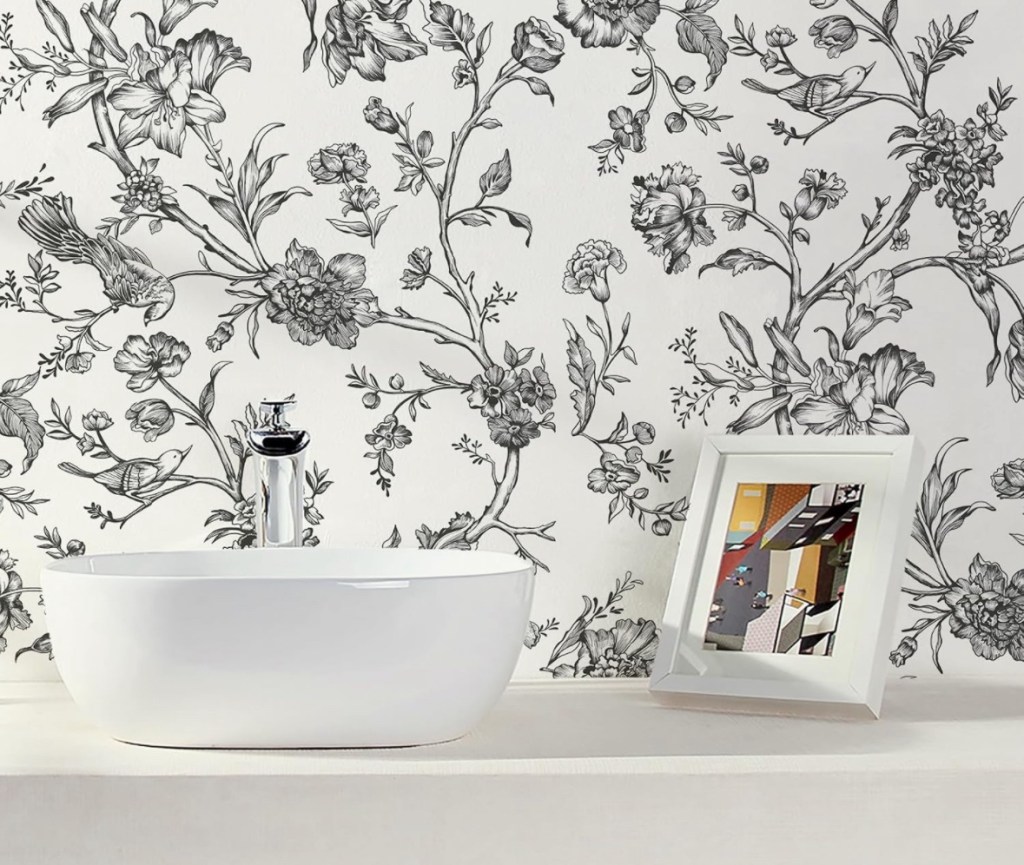
Our half bath lacked… well, character. I would consider myself to be rather moody in my design style. Dark colors mixed with prints and rich colors are my jam. When we moved into our house we had to gut it before we could move in. I mean GUT IT… down to the light switches and outlets. It was so bad that when I toured the house I was told not to get too close to the master bath shower because it would fall through the floor. Since there were so many design details to tackle, I kept it simple in most rooms and just figured I’d update as I became tired of gray and taupe walls. I designed this bathroom update with mostly items from Amazon because kids, work, and all of the momming doesn’t leave much time to shop around. I have to say I’m pleased with the outcome-especially since I didn’t need to run around like crazy trying to find things to work in this space. I’m linking items I used in this bathroom update at the end of this post so you can shop effortlessly, too!
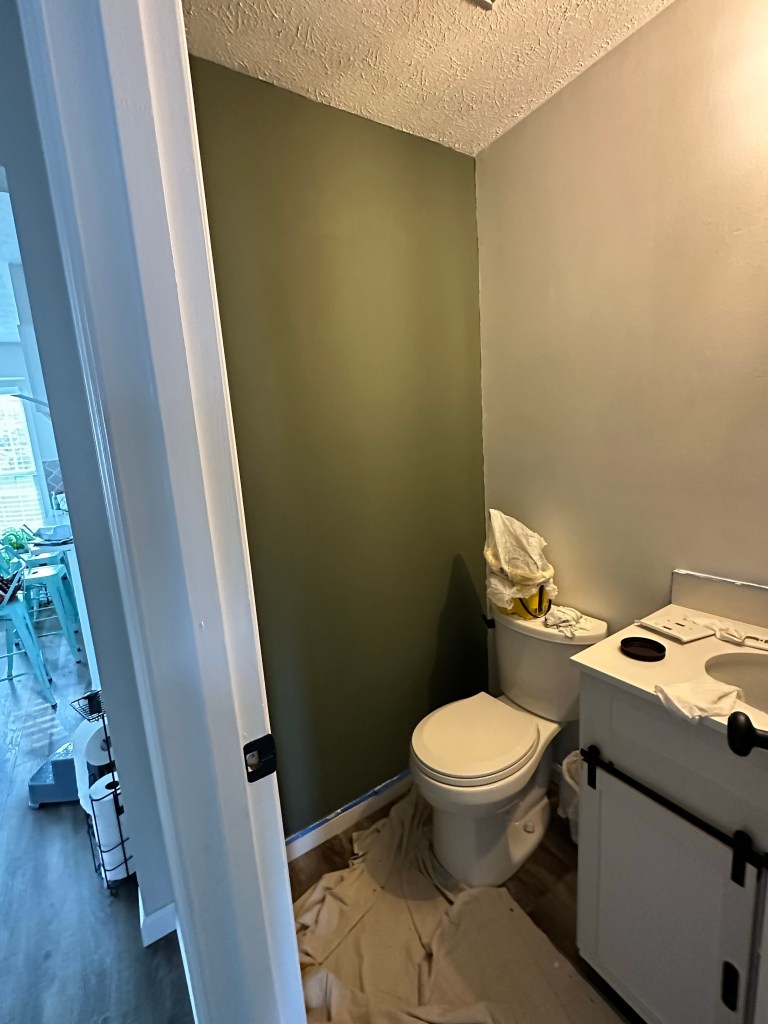
This half bath project stemmed from finding a mirror I loved to replace the one I just tolerated. Problem? There was a giant hole in the wall behind the mirror where the old light fixture was prior to renovating the house. Fast forward a few years AFTER the wall had been patched and we got around to painting the bathroom after patching. If I was painting, why not paint a new color and paint the whole bathroom? If we’re painting, why not wallpaper, too? It’s like If You Give a Mouse a Cookie… it will never end! How did I make sure I didn’t overspend after deciding to revamp? I tried to keep it simple and make bold changes with low cost fixes.
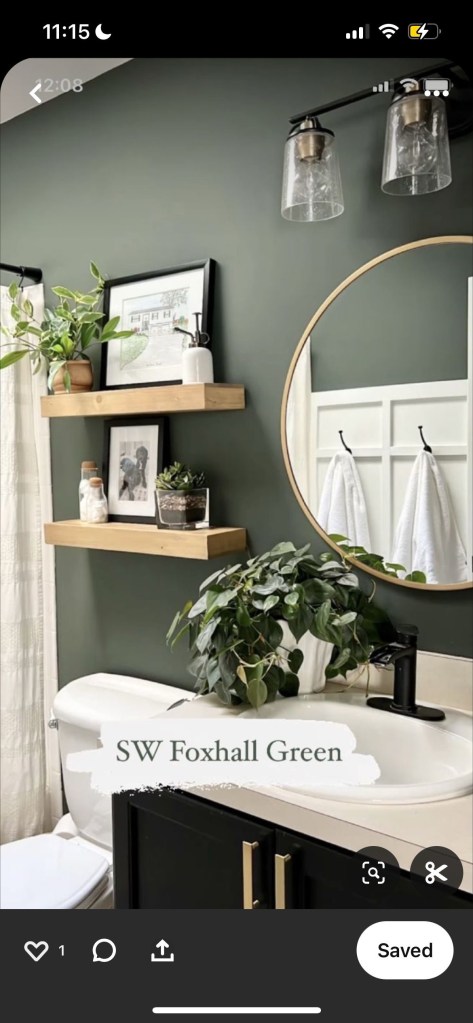
Design Your Space First
First, design your space like there is no budget. That’s right, have all the champaign dreams. This is just to get an idea of what feel your space should have. Check out Pinterest boards, blogs, anything that gives you inspiration. Keep in mind the colors you like and the overall style you’re going for.
Determine What You Cannot Change
If you’re really on a budget, make a list of what cannot be changed. Examples of this could be a vanity, bathtub, shower, flooring or tile, or other high cost item. Our vanity was still in good shape and was still great aesthetically, so I designed the update to work with the current vanity. Get a sense of what your dream designs or ideas would look like with your existing pieces. If the ideas you gathered just don’t match the “can’t change items” in any way, search for other examples that will work well with existing pieces in your space.
Low Cost Updates
While looking at ideas on Pinterest or blogs make note of low cost items that could be used in an update that can change the entire look of the space. Here are some low-cost updates for bathrooms:
paint
wallpaper
light fixtures
faucets
towel racks
shelving
mirrors
plants
toiletry bottles such as soap or lotion
small decor items (candles, framed artwork, etc.)
While considering all of these lower cost items, build your space around these cost effective updates. Consider items that already exist in your home or from thrift stores or clearance sales to fill in empty spaces. When I find items I love I also comparison shop online to see if cheaper alternatives exist. If you can achieve the same look with a lower cost item, doesn’t that make the look all that much better?!
Visually Plan Your Space
Create a visual plan of your space using the items you found to create your desired look. If you’re using paint colors, wallpapers, or other similar items in your design include those. I don’t like to spend a lot of time on my visual planning, but getting an idea of what items will look like together definitely helps. I like to use the PicCollage app on my phone so I can add items together quickly to make sure everything meshes well. I do a quick price check and add the cost of all of the design items to make sure I stay within my budget.
Get to Work!
Once you’re sure everything meshes together well and the budget checks out, get shopping! Purchase all items, prep your space, and enjoy your newly updated room!