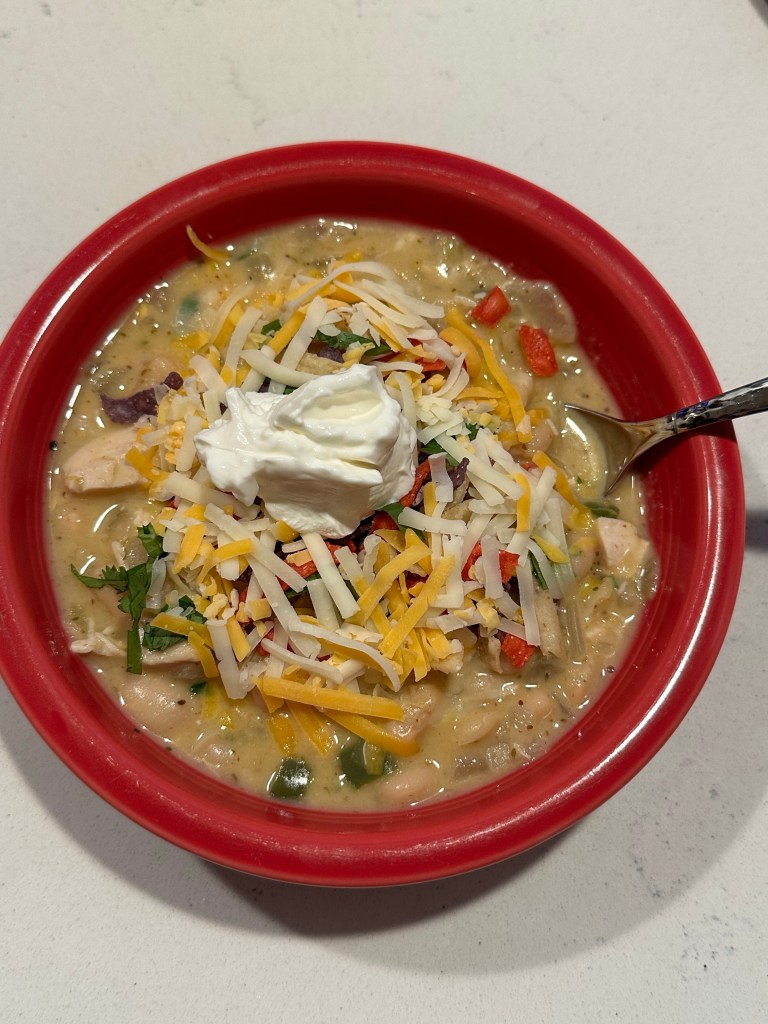
I have a tried and true Slow Cooker White Chicken Chili recipe I absolutely love, but I had a large amount of rotisserie chicken left over and needed a quick weeknight meal. After sorting through many recipes that use rotisserie chicken and already exhausting my usual Easy Chicken Fried Rice recipe for the week, this Pioneer Woman White Chicken Chili recipe was the winner. This recipe adds cornmeal, which makes a heartier, more filling chili with so much flavor! I made a few substitutions based on ingredients I typically keep on hand, but the main ingredients of this recipe make for a hearty soup and the ease of using rotisserie chicken makes this recipe easy on a weeknight.
Ingredients
- 2 Tbsp olive oil
- 1 onion, chopped
- 1 tsp kosher salt, divided, plus more to taste
- 3 cloves garlic, chopped
- 1 jalapeño, chopped (seeds removed, if you don’t like it spicy!)
- 1 Tbsp ground cumin
- 1 tsp celery seed (coriander works great if you don’t happen to have celery seed)
- 1 tsp chili powder
- 1/2 tsp black pepper
- 2 tsp dried oregano
- 4 cups chicken broth, divided
- 3 Tbsp cornmeal
- 2 (15-oz.) cans white beans (I use great northern beans, but cannellini beans would also work great), drained and rinsed
- 1 (4-oz.) can chopped green chilis
- 1 cup frozen corn
- 3 cups cooked chicken (from 1 rotisserie chicken)
- 1/2 cup heavy cream
- 2 Tbsp fresh lime juice
- 2 Tbsp chopped cilantro leaves, plus more for serving
- Tortilla chips, shredded monterey jack cheese, and sour cream, for serving
Directions
- Heat a large Dutch oven over medium-high heat. Add the olive oil, then onion. Season with 1/2 teaspoon of salt and cook until slightly softened, stirring occasionally, about 5 minutes. Add the garlic and jalapeño, and cook for 2 minutes more. Add the cumin, celery seeds, chili powder, black pepper, and oregano, and cook until fragrant, 1 minute more.
- In a small measuring cup, whisk together 1/2 cup of chicken broth and the cornmeal.
- Add the remaining 3 1/2 cups chicken broth, cornmeal mixture, white beans, canned green chilis, and corn to the Dutch oven. Bring to a simmer and cook, stirring occasionally, for 10 minutes, over medium heat. Stir in the chicken and cook for 5 minutes more. Stir in the heavy cream, lime juice, and cilantro, and remove from the heat. Season with the remaining 1/2 teaspoon of salt, plus more to taste.
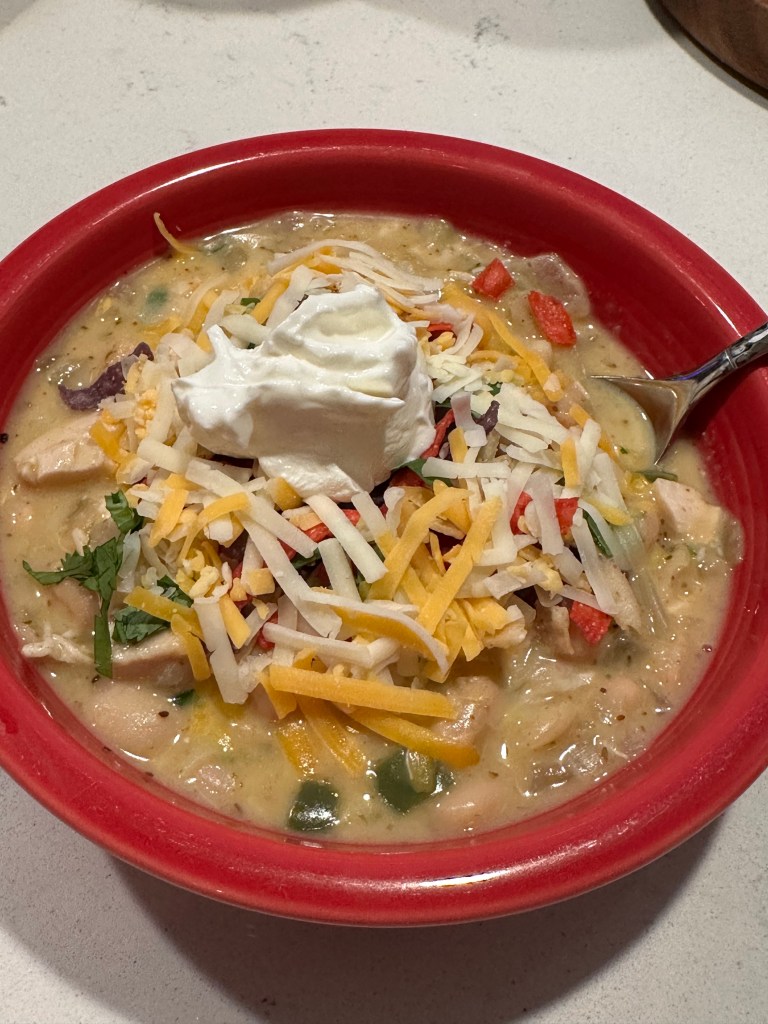
- Serve topped with additional cilantro, tortilla chips, shredded cheese, and sour cream.