Mini Cadbury Egg Peanut Butter Cookies

Mini Cadbury Egg Peanut Butter Cookies

Everyone loves chocolate Kiss cookies at Christmas time, so this is a great twist on a classic, but for Easter! Mini Cadbury eggs are my weakness at Easter time (ok… they’re not my ONLY weakness, but a weakness…) and I think they’re always a favorite. These peanut butter cookies are delicious and the mini Cadbury eggs are the perfect addition to a classic for Easter. This recipe comes from Together as Family-check out other great Easter recipes on their site!

Ingredients

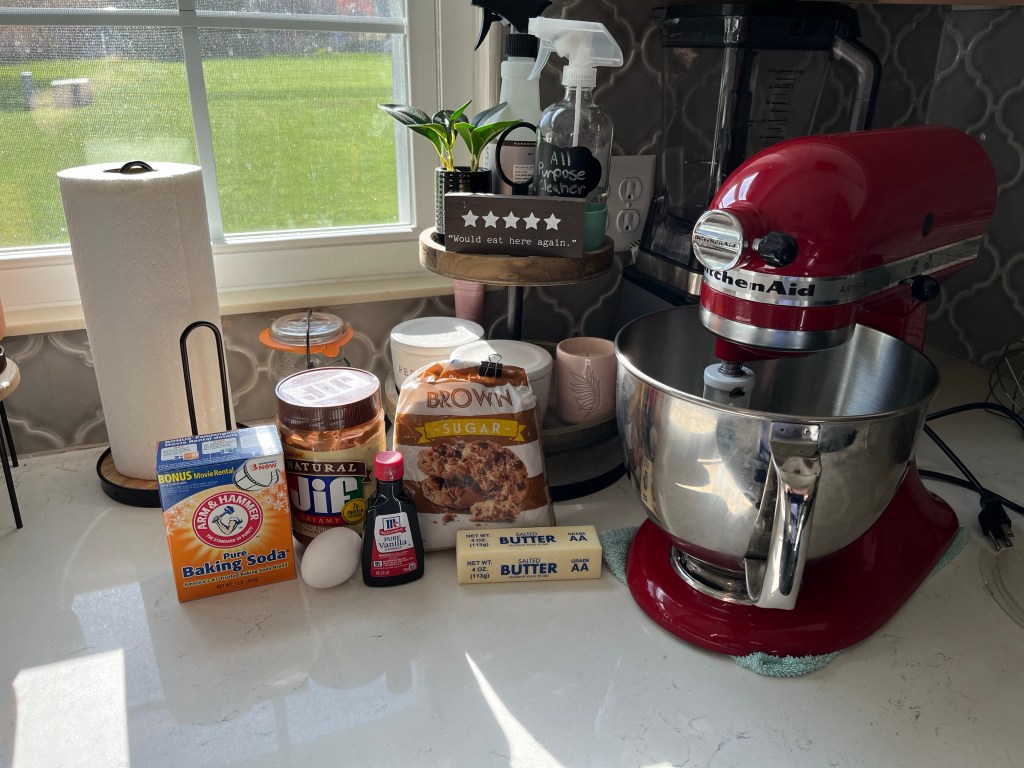
  • ½ cup (1 stick) butter, softened
  • ½ cup granulated sugar
  • ½ cup light brown sugar
  • ½ cup creamy peanut butter
  • 1 large egg
  • ½ tsp vanilla extract
  • 2 cups all-purpose flour
  • ½ tsp baking soda
  • ¼ tsp salt
  • ¼ cup granulated sugar (for rolling the cookie dough in)
  • 30 Cadbury Mini Eggs

Directions

  1. Preheat oven to 350 degrees. Line a cookie sheet with silpat liner, parchment paper, or spray with cooking spray.
  2. In a large bowl, or bowl of a stand mixer, beat together the butter, granulated sugar, brown sugar and peanut butter until light in color and fluffy looking. About 1-2 minutes. 
  1. Add in the egg and vanilla extract. Blend together. 
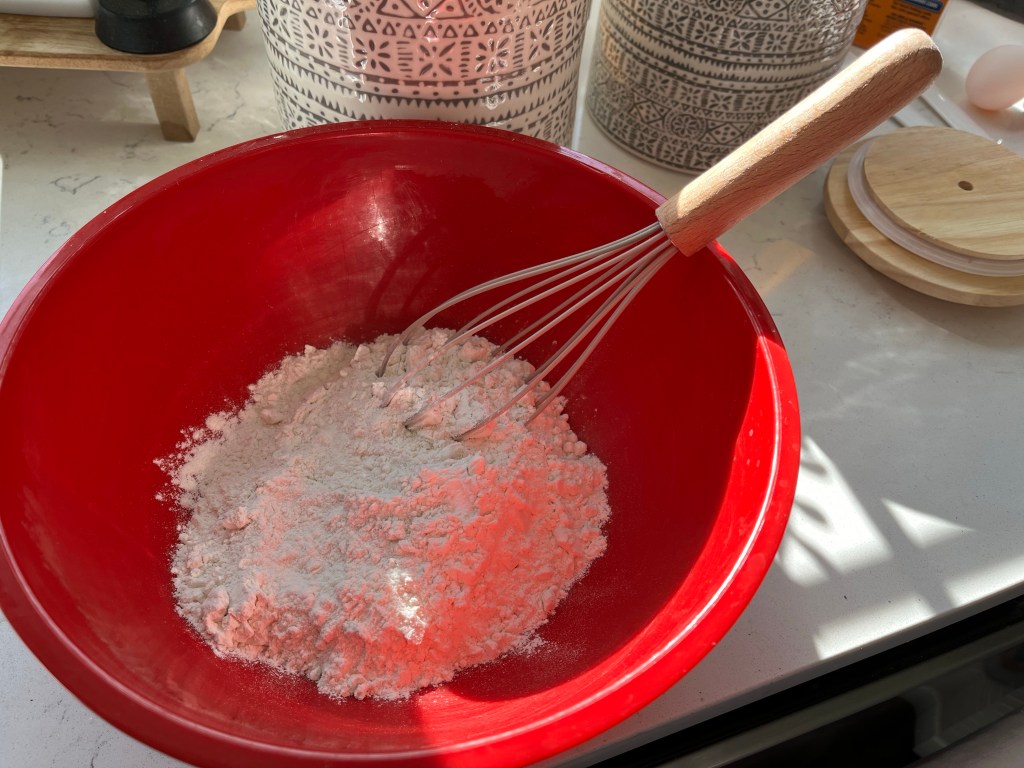
  2. In a separate smaller bowl, combine the flour, baking soda, and salt. Stir with a whisk to break up any clumps. Add half of this mixture to the butter/sugar mix and blend on low speed just until incorporated. Add the other half and blend just until mixed together. 
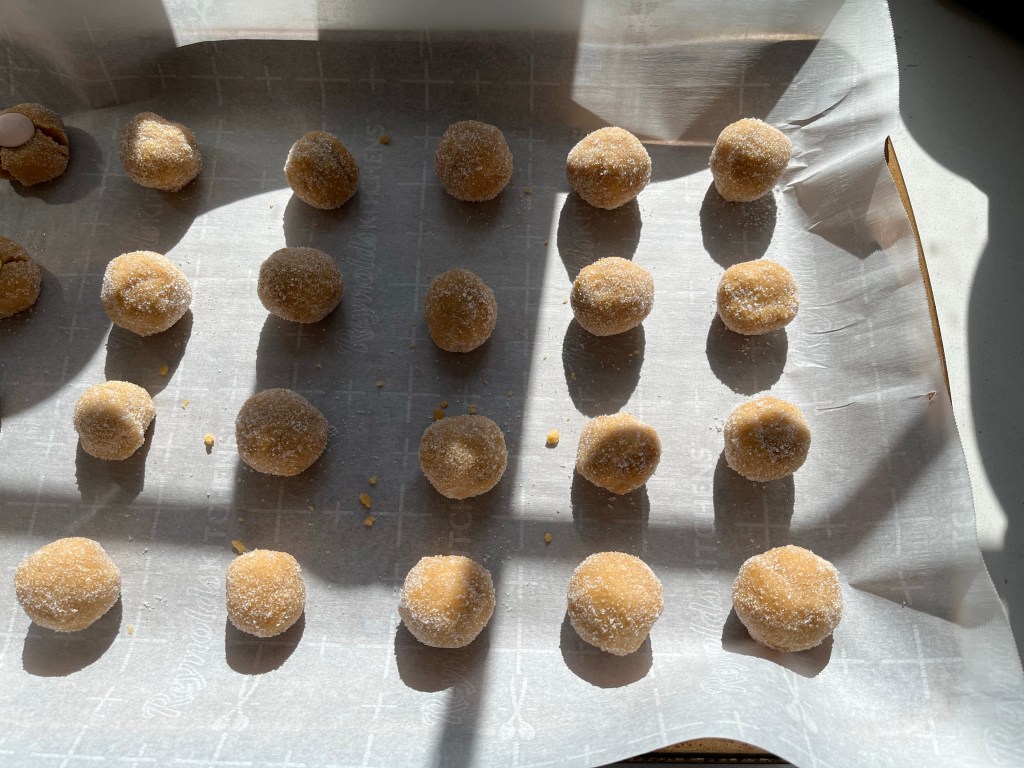
  1. Measure the ¼ cup granulated sugar and place it in a bowl. Take a pinch of dough (about a tablespoon) and roll into a ball. Roll the cookie dough ball into the sugar and place on prepared cookie sheet. 
  2. You will be able to put all 30 on one cookie sheet. 6 rows of 5 cookies each. 
  1. Bake for 7 minutes. The cookies will look the same (they will be slightly paler in color and look “puffy”), but they will be finished baking, so pull them out of the oven!
  2. Immediately, gently press a Cadbury Mini Egg into each cookie. The edges will crack and that’s what you want! Let the cookie sit on the cookie sheet for about 15 minutes. Enjoy them warm or room temperature! Store them in an airtight container once cooled. Happy Easter!
Advertisement
Sheet Pan Shrimp Scampi and Roasted Vegetables

Sheet Pan Shrimp Scampi and Roasted Vegetables

I love shrimp, but am always intimidated by cooking it. It’s SO easy to overcook shrimp and I would argue that undercooking it could have worse consequences, so I just… don’t usually cook it. This recipe is easy and it cooks the shrimp perfectly with the vegetables all in one pan. You can even line the sheet pan with foil for easy clean up afterward. This recipe can contain any fresh vegetables you have on hand, so get creative!

Ingredients

Shrimp

  • 20 oz large, frozen shrimp (deveined and tails removed), thawed
  • 1 tsp olive oil
  • 1 tsp salt
  • 1 tsp seafood seasoning

Vegetables

  • broccoli
  • carrots
  • string beans
  • zucchini
  • squash
  • any other vegetables desired
  • 1 Tbsp olive oil
  • 1 tsp salt
  • 1/4-1/2 tsp black pepper, to taste
  • 1 tsp garlic powder
  • 1 tsp Italian seasoning

Scampi Sauce

  • 1 Tbsp butter, melted
  • 4 cloves garlic, minced
  • 1/2 lemon, juiced
  • grated parmesan cheese, to taste
  • fresh chopped parsley

Directions

  1. Heat oven to 400 degrees Fahrenheit.
  2. Line large sheet pan with parchment paper. Chop all vegetables and distribute evenly on the sheet pan. Cover mix vegetables with olive oil and seasonings coating well. Bake in preheated oven for 15 minutes.
  3. While the vegetables are roasting, prepare the shrimp by coating evenly with olive oil and seasoning.
  4. Prepare the scampi sauce by mixing all ingredients well and setting aside.
  5. After the vegetables have roasted for 15 minutes, slide the vegetables to the side and add the shrimp to the pan in an even layer. Place the pan back into the oven for 12 more minutes or until the shrimp is thoroughly cooked to an internal temperature of 120 degrees Fahrenheit.
  6. Drizzle the scampi sauce over the shrimp to complete the meal. Enjoy over rice or as a meal on its own.
Healthy (and easy!) Spinach Artichoke Dip

Healthy (and easy!) Spinach Artichoke Dip

I’ve had a recipe for spinach artichoke dip in the slow cooker that I THOUGHT I loved, but after integrating some ingredients and methods from other recipes, I think I’ve finally found the spinach artichoke dip sweet spot! Its ingredients are a bit healthier than some due to lower fat ingredients and no butter or oils. This recipe is also great because it can be made in the slow cooker (make sure to use more ingredients if you plan on using a larger crock pot), baked, or even microwaved if you’re in a hurry!

Ingredients

  • 1 block (8 oz) chive and onion cream cheese (regular or reduced fat cream cheese works great in this recipe, too!)
  • 2/3 cup sour cream
  • 2 cups reduced fat shredded mozzarella cheese
  • 1/4 cup grated parmesan cheese
  • 12 oz frozen chopped spinach, thawed and drained
  • 1 14 oz can artichoke hearts, chopped
  • 1/4 onion, diced
  • 1-2 cloves garlic, minced (more or less according to taste)
  • 1/2 tsp garlic powder
  • 1/4 tsp ground red pepper
  • salt and black pepper, to taste
  • Tortilla chips, pita chips, carrots, or celery for serving

Directions

Baking:

  1. Preheat oven to 400 degrees Fahrenheit.
  2. Add all ingredients to a large baking dish and mix until well blended.
  3. Place in oven and bake 30 minutes or until cheese is melted and the top of the dip is slightly browned.
  4. Serve with chips or vegetables.

Microwave:

  1. Add all ingredients to a microwave safe dish and mix until well blended.
  2. Heat in microwave in 2 minute increments. Stir well after each 2 minute increment until cheese is melted and dip is warm.
  3. Serve immediately with dip or vegetables.

Slow Cooker:

  1. Add all ingredients to slow cooker and mix until well blended.
  2. Heat in slow cooker for 2 hours on high or until cheese is melted and dip is hot. Reduce heat to prevent browning on the sides of the slow cooker.
  3. Serve immediately with dip or vegetables.
Copycat Starbucks Dragonfruit Refresher (Only 2 Ingredients!)

Copycat Starbucks Dragonfruit Refresher (Only 2 Ingredients!)

Anyone who knows me knows how much I love Starbucks. I always pass on the Refreshers and Pink Drink because I feel like I SHOULD be able to make something similar at home. But do I? Nope. I came across this Dragonfruit Refresher “recipe” and it is delicious and only has two ingredients that are really easy to find in stores.

Ingredients

  • 1/2 Bottle Power-C Dragonfruit Vitamin Water
  • 2 Tbsp Sugar Free Vanilla Syrup
  • Ice

Directions

  1. Add ice to your favorite glass or tumbler. Add Vitamin Water and Vanilla Syrup.
  2. Stir and enjoy!
EASY Copycat Starbucks Pink Drink

EASY Copycat Starbucks Pink Drink

These recipes are ALL OVER Pinterest. I’ve tried some that are good, some that are not so good, and some great ones. I found one that was so simple I couldn’t pass it up, so I decided to try it. Well, Target failed me and didn’t have the Ocean Spray White Cran-Strawberry juice I needed for the recipe, so I substituted with Cran-Raspberry. This one was definitely a keeper! Two ingredients and throw in some frozen raspberries and voila! Pink drink! Easy. Chip. Fast. What more can you ask for?

Ingredients

  • Original Silk Almondmilk
  • Ocean Spray Cran-Raspberry juice
  • Frozen or fresh raspberries (optional)

Directions

  1. Add desired amount of ice to a glass. Add frozen or fresh raspberries, if desired.
  2. Pour almondmilk into the glass until it’s half full. Fill the rest of the glass with cran-raspberry juice.
  3. Enjoy!