If you love your plants as much as I do, I’m sure you also get excited to share your amazing plant care finds with friends. This list has some of my tried and true plant care products. Whether you’re fighting pests, chopping and propping, or need something for your foliage to climb, this list will be sure to cover your plant needs. Happy growing, all!
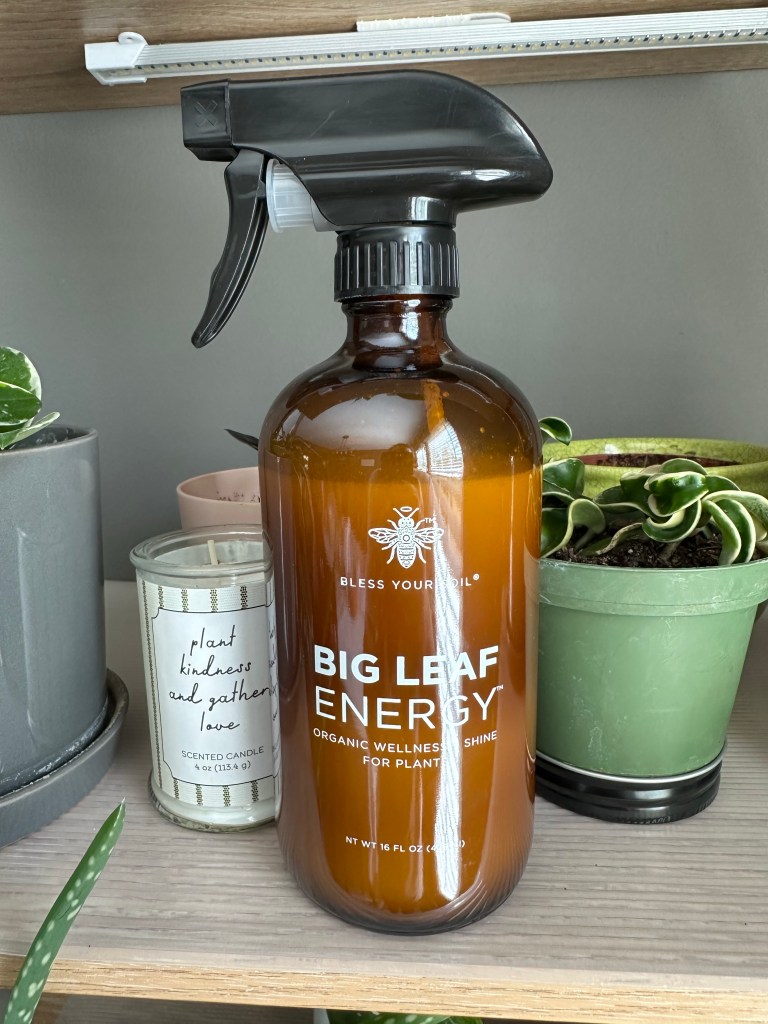
Big Leaf Energy

Shiny leaves. Pest control. Smells great. What’s not to love?! All of my plants are happy to see this bottle coming their way. I love using this for aesthetic and functional proposes. Pest free plants are happy plants!
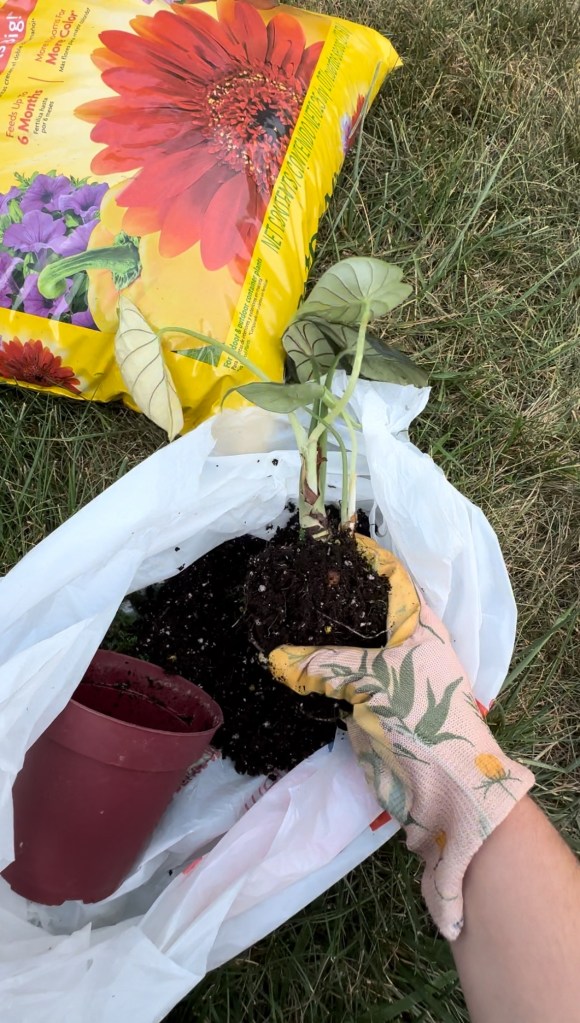
Systemic Insect Control Granules

This is my tried and true product for pest control of ALL kinds! Mealy bugs, spider mites, fungus gnats, you name it, this product eliminates and protects against it! It is systemic, so it works for 8 weeks if applied correctly. I use this for any new plant I bring home since a new plant with pests can create an infestation (no one wants that!).
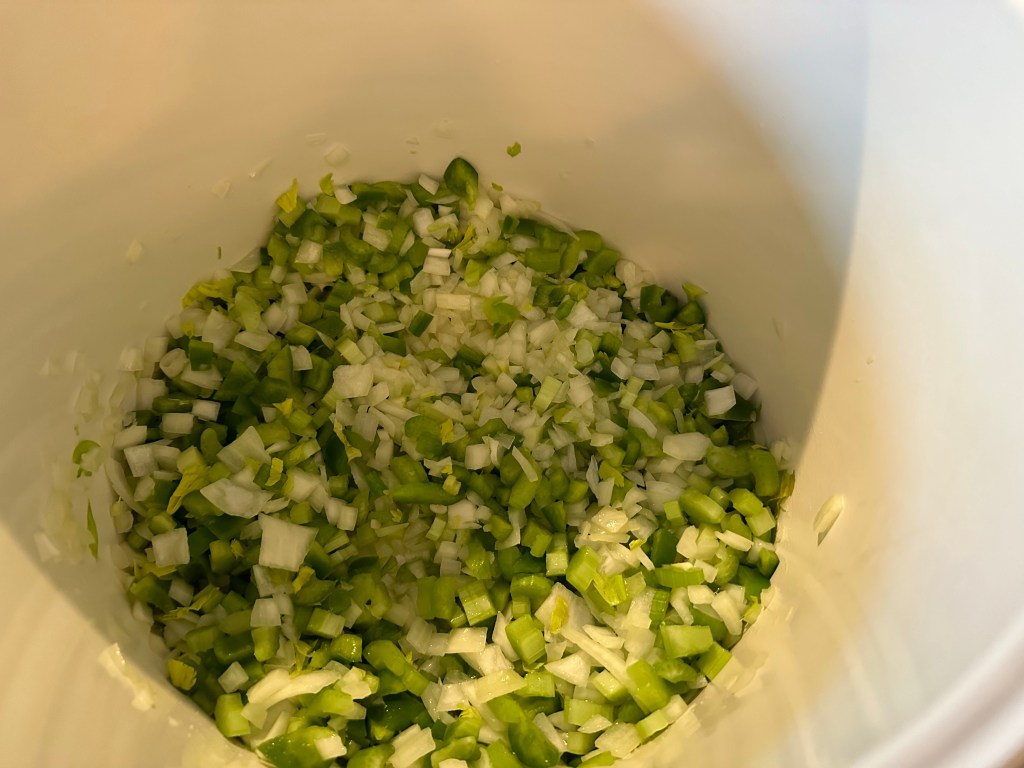
Garden Clippers
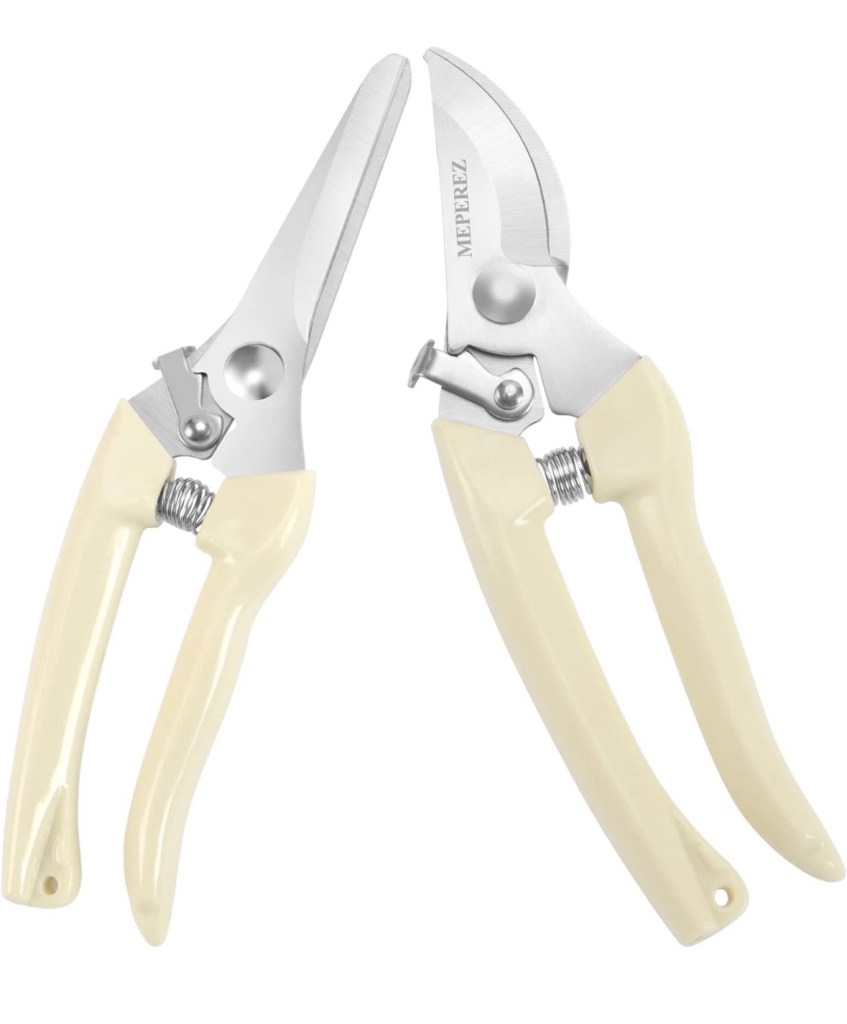
These garden clippers are excellent for trimming dead leaves or roots for regular plant maintenance or chopping plants that have a lot of overgrowth so you can propagate them. I carry them with me as I water so I can trim any dead or dying leaves as I go.
Katchy Insect Trap

This insect trap is fantastic for areas with a large number of plants. The light attracts flying insects and the gentle fan sucks them down onto sticky paper. You can empty the bottom of the trap into the trash can easily and replace with a new sticky trap to catch more pests. This trap is particularly great for fungus gnats and thrips (aka my worst enemies!).
Insect Sticky Traps

Again with the thrips and fungus gnats-these are a lifesaver! If you are struggling with fungus gnats or thrips, lining pots with these is a great, inexpensive solution to catch the insects as they leave the soil.
Zevo Insect Traps

Just like the Katchy, this trap attracts insects by the blue light then traps them with a replaceable sticky film. I love using these in the kitchen, bathroom with plants, and any room I seem to be having issues with fungus gnats or thrips.
Live Ladybugs
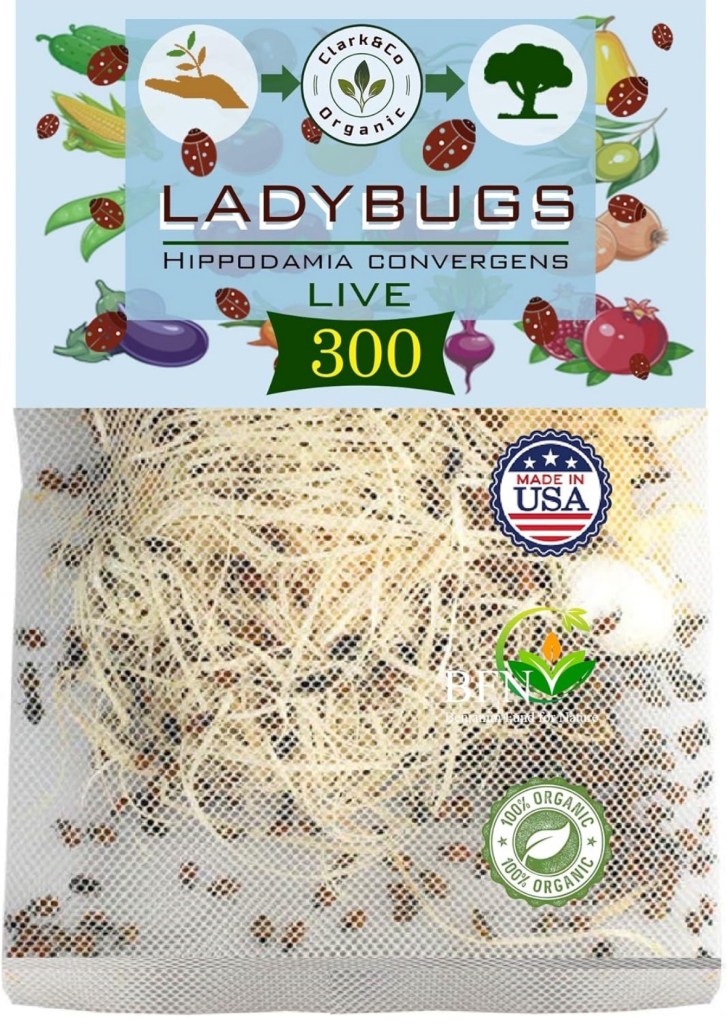
If you’re having pest problems in your garden, lady bugs are the best natural solution for aphids. They will eliminate them in no time!
Moss Poles

These moss poles are excellent for larger plants like monsteras or bird of paradise. The thicker base and sturdy nature of these make them my favorite. They also come with Velcro tape that is reusable and customizable for any size or shape plant.
Thin Moss Poles

If you have a smaller plant, these moss poles are excellent. They are lightweight and sturdy and are excellent for plants like pothos or philodendrons.
Wooden Circular Trellis

This wooden trellis looks great and is functional. I love using this trellis for Hoyas and other smaller climbing plants. Bonus-it comes with two in a pack!
Metal Trellis
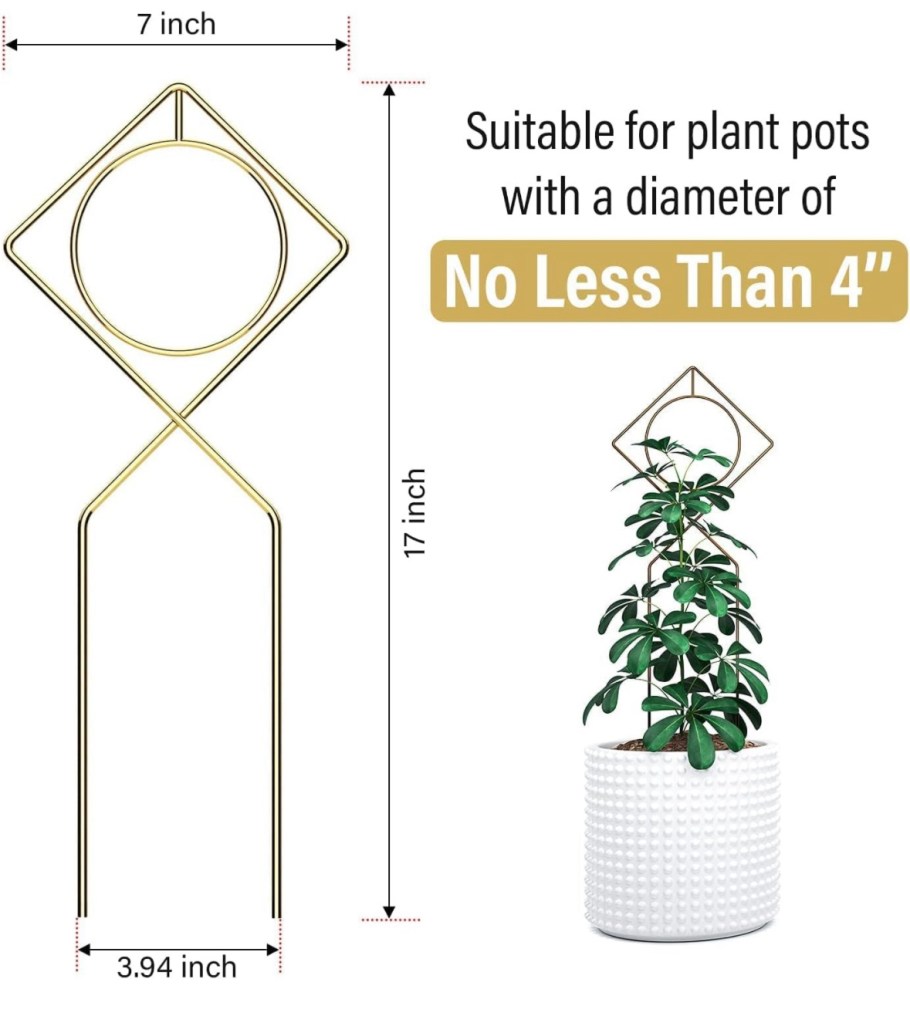
This decorative trellis is also great for Hoyas or pothos. Another bonus… two in a pack!
Stick-On Grow Lights

These grow lights are excellent for places like bookshelves or smaller areas. They have a small footprint, don’t use much power, and have an easy to use timer and dimmer function.
Clip-On Grow Lights

These clip-on grow lights have a timer and dimmer function like their stick-on counterparts. I use mine for the top of a bookshelf that doesn’t get much light and it’s an excellent option to keep plants with higher light needs happy.
Floor Lamp Grow Light
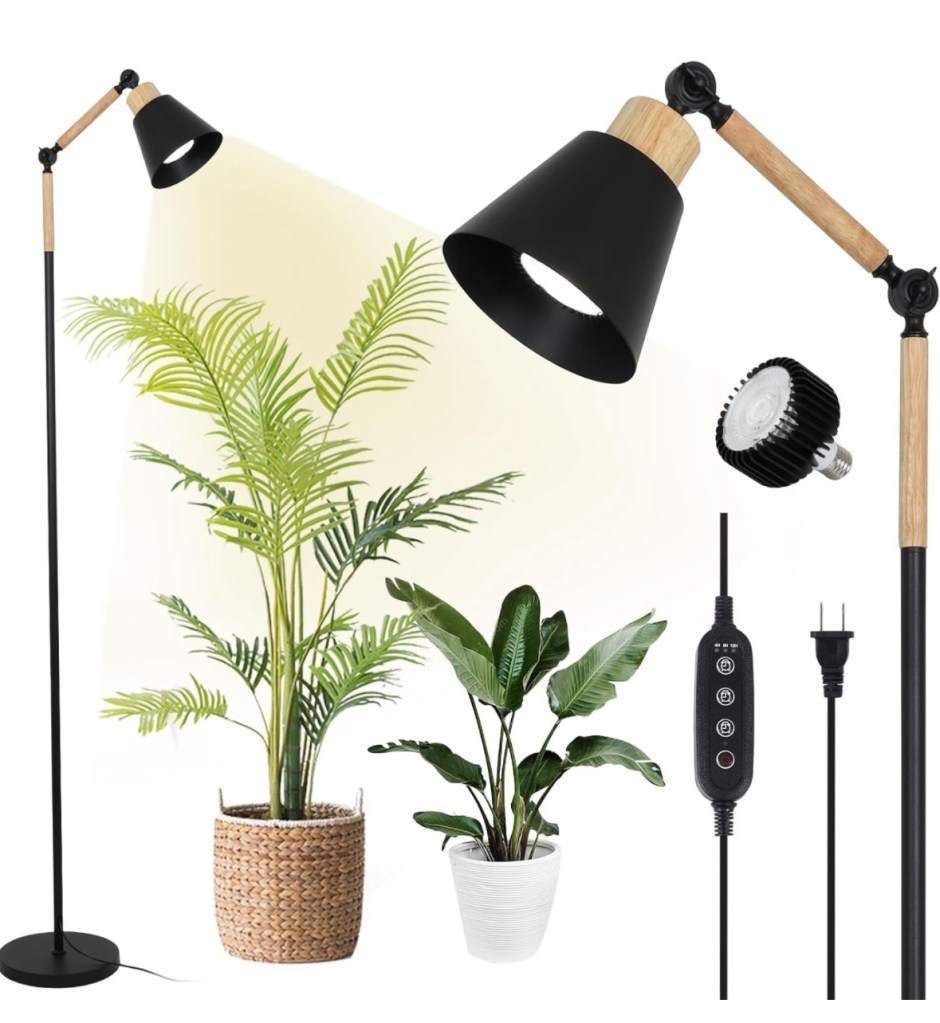
This one is for all of my plant lovers who care greatly about the aesthetic of their home AND their plants. Some grow lights can ruin the look of a room. This one, however, adds to the functional design element. I love this lamp in back of my living room where there isn’t much light.
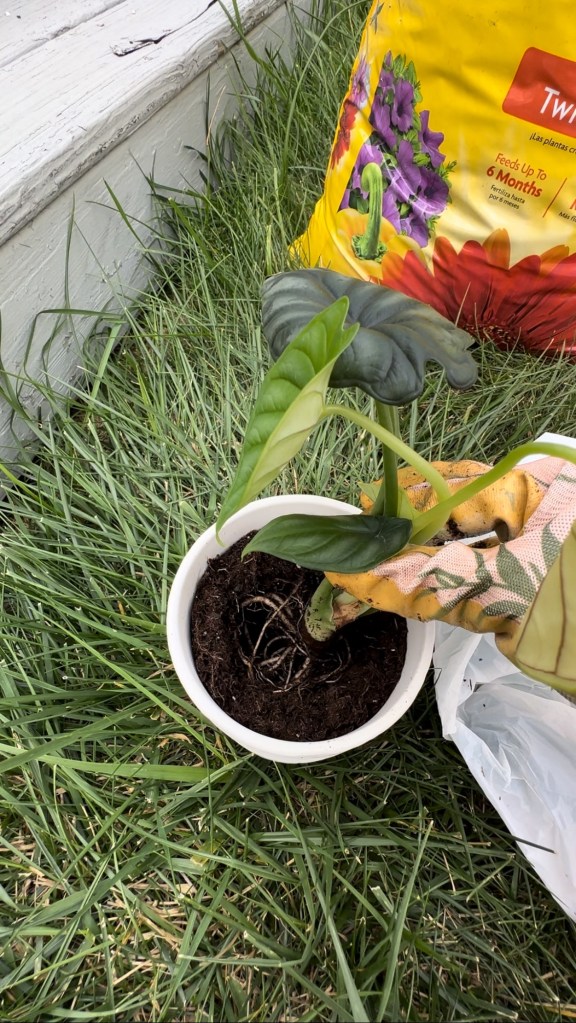
Leca Clay Pebbles

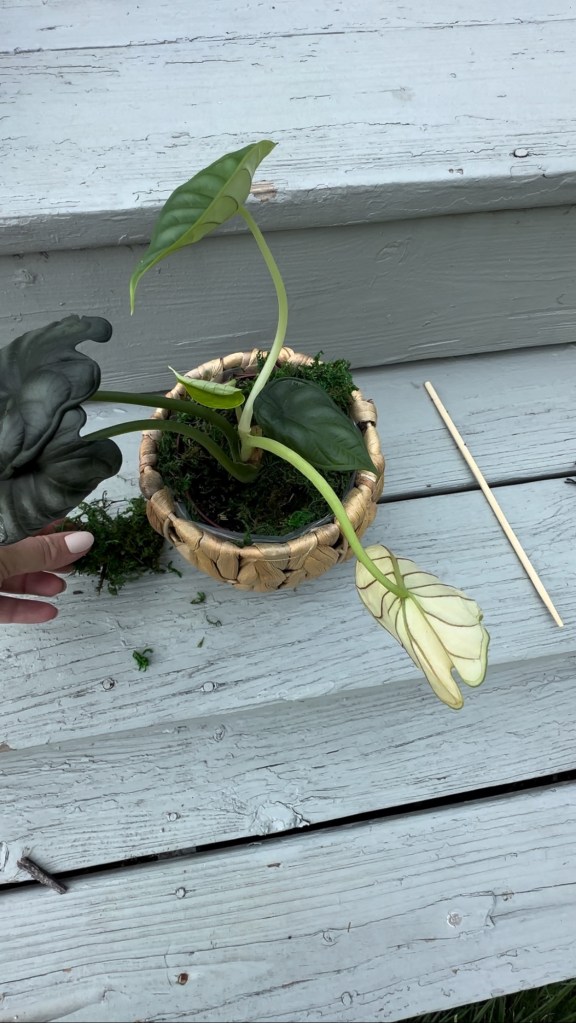
These are excellent for plants like Alocasia and orchids. They love bottom watering and these clay pebbles hold just enough water to keep them happy, but their roots won’t be too damp.
Clear Leca Pots

Since I recommended leca, I also recommend these clear, plastic nursery pots. They have excellent draining and you can easily check the roots of any plants potted in leca with these pots.