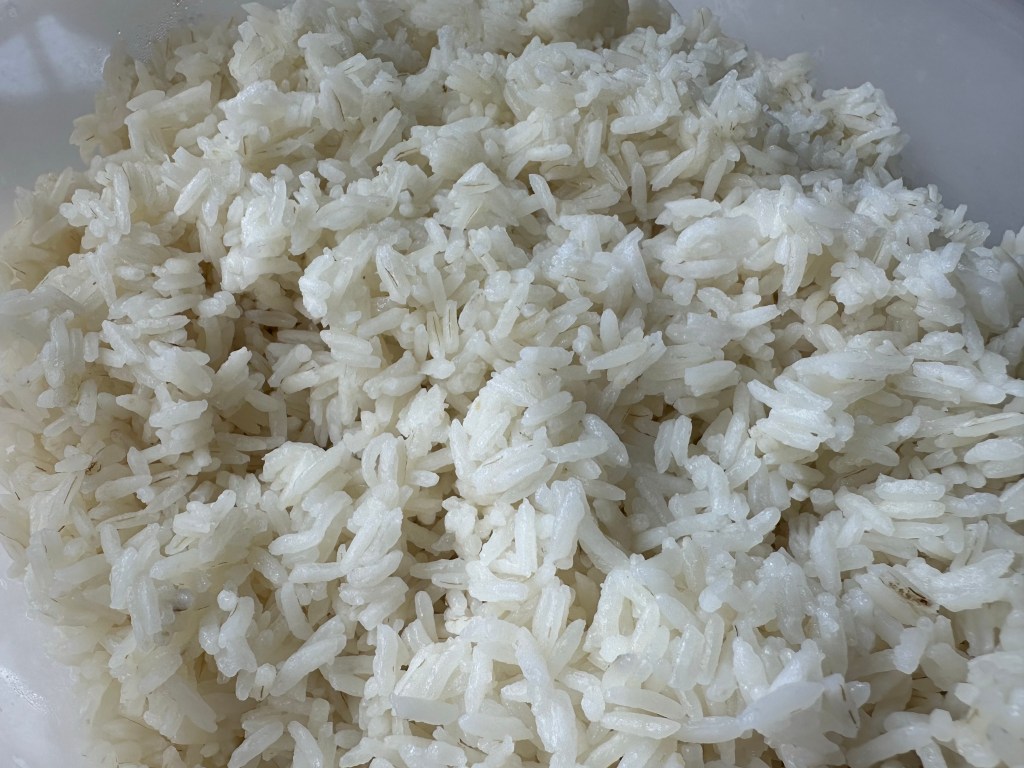
I wish I knew how easy this was so long ago! Whether you prefer instant rice, Instant Pot rice, or to boil rice this recipe is as easy as it is delicious!
Ingredients
1 cup rice, prepared per package directions (white, brown, jasmine, or basmati work great)
Juice of 1/2 lime
1/4 cup finely chopped cilantro
1 tsp salt (if none was used during rice preparation)
2 tsp olive oil
Directions
Cook rice per package directions.
Add remaining ingredients to rice and stir well to incorporate.
I love birria tacos, but they intimidate me! This is a cheater recipe, so if you’re looking for a legitimate birria recipe, sorry, but this isn’t it! This recipe uses an easy Slow Cooker Mississippi Pot Roast recipe to make this a quick and easy weeknight meal. Pair it with black beans or cilantro lime rice and you can skip the restaurant! If you love your birria tacos extra crispy, skip the frying pan and use an air fryer!
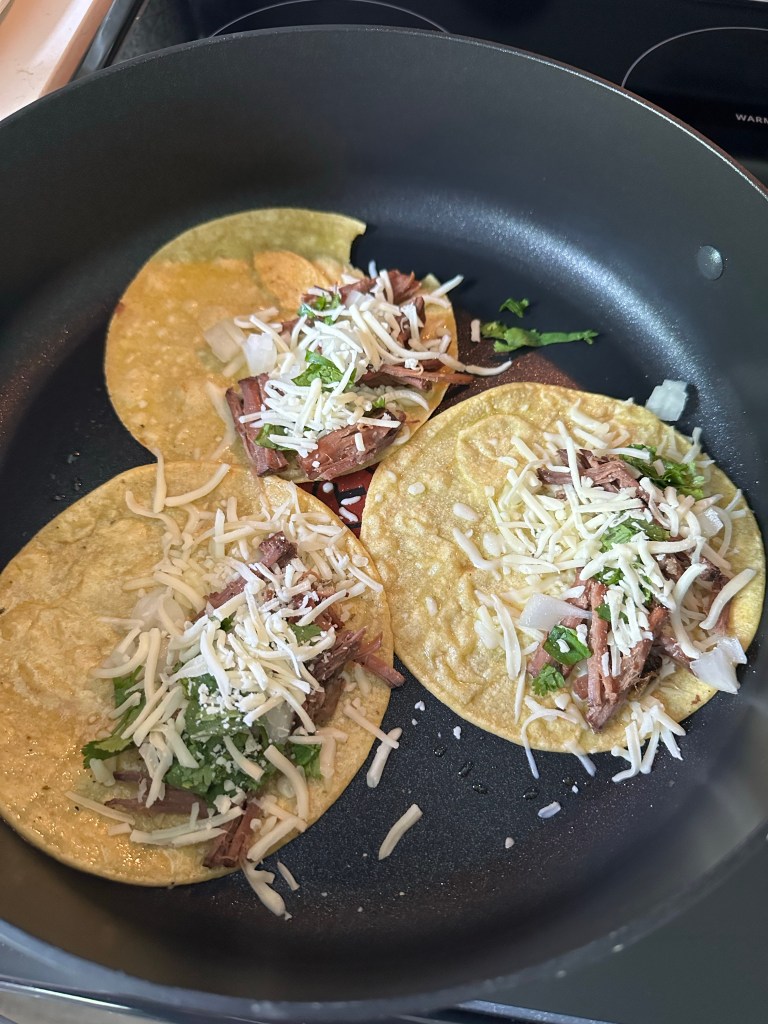
Heat a frying pan to medium heat. Dip each side of a corn tortilla into the drippings from the roast beef and add to the heated pan.
Add a small amount of shredded cheese, meat, more shredded cheese, and any other additions such as cilantro or chopped onion to one side of the tortilla.
Fold the tortilla over and allow the taco to heat until crispy on one side. Once crispy, flip to the other side.
Remove from pan once both sides of the tacos are crispy and repeat with additional tacos.
Serve immediately with desired toppings and sides.
Air Fryer Directions
Preheat the air fryer to 400 degrees F.
Dip each corn tortilla in the Mississippi pot roast drippings making sure to coat each side.
Place the tortillas in the air fryer. Place cheese on one side of the tortilla, top with 1-2 Tbsps of beef, then top with some additional cheese. Fold the tortillas over to form the taco.
Air fry the tacos at 400 degrees F for 4-8 minutes, flipping half way through until the cheese is melted and the tacos reach a desired crispiness.
Remove the tacos and serve with the desired toppings.
As I was listening to a podcast the other day (I know you’re interested in what I was listening to now, aren’t you? Shout out to Office Ladies!) a guest mentioned that their favorite thing to make was dough made out of self rising flour and Greek yogurt. They said the possibilities are endless from pizza dough, bagels, biscuits, anything really. I didn’t have any self rising flour on hand, so I thought I’d do some Googling for other options with Greek yogurt.
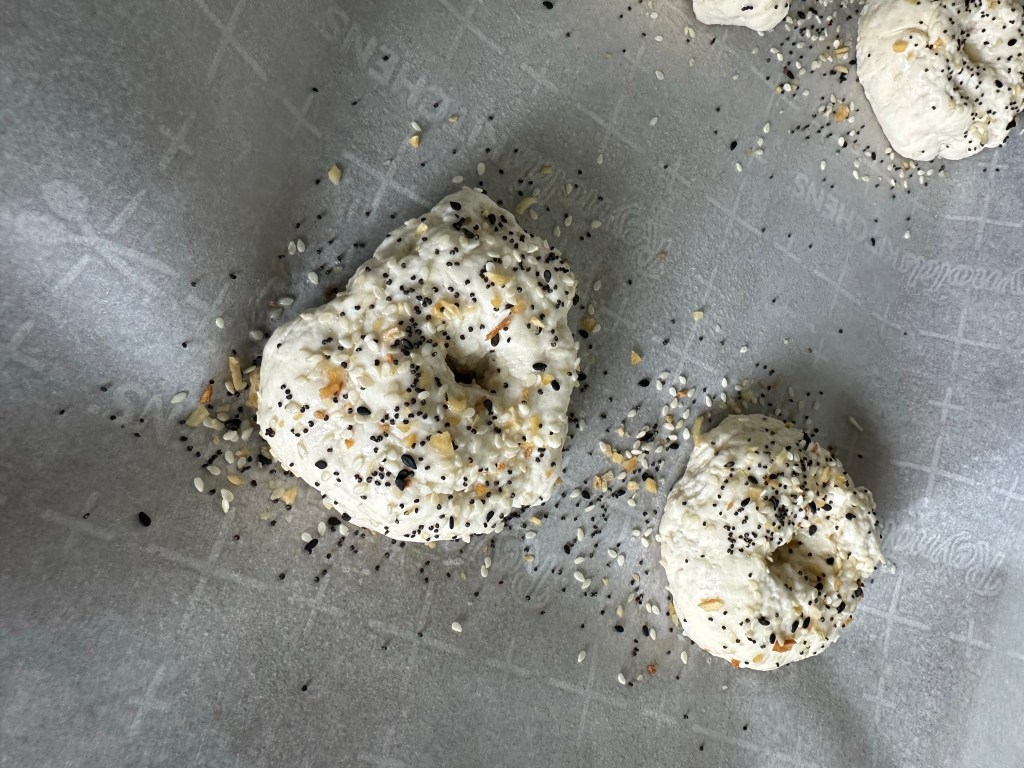
What I found was a recipe from skinnytaste. This recipe can only be described as a bagel that resembles a Red Lobster Cheddar Bay biscuit. I honestly don’t know any other way to describe these bagels. They are absolutely delicious! You can customize them any way you choose-plain, everything, poppyseed, sesame seed, anything goes!
Ingredients
1 cup unbleached all purpose flour
2 tsp baking powder
3/4 teaspoon kosher salt (less if using table salt)
Preheat oven to 375F. Place parchment paper on a baking sheet. Spray with oil to avoid sticking.
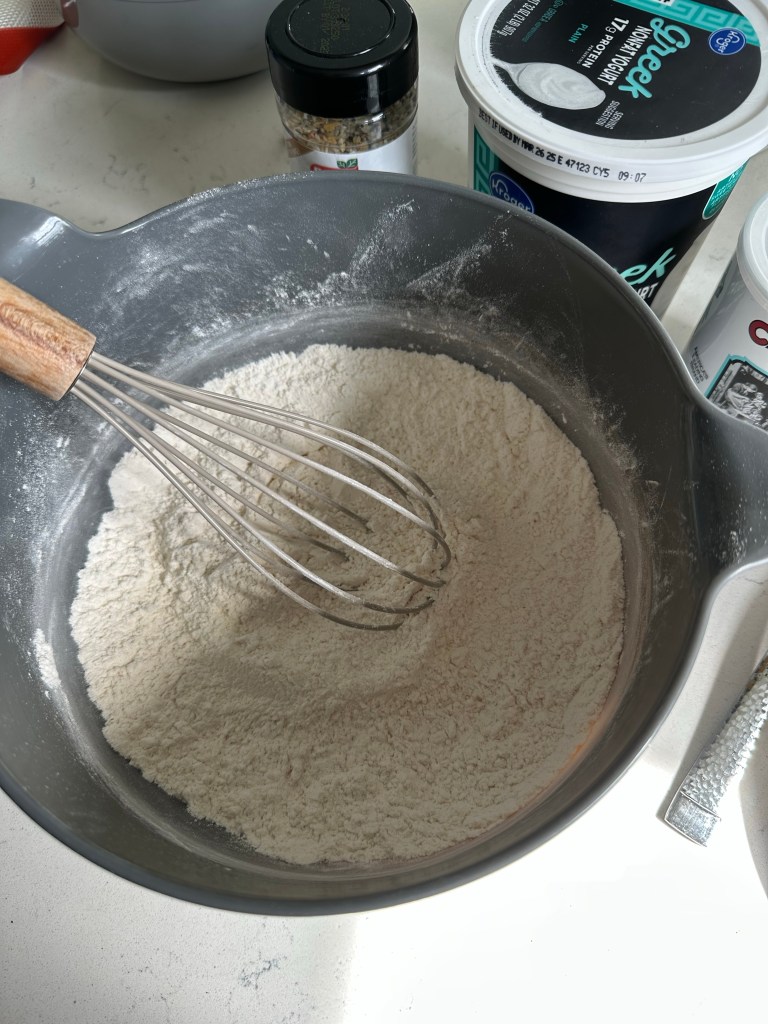
In a medium bowl combine the flour, baking powder and salt and whisk well. Add the yogurt and mix with a fork or spatula until well combined, it will look like small crumbles.
Lightly dust flour on a work surface and remove dough from the bowl, knead the dough a few times until dough is tacky, but not sticky, about 15 turns (it should not leave dough on your hand when you pull away).
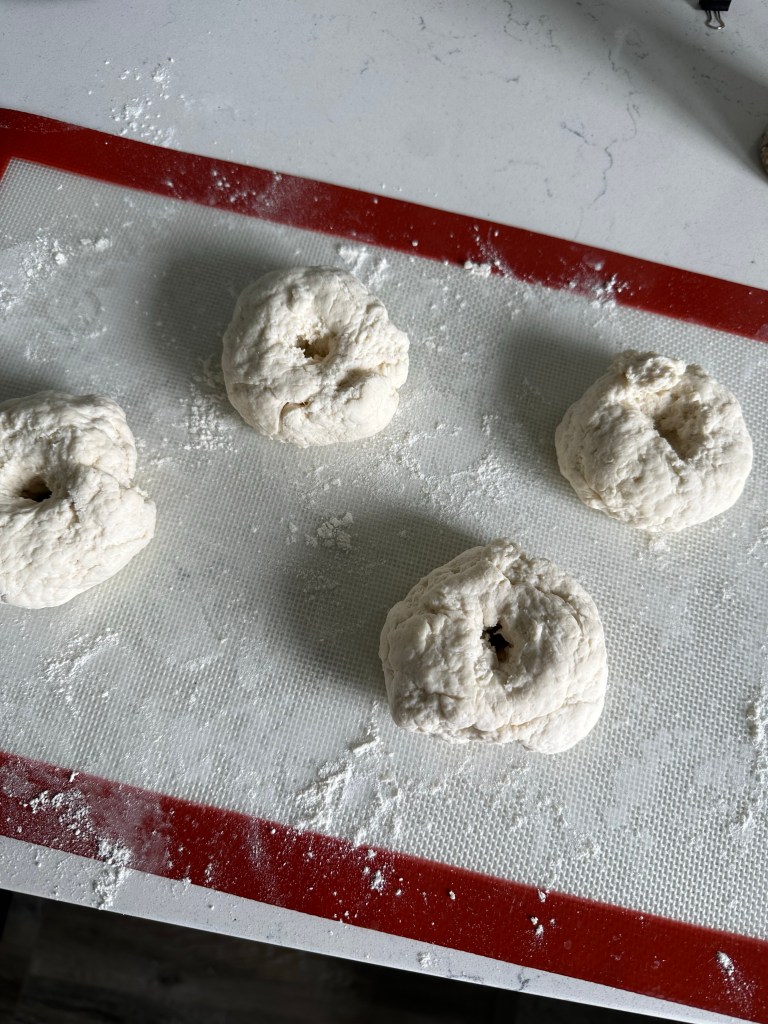
Divide into 4 equal balls. Roll each ball into 3/4-inch thick ropes and join the ends to form bagels (or make a ball and poke a hole in the center then stretch it slightly).
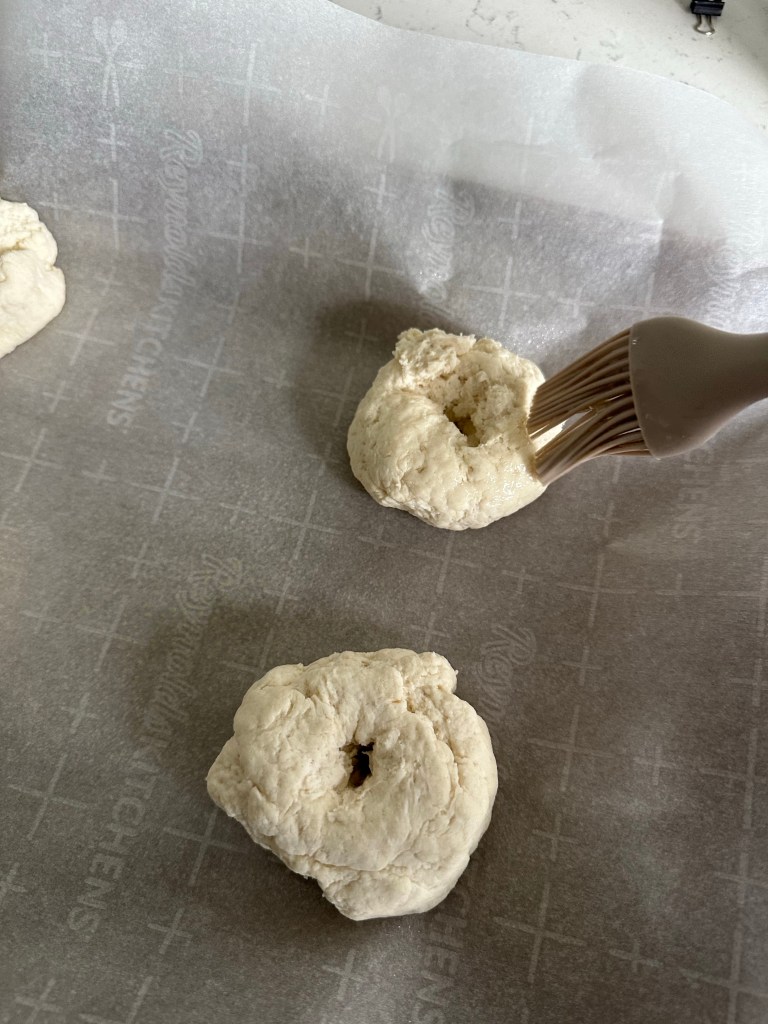
Top with egg wash and sprinkle both sides with seasoning of your choice. Bake on the top rack of the oven for 25 minutes. Let cool at least 15 minutes before cutting.
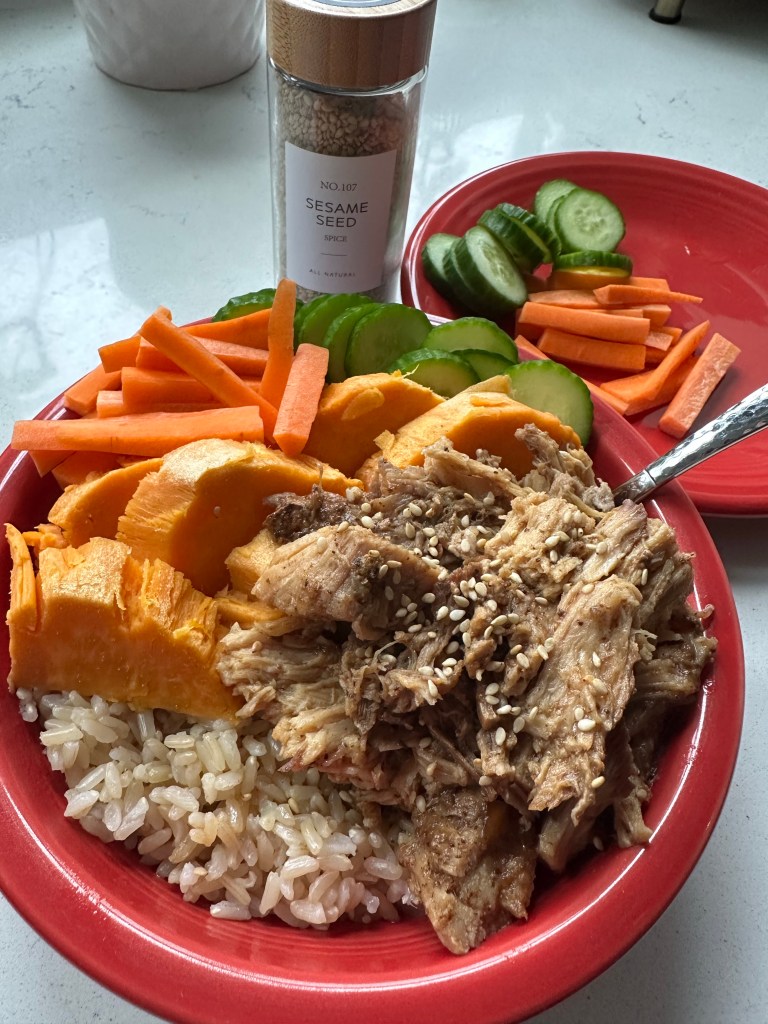
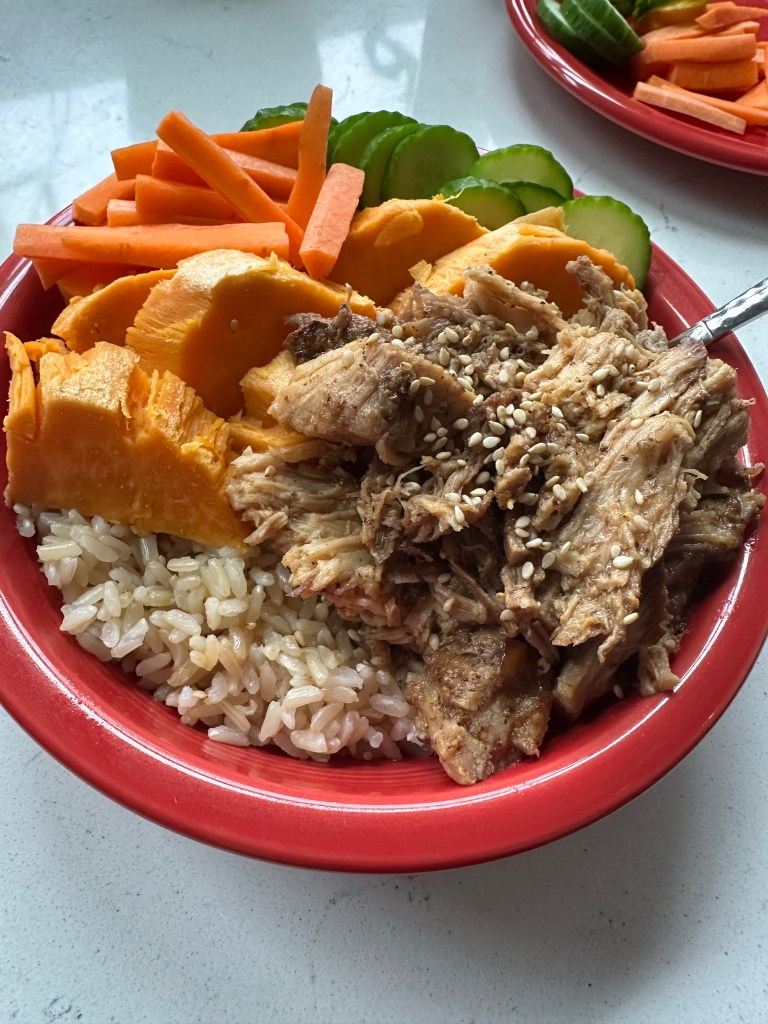
I never quite know how to prepare pork, so I continually search for new ways to use pork as a main protein in dishes. These pork bowls come together quickly and are great if you have leftover pork. I love using a slow cooker pork recipe for these bowls.
Ingredients
Pork (see this easy slow cooker pork recipe for inspiration)
Desired vegetables: fresh spinach, cucumber, red onion, squash or zucchini, sweet potato, hash brown potatoes, cabbage (red or green), carrots, edamame, snow peas, or any other desired vegetables
Preferred rice (horrible at cooking rice? No problem! Check out these simple rice tips for Instant Pot rice)
Glass noodles (optional)
Other protein of choice (optional)-fried, boiled, soft boiled eggs, diced chicken, and beef are great options
Sesame seeds for garnish (if desired)
Sauces-add your favorite Yum Yum, hoisin, or teriyaki sauce for more flavor
Directions
Add all ingredients to the bowl and ENJOY! This meal is great because it is so customizable. There is something for everyone in this dish and it’s a great quick meal with things you already have on hand.
I always purchase pork loins when they’re on sale and they travel to the back of the deep freeze never to be seen again. Every time I try something different I’m disappointed. I finally found this recipe from foodess that I adapted that works great to make Easy Pork Quesadillas or Pork Rice Bowls. The sauce is simple and the dry rub adds so much flavor!
Ingredients
Slow Cooker Liquid
½ cup chicken broth
¼ cup soy sauce
1 large onion sliced
Pork
4 lb pork loin cut in half as needed to fit in slow cooker
3 tsp kosher salt
1 tsp ground black pepper
1 tsp garlic powder
1 tsp onion powder
2 Tbsp avocado oil
Sauce
¼ cup balsamic vinegar
3 Tbsp honey
4 tsp minced garlic 4 large cloves
2 Tbsp butter
Directions
Prepare slow cooker cooking liquid:
Add the chicken broth, soy sauce and sliced onion to slow cooker and give it a stir.
Prepare pork:
Mix salt, pepper, garlic powder, and onion powder. Rub this mixture over the pork loin.
Cook:
In a small bowl, whisk together the balsamic vinegar, honey and garlic.
Place the pork loin on top (fat-side up) of the onions and brush the pork all over with this balsamic vinegar mixture.
Cook on low for 6-8 hours or on high for 3-4 hours. Once done, the pork will be fall-apart tender and delicious. Transfer pork to a serving platter.
Whisk butter into the liquid left in the slow cooker. This turns it into a glossy sauce to serve with the pork. Add salt and pepper if desired.
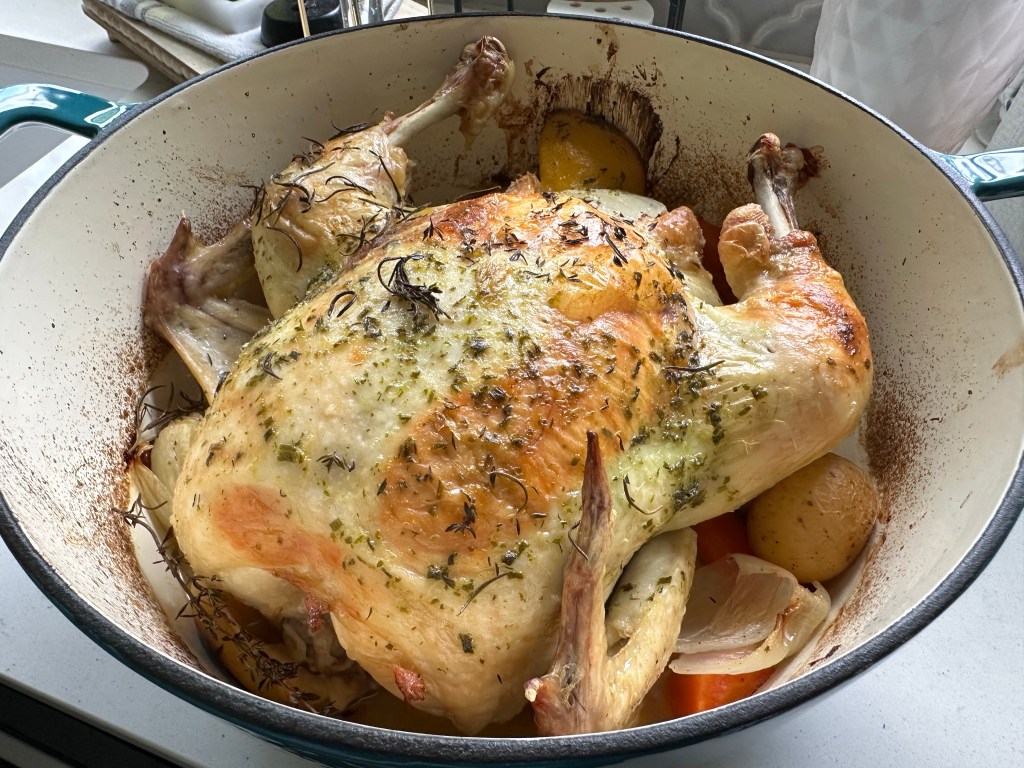
As much as I love grabbing a rotisserie chicken while I’m picking up groceries, there’s just nothing like a homemade roasted chicken. I have adapted this recipe from Cooking for My Soul, which is simple and flavorful and it’s my go-to when I want to roast a whole chicken. The best part of this recipe is you can save the carcass and vegetable scraps to make homemade bone broth later!
Ingredients
Vegetable Bed
9-12 small potatoes (I prefer Little Duos or Little Trios from The Little Potato Company for some variety)
3 medium carrots, peeled and cut into chunks
2 medium yellow onions, peeled and quartered
Olive oil
Salt and pepper to taste
Chicken
1 5-pound whole chicken – giblets removed
1 stick herbed butter
1 medium yellow onion, peeled and quartered
5 sprigs fresh rosemary, divided
5 sprigs fresh thyme, divided
Directions
Preheat oven to 425 degrees F.
Place the cut up vegetables for the vegetable bed (potatoes, carrots, onions) in the bottom of a large 7-8 quart Dutch oven pot. Toss with a few drizzles of olive oil, plus salt and pepper to taste. Set aside.
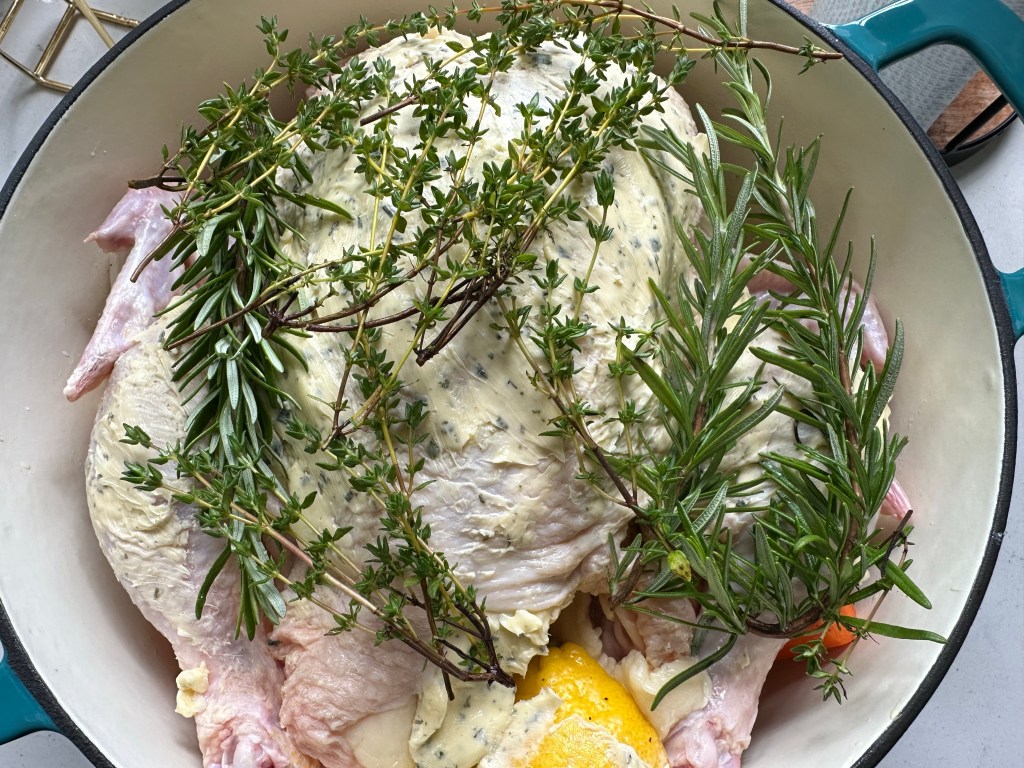
Pat the chicken dry with paper towel thoroughly, including inside the cavity. Rub half of the herbed butter under the skin (carefully separate the skin from the flesh to create “pockets” for the butter, mainly around the breast and legs). Then, rub the remaining half butter on the outside, all over the top, legs, and wings. Tip: Patting dry the chicken thoroughly will help you get crispier skin.
Stuff the cavity of the chicken with 1 quartered and peeled onion, 2 sprigs fresh rosemary, and 2 sprigs fresh thyme.
Place the prepared chicken in a roasting pan, breast side up. Tuck in wings under the chicken, or clip the wing tips to prevent them from burning. Place the remaining 3 sprigs of rosemary and 3 sprigs of thyme around the chicken.
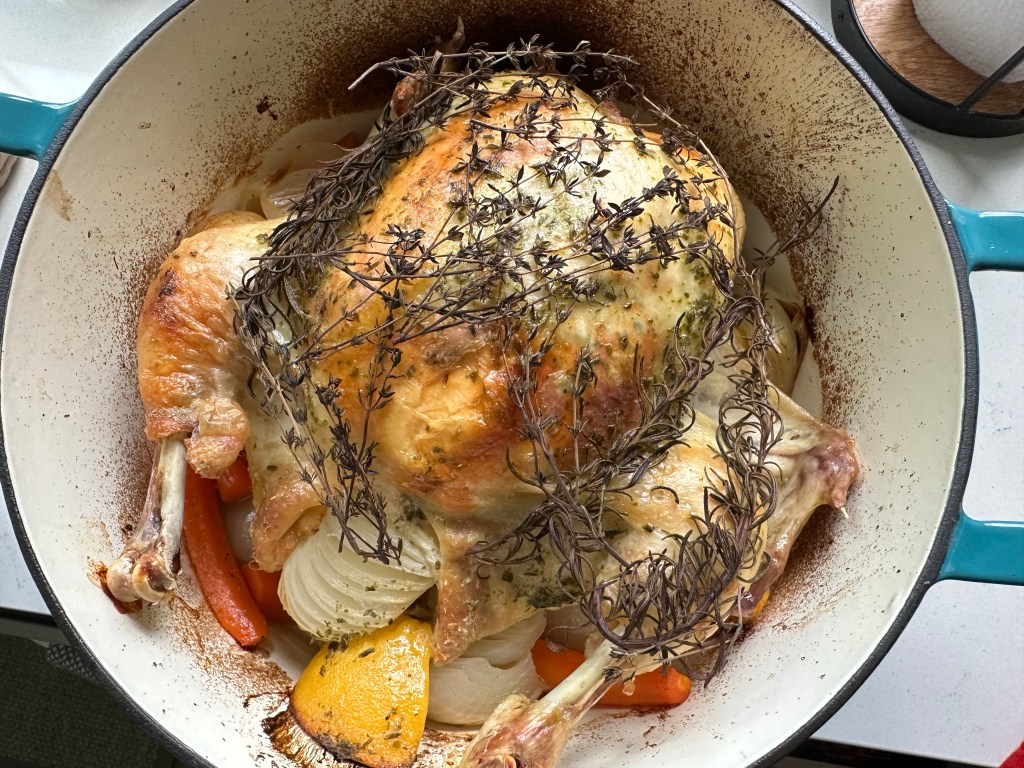
Cover with the lid securely, and roast for 1 hour and 15 minutes COVERED. Then, UNCOVER and roast for another 30 minute to allow the skin to crisp up and turn more golden brown. If the vegetables look like they are burning, add a few splashes of chicken broth. It’s ready when a meat thermometer inserted in the thickest part of the thigh registers 165 degrees F. Tip: Avoid opening the oven too much to prevent the heat from escaping. If needed, rotate the chicken if you notice certain spots browning more, or tent any spots that are browning too fast with aluminum foil.
Let it rest in the Dutch oven for 15 minutes before serving, along with the vegetables. Serve and enjoy!
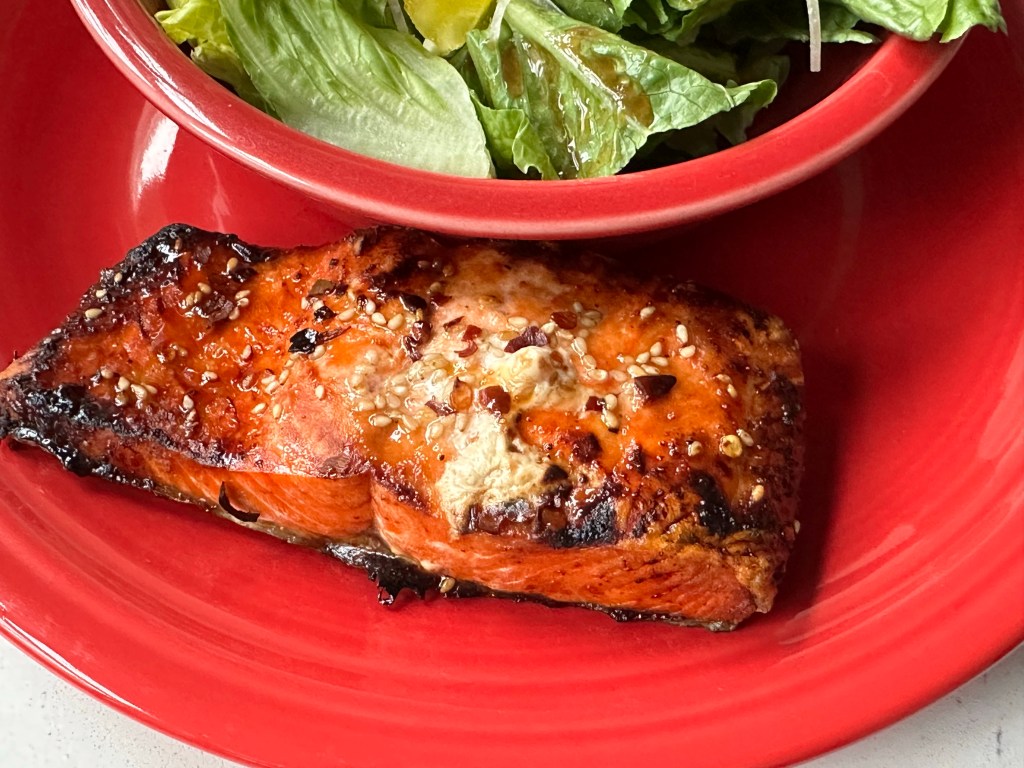
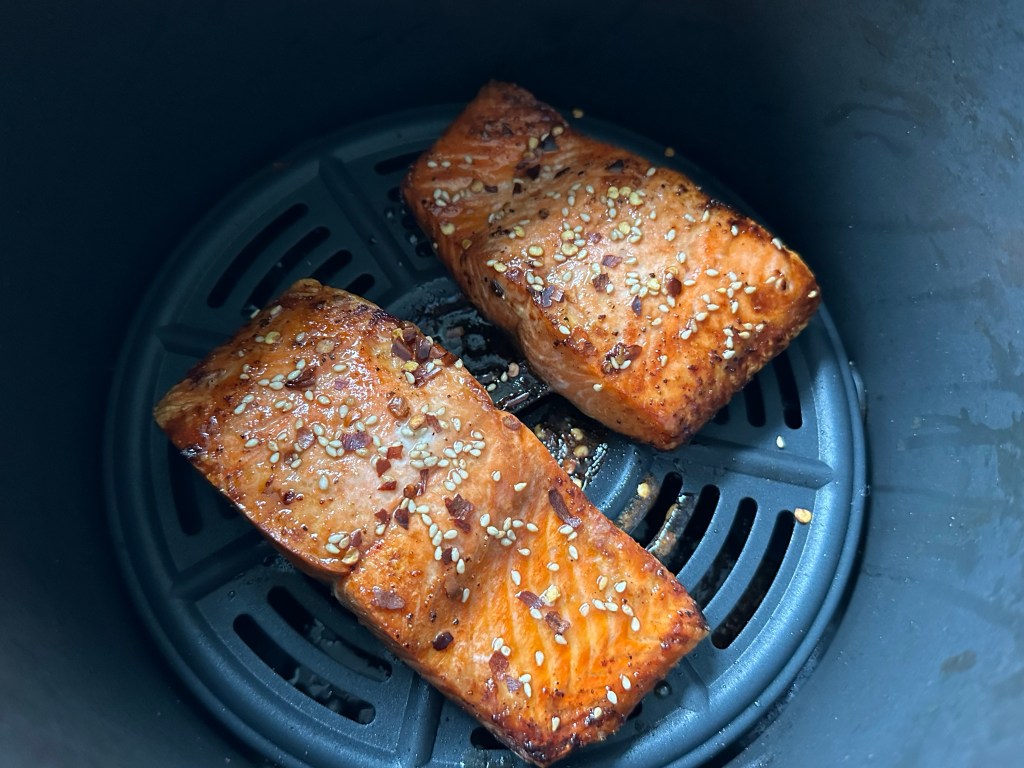
The air fryer has changed my life! Ok, well, it has changed my diet and has made me a little more culinarily adventurous at least… I found this recipe from Healthy Fitness Meals and it is SO good!
Ingredients
4 salmon fillets, skin on
1 Tbsp low-sodium soy sauce
1½ tsp toasted sesame oil
¼ tsp kosher salt, or to taste
⅛ tsp ground pepper, or to taste
1 Tbsp honey
1 tsp sesame seeds
¼ tsp crushed chili flakes, or to taste
Directions
Place the salmon fillets into a shallow dish. Whisk soy sauce, oil, salt, and pepper in a small mixing bowl.
Pour the dressing over the salmon fillets and gently rub all over the fish. Allow it to marinate in the refrigerator for 15 minutes.
Meanwhile, preheat the air fryer to 425°F.
Place the fillets into the air fryer basket, skin side down, and cook at 400°F for 8 minutes.
Lightly brush with honey and sprinkle with sesame seeds and chili flakes. Cook for an additional 2 minutes. Serve with your favorite side.
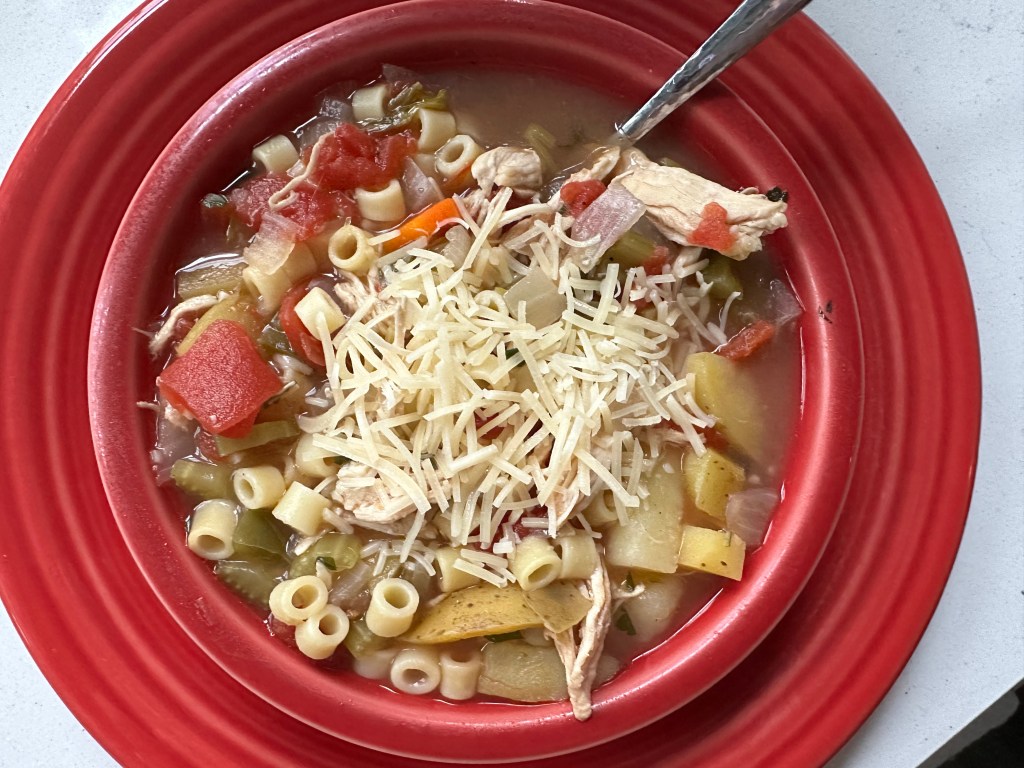
This is hands down one of my favorite soups! It’s right up there with Zuppa Toscana and has a great bite to it from the white pepper this recipe calls for from Food.com.
2 Tbsp white pepper (this is what gives the soup its kick, so if you don’t prefer a spicy soup, halve this amount or add according to taste)
1 1/2 Tbsp black pepper
1 1/2 Tbsp salt
2 lbs ditalini, as needed when serving or other small pasta of choice
Directions
In a large stockpot (16 quart minimum / 20 quart recommended), heat olive oil medium-low to medium heat.
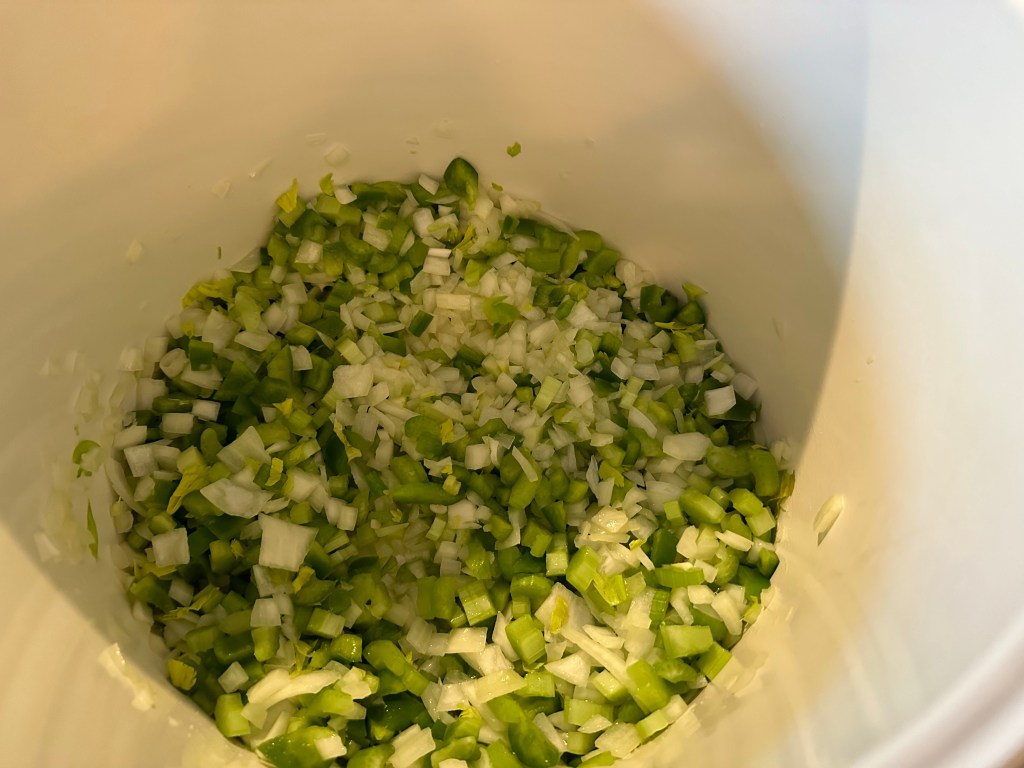
“Sweat” onion, celery, green pepper, and some salt (to draw off moisture) for about 30 minutes — this is lower than browning and makes the veggies somewhat translucent. Cover and mix every few minutes to prevent browning.
Add carrots, garlic, some white pepper, and some black pepper and continue to heat under “sweat” conditions while mixing now and then.
Add chicken stock, chicken breasts, tomatoes, potatoes, and more white and black pepper. Cover and simmer on low heat for 1.5 to 2 hours.
Remove chicken and let stand to cool to shred.
Add chopped parsley to pot and return the shredded chicken to the soup.
Salt to taste and add more white and black pepper if desired.
After searching for what seems like forever for a tried and true way of making rice, this is it! I found this recipe from Green Healthy Living and it’s foolproof! I use this recipe for all types of rice and it has really upped my chicken fried rice game.
Ingredients
1 cup rice (any kind will do-adjust cooking time according to rice type listed in directions below)
1 cup water
1/2 tsp salt
Directions
Rinse rice thoroughly using a fine mesh strainer. Add all ingredients into the Instant Pot. Double, triple or quadruple all ingredients in same amounts if a larger portion is desired.
Make sure sealing ring is placed properly in lid, add lid, turn shut and turn knob to sealing position.
Cook on high pressure for the number of minutes instructed below depending on the type of rice:
White Rice (Basmati or Jasmin): 3 minutes
White Sushi Rice: 5 minutes
Brown Rice (Basmati): 22 minutes
Short Grain Brown Rice: 24 minutes
Red Rice: 30 minutes
Wild Rice Blend: 28 minutes
Wild Rice: 30 minutes
Black Pearl Rice: 30 minutes
Natural Pressure Release until pin drops. Takes on average 9-12 minutes (max. 18 minutes for 1 cup and max 30 mins for 4 cups).
Remove all rice from pot immediately to avoid it sticking to the bottom. If needing to keep warm, leave rice in pot after natural pressure release without opening the lid to avoid steam being released and drying out the rice, which makes it stick to the bottom.