I wish I knew how easy this was so long ago! Whether you prefer instant rice, Instant Pot rice, or to boil rice this recipe is as easy as it is delicious!
Ingredients
1 cup rice, prepared per package directions (white, brown, jasmine, or basmati work great)
Juice of 1/2 lime
1/4 cup finely chopped cilantro
1 tsp salt (if none was used during rice preparation)
2 tsp olive oil
Directions
Cook rice per package directions.
Add remaining ingredients to rice and stir well to incorporate.
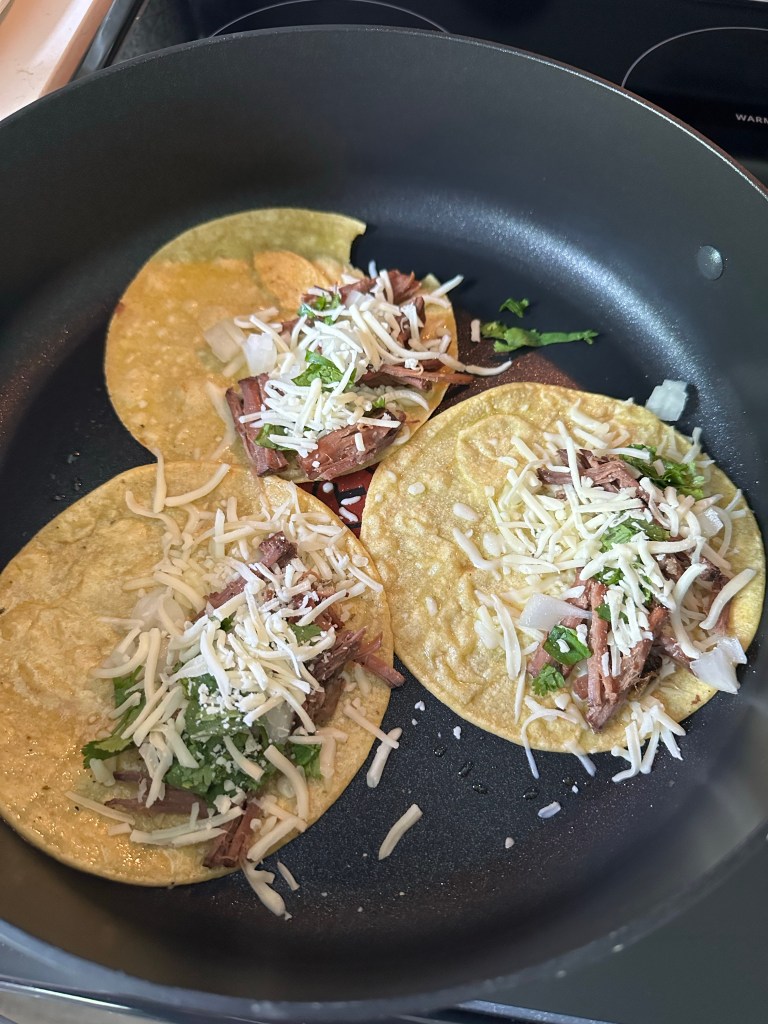
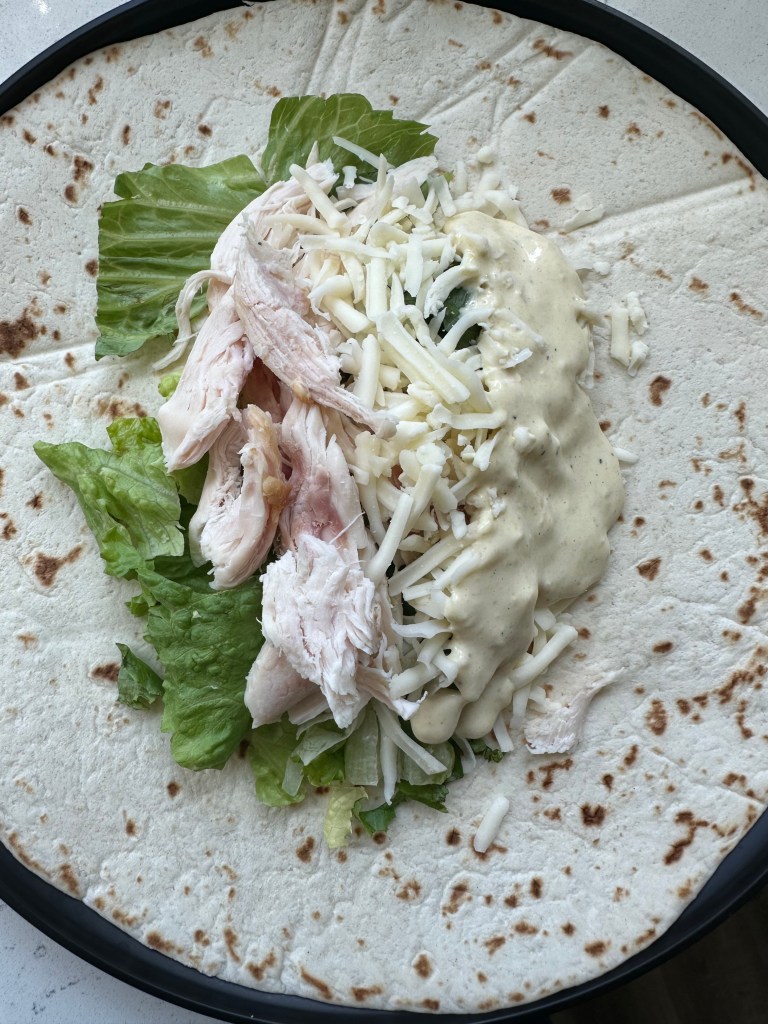
I love birria tacos, but they intimidate me! This is a cheater recipe, so if you’re looking for a legitimate birria recipe, sorry, but this isn’t it! This recipe uses an easy Slow Cooker Mississippi Pot Roast recipe to make this a quick and easy weeknight meal. Pair it with black beans or cilantro lime rice and you can skip the restaurant! If you love your birria tacos extra crispy, skip the frying pan and use an air fryer!
Heat a frying pan to medium heat. Dip each side of a corn tortilla into the drippings from the roast beef and add to the heated pan.
Add a small amount of shredded cheese, meat, more shredded cheese, and any other additions such as cilantro or chopped onion to one side of the tortilla.
Fold the tortilla over and allow the taco to heat until crispy on one side. Once crispy, flip to the other side.
Remove from pan once both sides of the tacos are crispy and repeat with additional tacos.
Serve immediately with desired toppings and sides.
Air Fryer Directions
Preheat the air fryer to 400 degrees F.
Dip each corn tortilla in the Mississippi pot roast drippings making sure to coat each side.
Place the tortillas in the air fryer. Place cheese on one side of the tortilla, top with 1-2 Tbsps of beef, then top with some additional cheese. Fold the tortillas over to form the taco.
Air fry the tacos at 400 degrees F for 4-8 minutes, flipping half way through until the cheese is melted and the tacos reach a desired crispiness.
Remove the tacos and serve with the desired toppings.
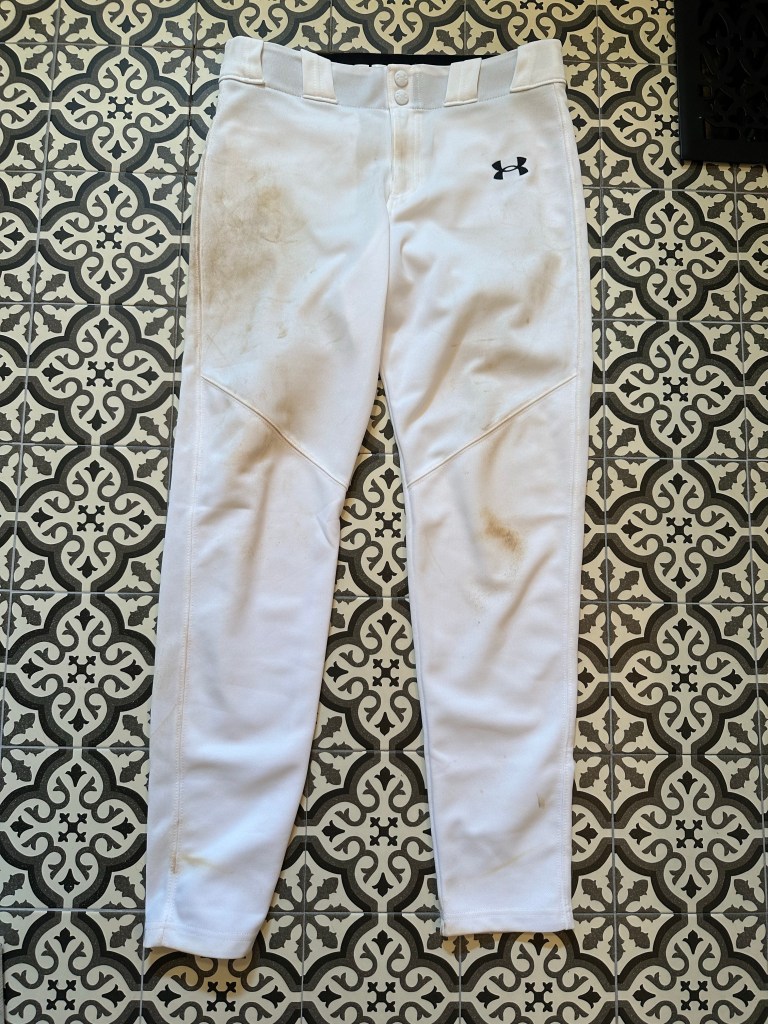
If you know me at all, you know my hatred of white baseball pants. I protest them so loudly I even proudly wear my “Moms Against White Baseball Pants” to many games. Even with all of my protesting, here we are with white baseball pants since they were required on past teams.
If you’re part of the white baseball pants club, here are some of my tried and true tips to keep them sparkling white!
Treat and Presoak
Home Depot and Lowe’s buckets aren’t just handy for home projects. They’re a critical part of my laundry arsenal. Add a bit of powdered Biz into the 5 gallon bucket and fill it with warm water. Spray any stains on the pants liberally with Shout. Allow the pants to soak 24 hours.
Regular Wash
Add the pants to the washing machine after soaking with regular detergent as usual. Add a small amount of powdered Oxy Clean White Revive to the washing machine drum and wash as normal in a slightly warm or warm cycle. If any stains persist, spray with Shout again and scrub and wash with Oxy Clean White Revive again.
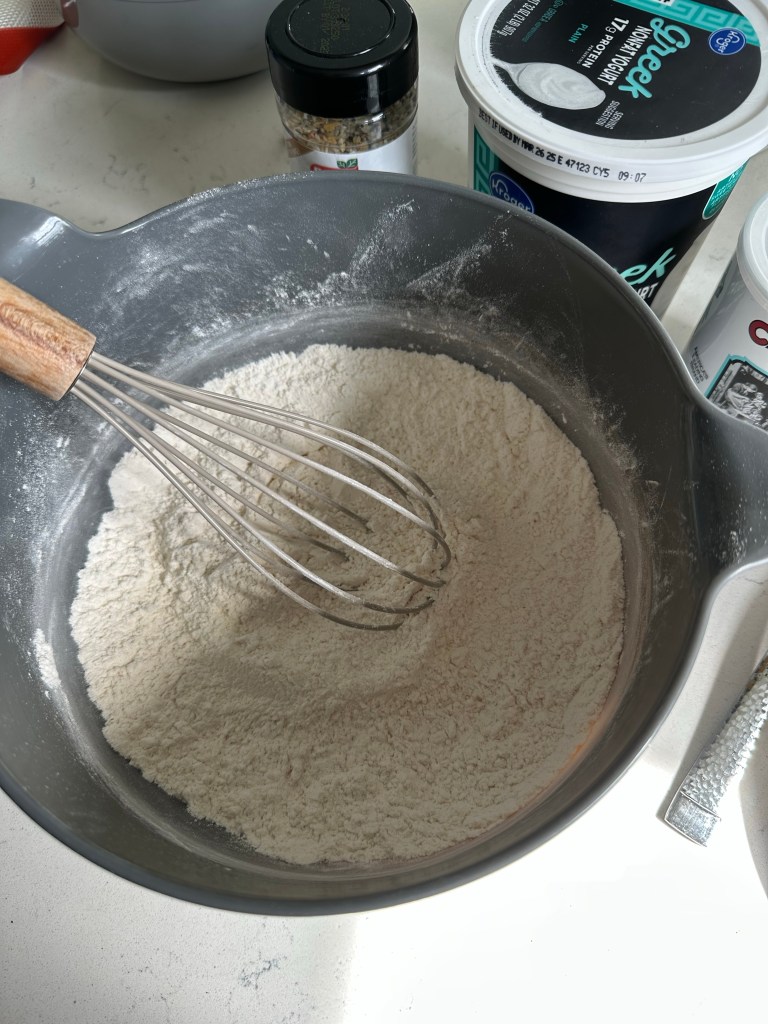
As I was listening to a podcast the other day (I know you’re interested in what I was listening to now, aren’t you? Shout out to Office Ladies!) a guest mentioned that their favorite thing to make was dough made out of self rising flour and Greek yogurt. They said the possibilities are endless from pizza dough, bagels, biscuits, anything really. I didn’t have any self rising flour on hand, so I thought I’d do some Googling for other options with Greek yogurt.
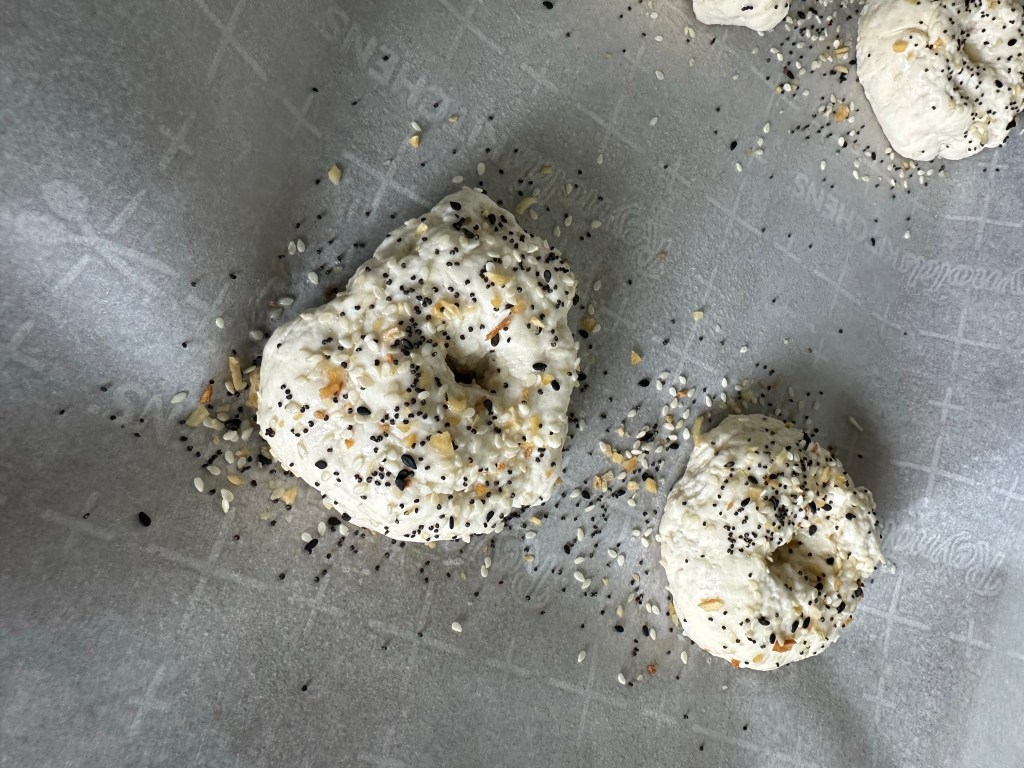
What I found was a recipe from skinnytaste. This recipe can only be described as a bagel that resembles a Red Lobster Cheddar Bay biscuit. I honestly don’t know any other way to describe these bagels. They are absolutely delicious! You can customize them any way you choose-plain, everything, poppyseed, sesame seed, anything goes!
Ingredients
1 cup unbleached all purpose flour
2 tsp baking powder
3/4 teaspoon kosher salt (less if using table salt)
Preheat oven to 375F. Place parchment paper on a baking sheet. Spray with oil to avoid sticking.
In a medium bowl combine the flour, baking powder and salt and whisk well. Add the yogurt and mix with a fork or spatula until well combined, it will look like small crumbles.
Lightly dust flour on a work surface and remove dough from the bowl, knead the dough a few times until dough is tacky, but not sticky, about 15 turns (it should not leave dough on your hand when you pull away).
Divide into 4 equal balls. Roll each ball into 3/4-inch thick ropes and join the ends to form bagels (or make a ball and poke a hole in the center then stretch it slightly).
Top with egg wash and sprinkle both sides with seasoning of your choice. Bake on the top rack of the oven for 25 minutes. Let cool at least 15 minutes before cutting.
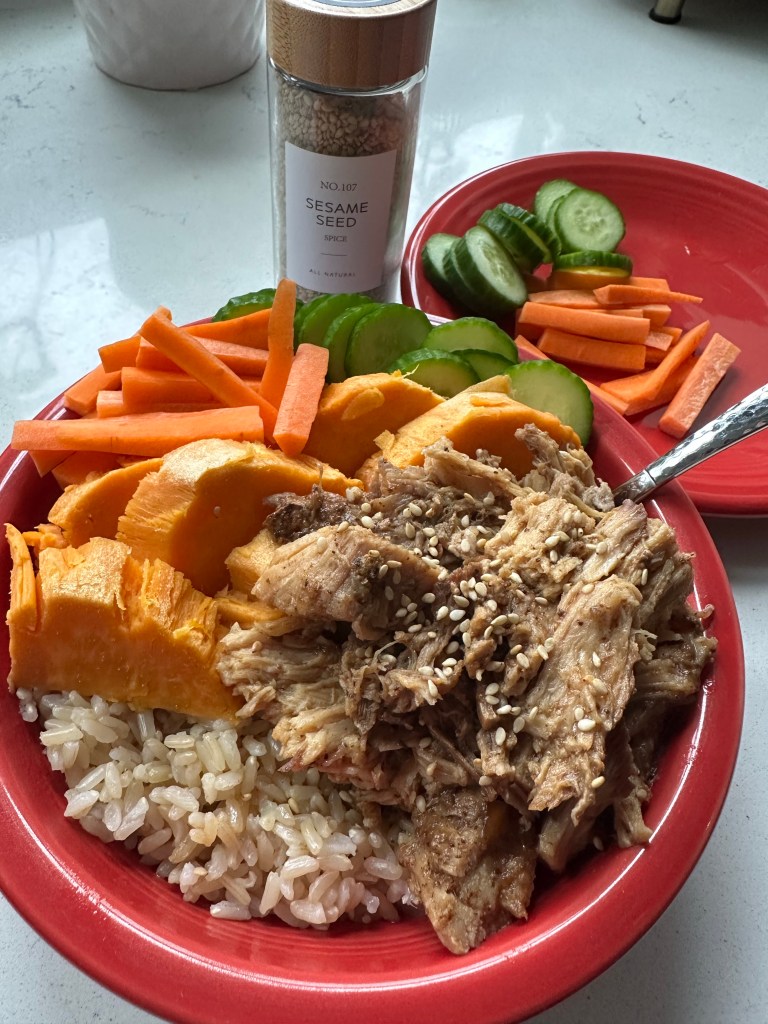
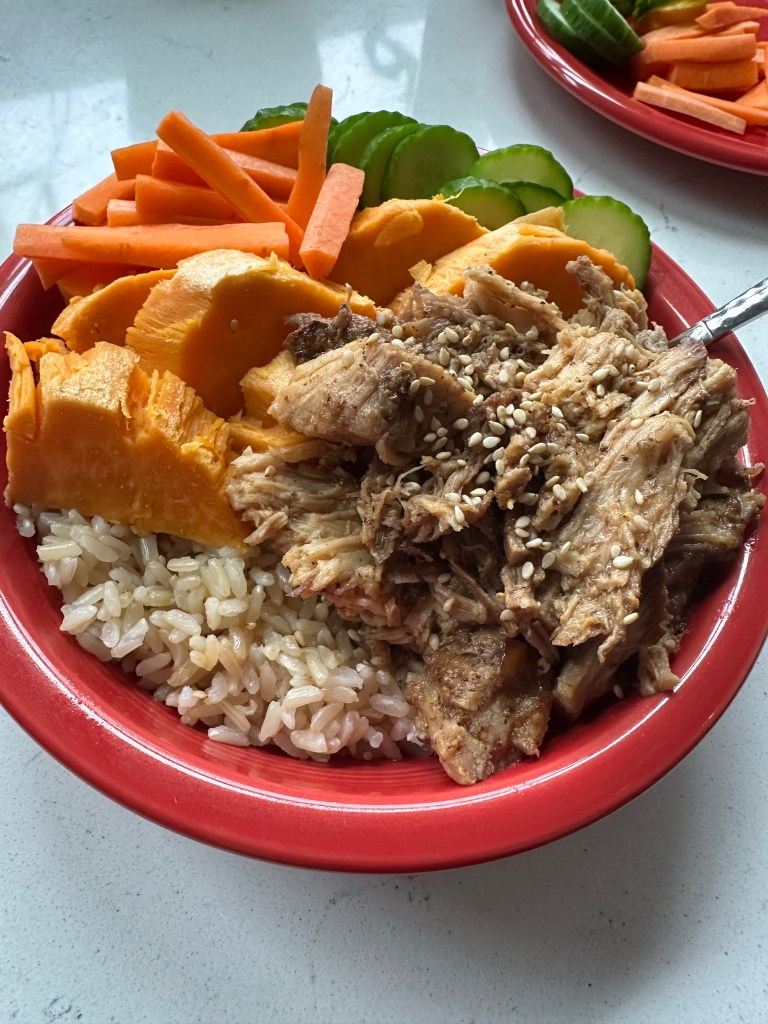
I never quite know how to prepare pork, so I continually search for new ways to use pork as a main protein in dishes. These pork bowls come together quickly and are great if you have leftover pork. I love using a slow cooker pork recipe for these bowls.
Ingredients
Pork (see this easy slow cooker pork recipe for inspiration)
Desired vegetables: fresh spinach, cucumber, red onion, squash or zucchini, sweet potato, hash brown potatoes, cabbage (red or green), carrots, edamame, snow peas, or any other desired vegetables
Preferred rice (horrible at cooking rice? No problem! Check out these simple rice tips for Instant Pot rice)
Glass noodles (optional)
Other protein of choice (optional)-fried, boiled, soft boiled eggs, diced chicken, and beef are great options
Sesame seeds for garnish (if desired)
Sauces-add your favorite Yum Yum, hoisin, or teriyaki sauce for more flavor
Directions
Add all ingredients to the bowl and ENJOY! This meal is great because it is so customizable. There is something for everyone in this dish and it’s a great quick meal with things you already have on hand.
I always purchase pork loins when they’re on sale and they travel to the back of the deep freeze never to be seen again. Every time I try something different I’m disappointed. I finally found this recipe from foodess that I adapted that works great to make Easy Pork Quesadillas or Pork Rice Bowls. The sauce is simple and the dry rub adds so much flavor!
Ingredients
Slow Cooker Liquid
½ cup chicken broth
¼ cup soy sauce
1 large onion sliced
Pork
4 lb pork loin cut in half as needed to fit in slow cooker
3 tsp kosher salt
1 tsp ground black pepper
1 tsp garlic powder
1 tsp onion powder
2 Tbsp avocado oil
Sauce
¼ cup balsamic vinegar
3 Tbsp honey
4 tsp minced garlic 4 large cloves
2 Tbsp butter
Directions
Prepare slow cooker cooking liquid:
Add the chicken broth, soy sauce and sliced onion to slow cooker and give it a stir.
Prepare pork:
Mix salt, pepper, garlic powder, and onion powder. Rub this mixture over the pork loin.
Cook:
In a small bowl, whisk together the balsamic vinegar, honey and garlic.
Place the pork loin on top (fat-side up) of the onions and brush the pork all over with this balsamic vinegar mixture.
Cook on low for 6-8 hours or on high for 3-4 hours. Once done, the pork will be fall-apart tender and delicious. Transfer pork to a serving platter.
Whisk butter into the liquid left in the slow cooker. This turns it into a glossy sauce to serve with the pork. Add salt and pepper if desired.
After having kids, having COVID, having a major surgery, my once insanely thick, extremely healthy hair took a major hit. I felt like I’d never see it come close to its once thick and healthy self, but now that I’ve been hair and scalp oiling things are definitely turning around! I was extremely skeptical since it takes little time, the products are fairly inexpensive, and the technique couldn’t be easier.
I’ll provide you with all the steps you need to oil your way back to a healthy scalp and hair, help prevent further fallout, and regrow lost hair!
Step 1: Brush hair thoroughly
I know, I know… it sounds simple enough, but brushing your hair helps stimulate the scalp and remove any hair fallout. I prefer a boar bristle brush to help prevent damage to hair.
Step 2: Apply rosemary mint oil to scalp
This part is as simple as it sounds. Apply 12-24 drops (I empty 2-3 droppers full) of rosemary mint oil evenly to scalp. Make sure to cover all parts of the scalp you’d like to see regrowth and improve hair and scalp health.
Massage the scalp oil into the scalp using a scalp massager for 10 minutes to stimulate the scalp and help the scalp absorb the oils.
Gently twist oiled hair into a loose bun and secure using a silk scrunchy to help prevent breakage and excess hair fallout. Keep hair in this protective style 2-4 hours.
Their Ghost line of products is also excellent and I sometimes prefer Ghost Shampoo to remove all of the oils and soften hair with a clean feeling.
Step 6: Apply hair mask
After thoroughly rinsing, apply a hair mask. I love Verb products and prefer their Ghost Hair Mask for its silky, light feel.
Step 7: Style hair as normal using a light oil
Apply a very light hair oil and style as usual. I love Verb Ghost Oil because it is so light it’s hardly noticeable in hair, but protects extremely well.
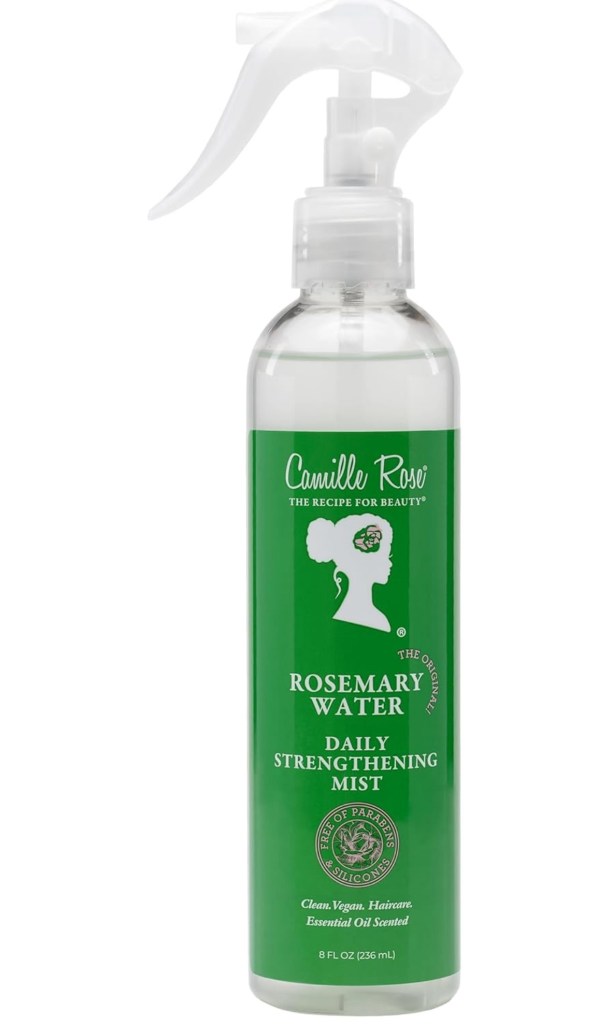
Step 8: Daily scalp massage and rosemary water
Follow up scalp oiling with 2 minute scalp massages daily and a light rosemary water mist.
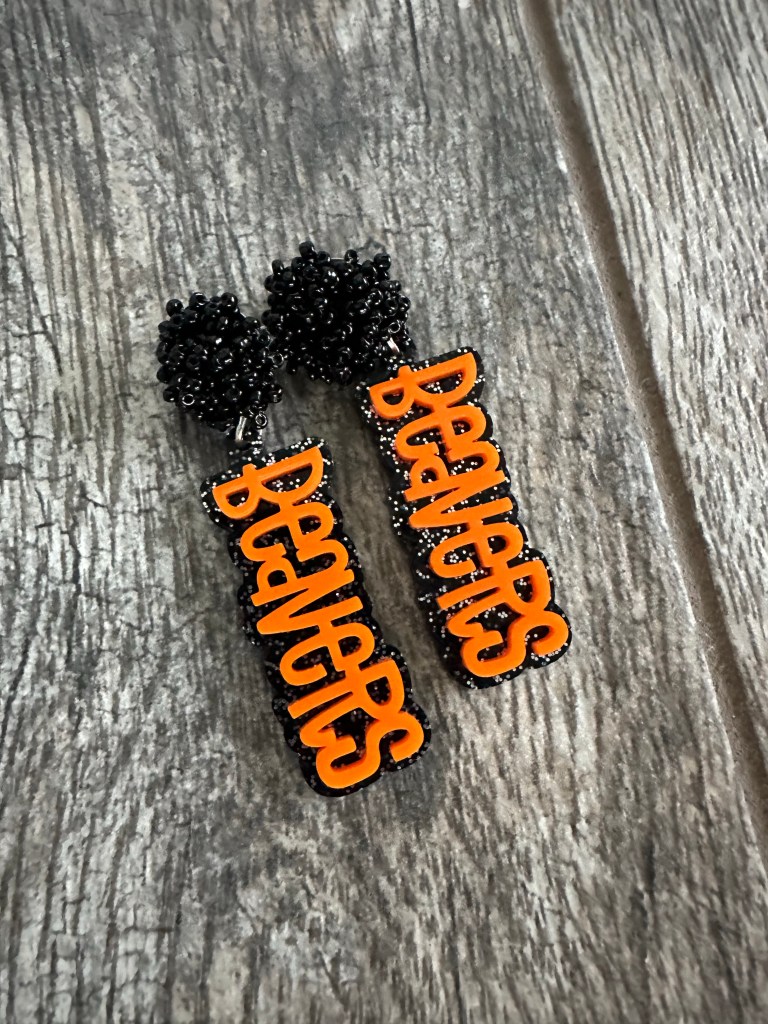
This one is self explanatory… I’ve loved this shirt since the first time I saw it and impulse bought it because it can be used for any sport. Check it out on Etsy or the other items in this outfit below!
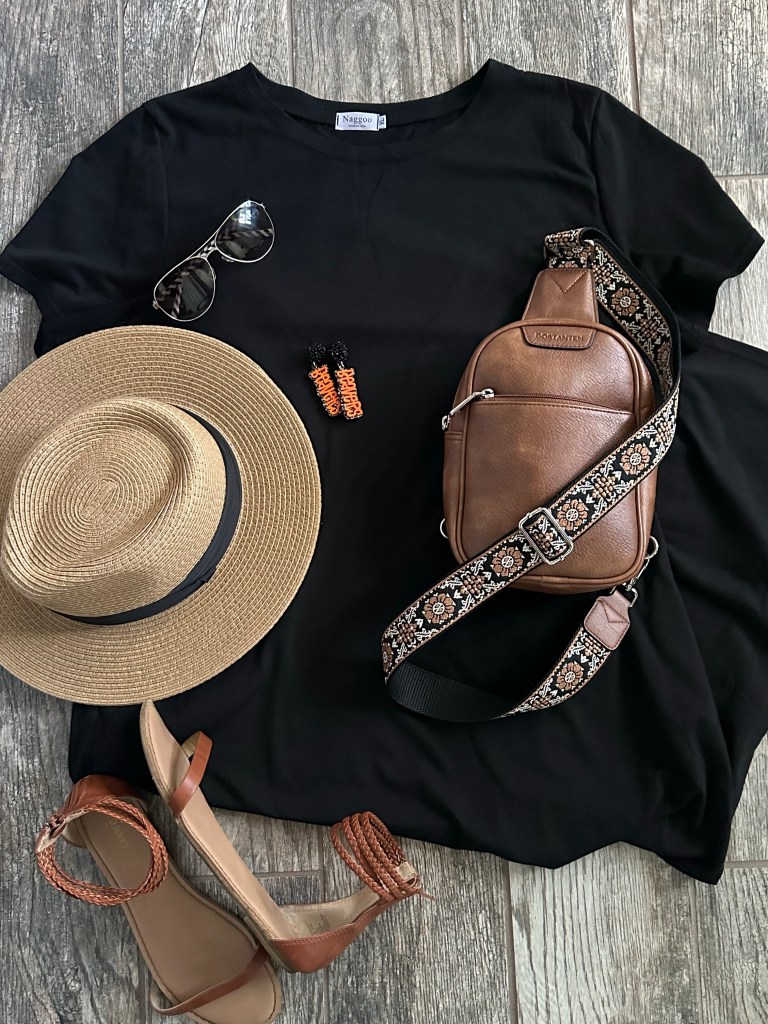
Well, here in Ohio the weather can’t just magically be fall. That means a few last minute warm weather game day outfits! This one relies on maximum airflow, so as usual, my main choice is a dress. Pair it with a favorite sun hat and a team accessory and you’re set! Find all of these items below to cheer on your favorite team!