
One thing I’ve learned about alocasias is that they HATE having their roots disturbed. I attempted to rehab this grocery store clearance find with utter failure. The good news? It had a TON of corms! Here’s a step-by-step guide to growing your own alocasia from a corm. It’s easier than you think!
Locate and Remove Corms

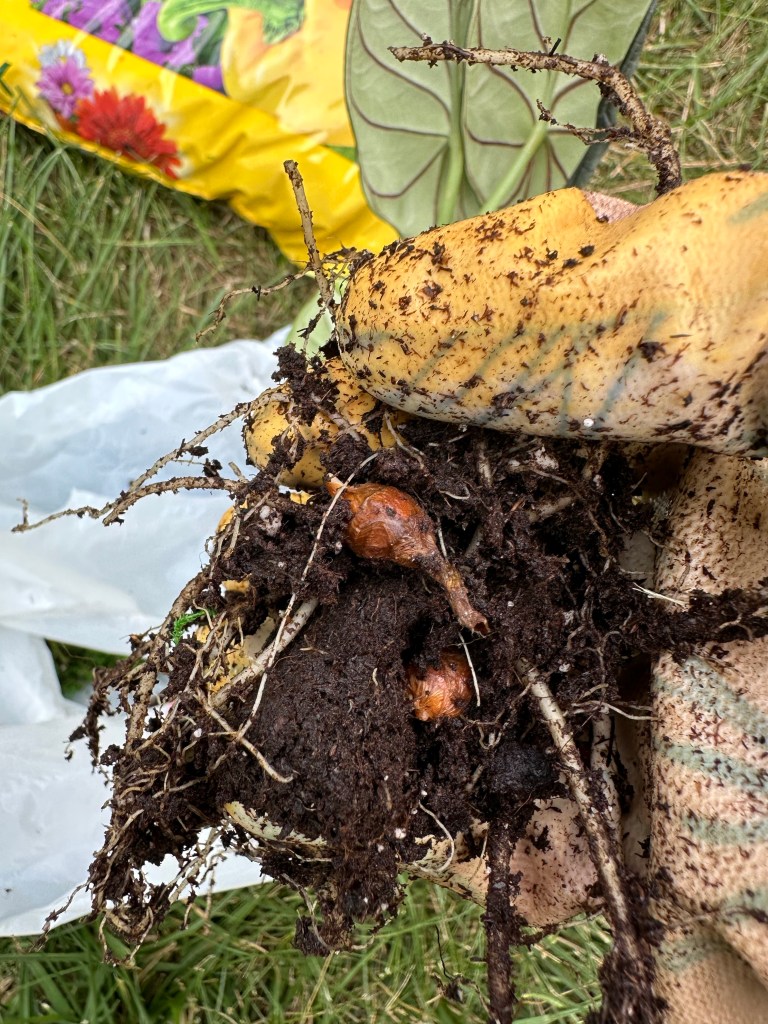
Find corms by gently checking the soil during repotting. Alocasias hate having their roots disturbed, so be very careful and try not to break up the root ball.
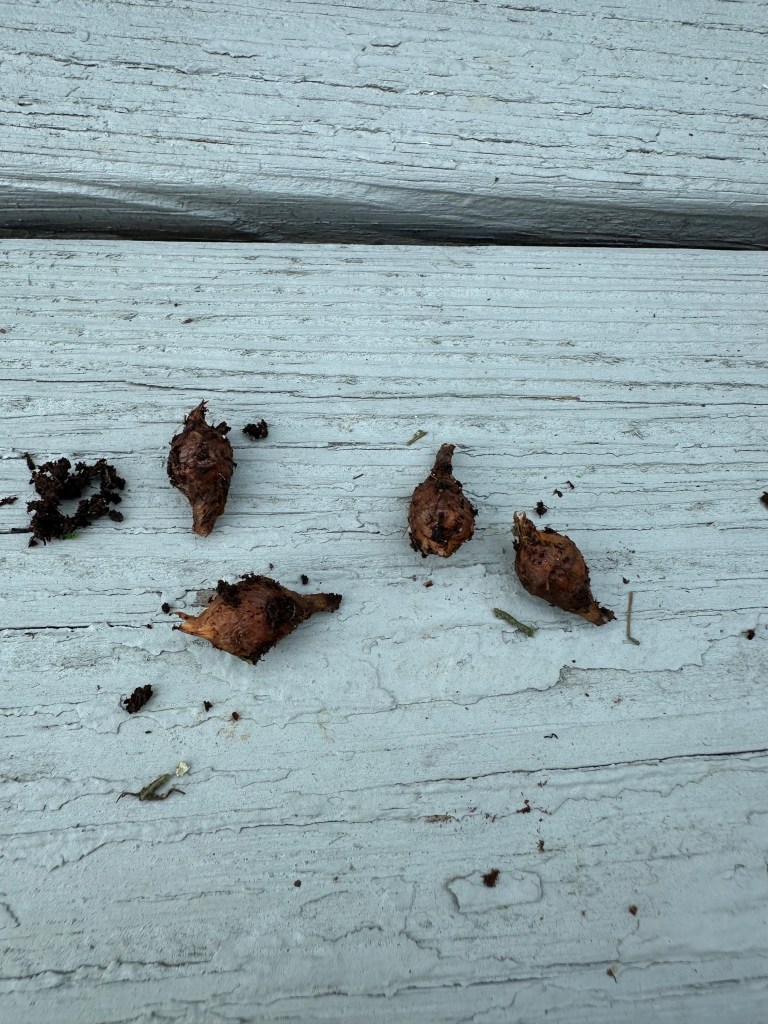
Remove the corms from the soil and allow them to dry for a day or so.
Germinate the Corms

Gently scrape the outside shell of the corms away from the inner portion. They’re kind of like a root vegetable, so be very gentle.
Once the outer peel is removed, place the corns in a Ziploc bag with a slightly damp paper towel. Allow the corms to germinate or in other words, to sprout just slightly.
Plant Corms

Place the corms that are starting to sprout into soil in a pot. Don’t allow them to get too damp, but don’t allow them to completely dry out. They will eventually begin to sprout. I plant several in one pot as not all will make it. I usually have one corm per every four that I pot make it through.
Corms have been the saving grace of my poor alocasias that don’t make it. It’s fun to see them har beautiful leaves come from corms!

