There are so many different ways to lasagna… this one is my personal favorite! It’s also perfect to make in large batches to freeze. This recipe was adapted from an original recipe from allrecipes.
Ingredients
- 1 pound sweet Italian sausage
- 1 24 oz jar tomato basil pasta sauce
- ½ cup minced onion
- 2 cloves garlic, minced
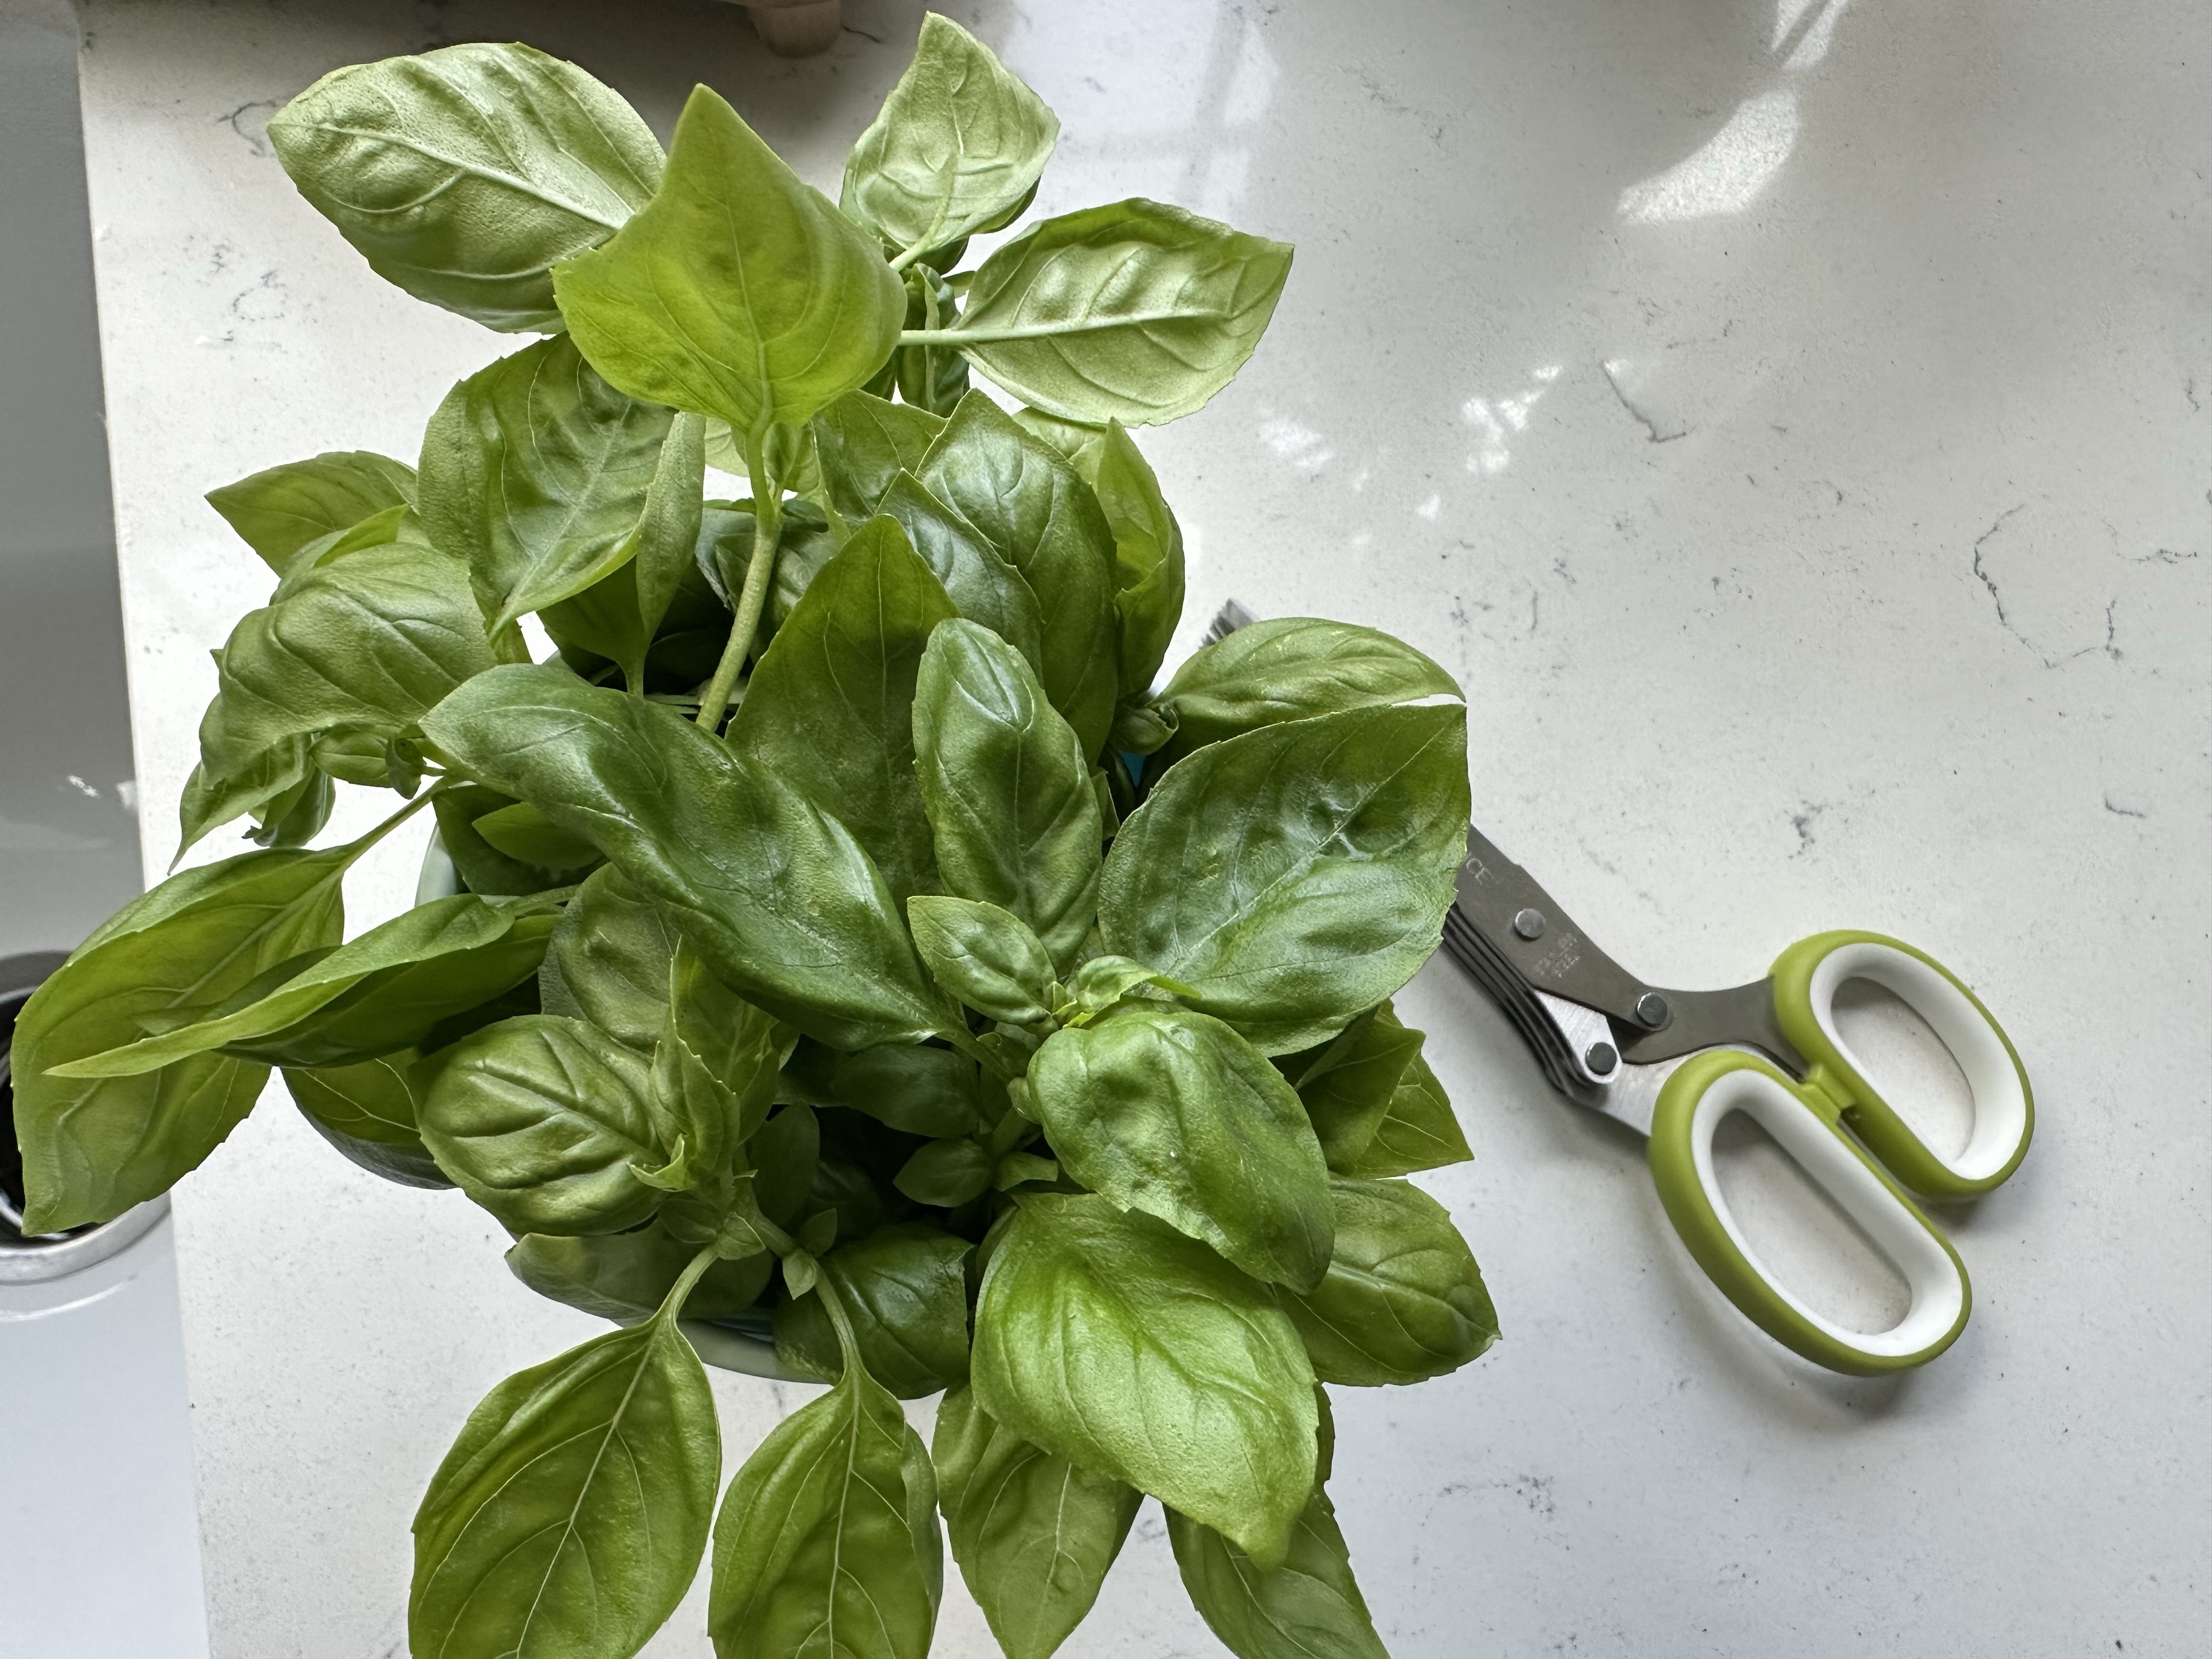
- 2 Tbsp chopped fresh parsley
- ½ tsp salt
- 12 lasagna noodles
- 16 ounces ricotta cheese
- 1 egg
- 2 cups shredded mozzarella
- 1 1/2 cups shredded Parmesan cheese
Directions


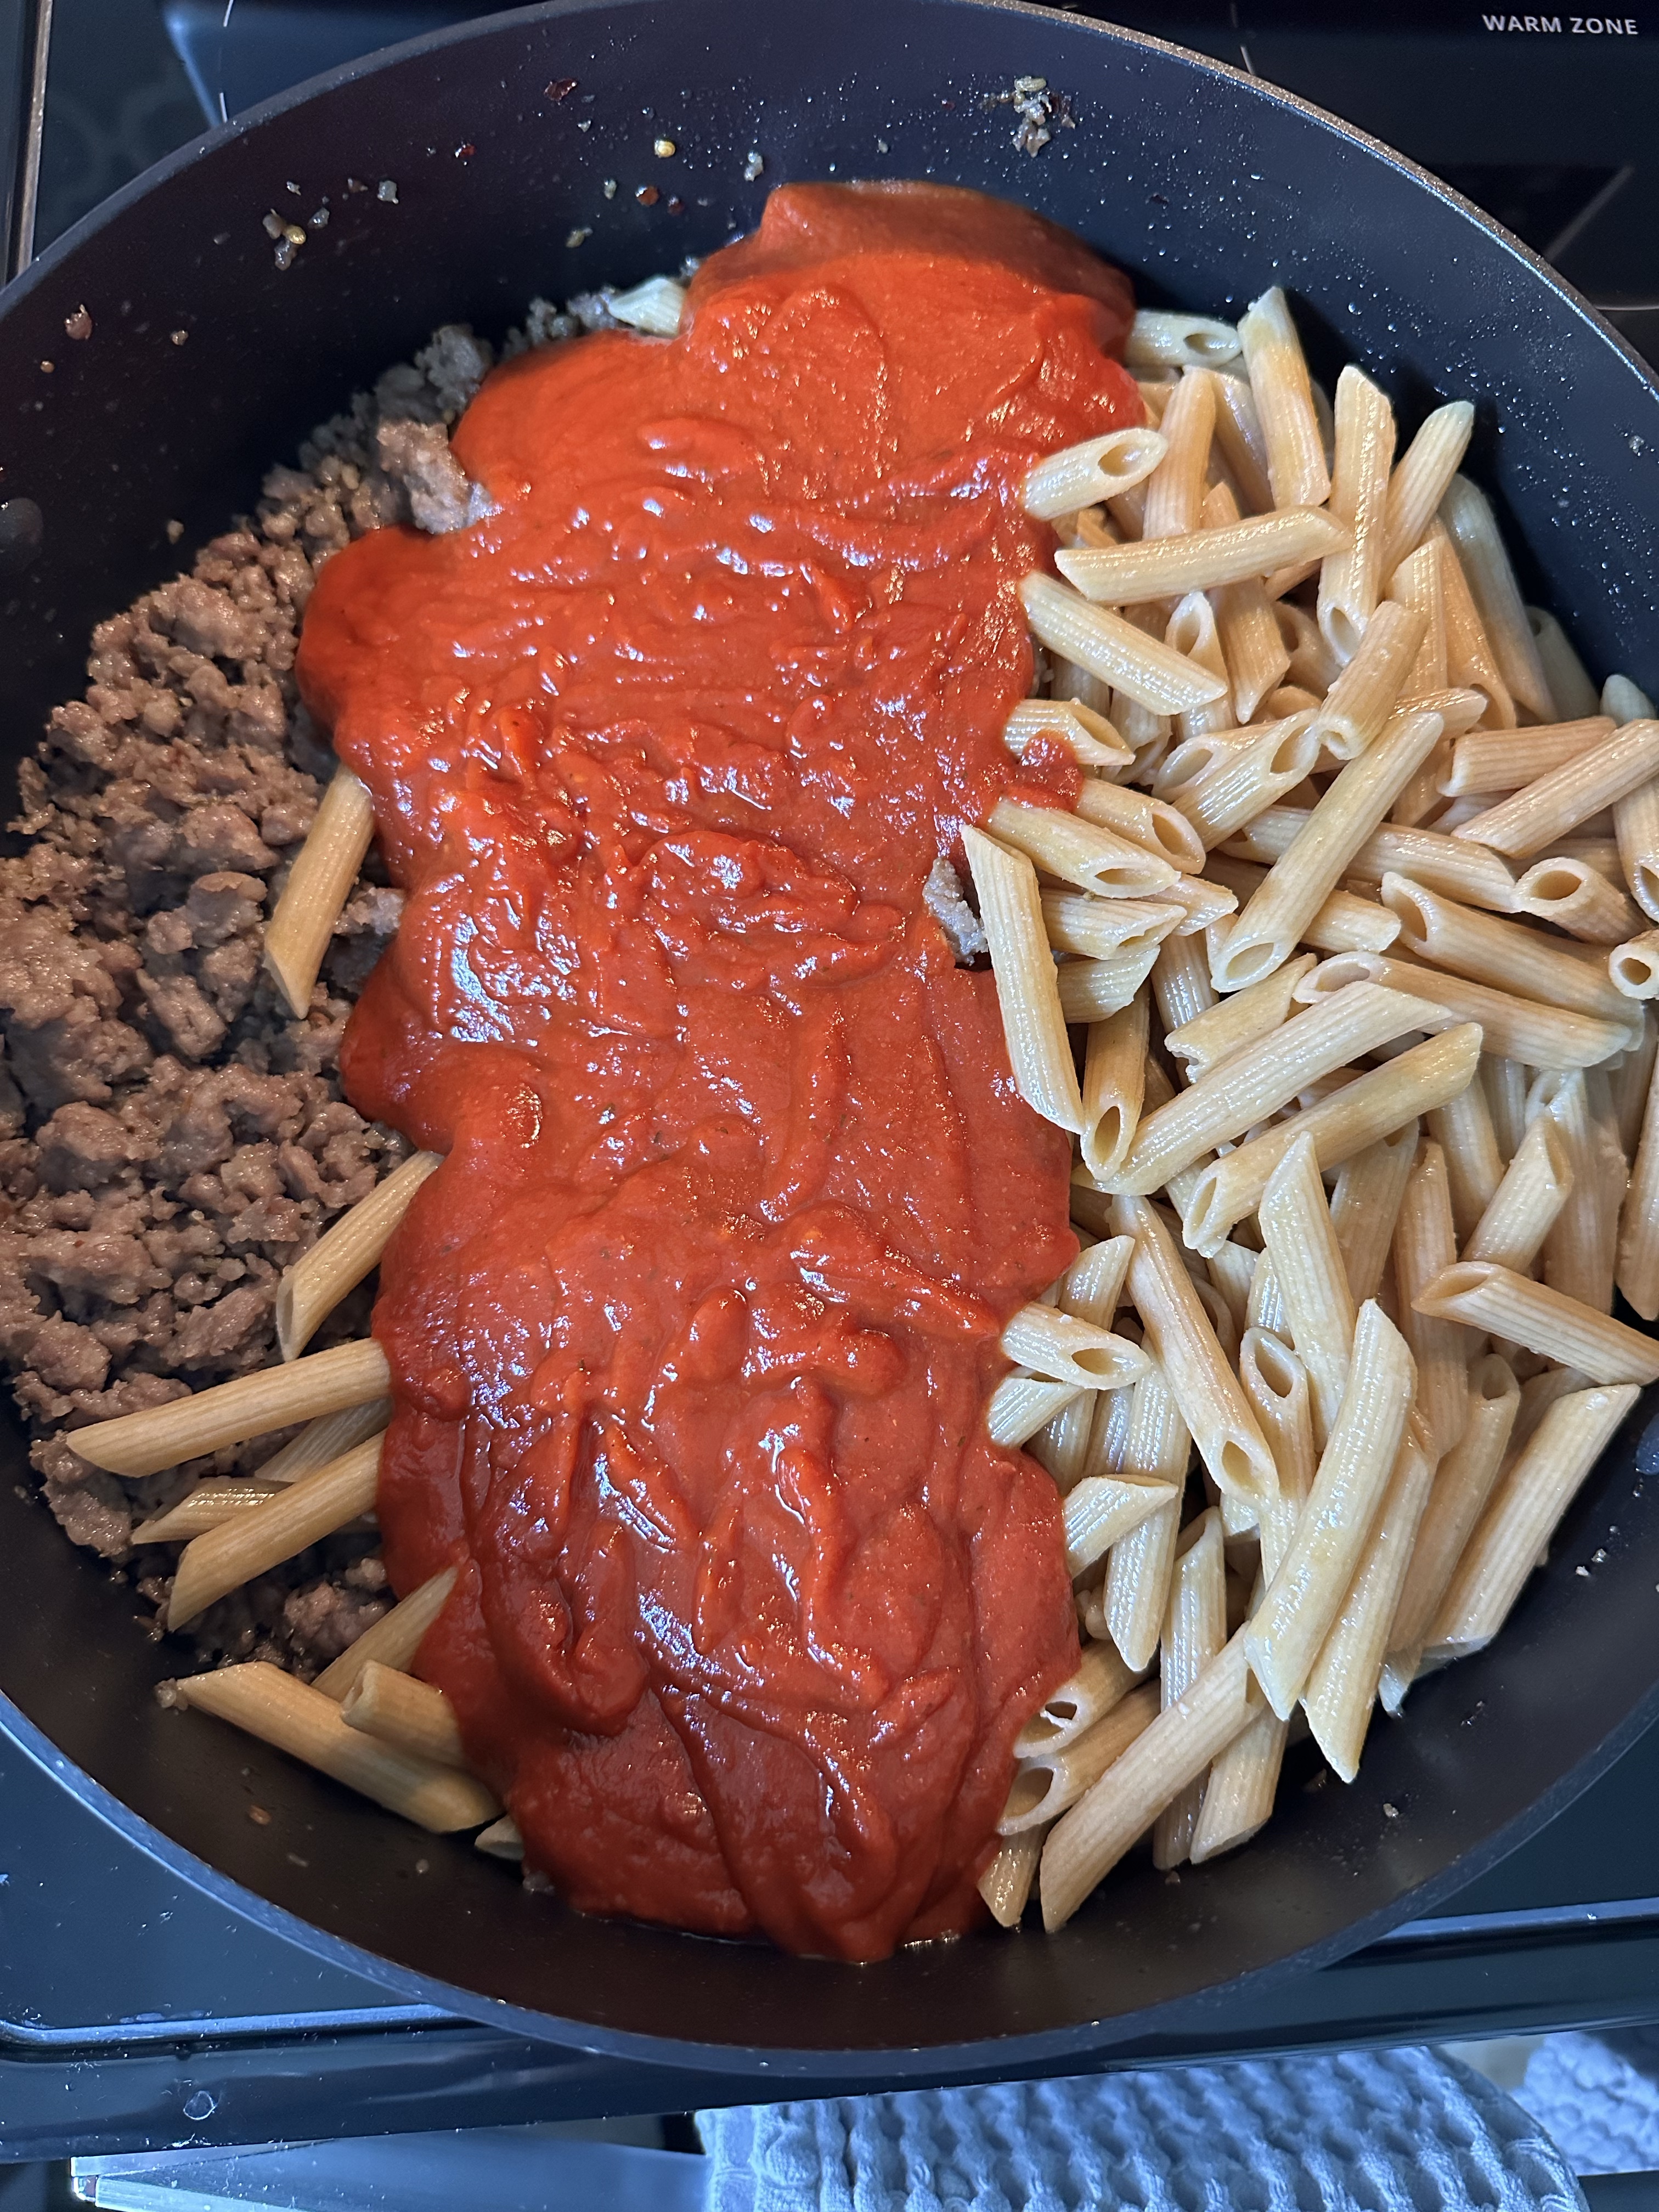
- Cook sausage, onion, and garlic in a Dutch oven or large skillet over medium heat until well browned.
- Stir in pasta sauce and simmer until mixture is heated through.
- Bring a large pot of lightly salted water to a boil. Cook lasagna noodles in boiling water for 8 to 10 minutes. Drain noodles, and rinse with cold water.
- In a mixing bowl, combine ricotta cheese with egg, fresh parsley, and 1/2 teaspoon salt.
- Preheat the oven to 375 degrees F (190 degrees C).
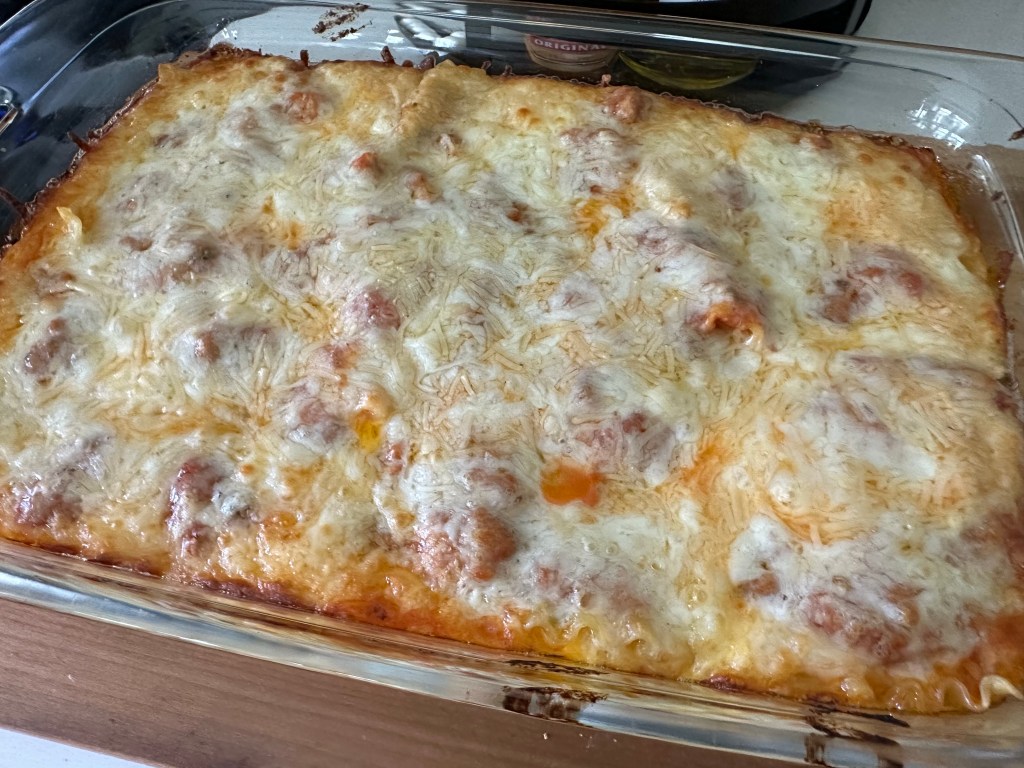
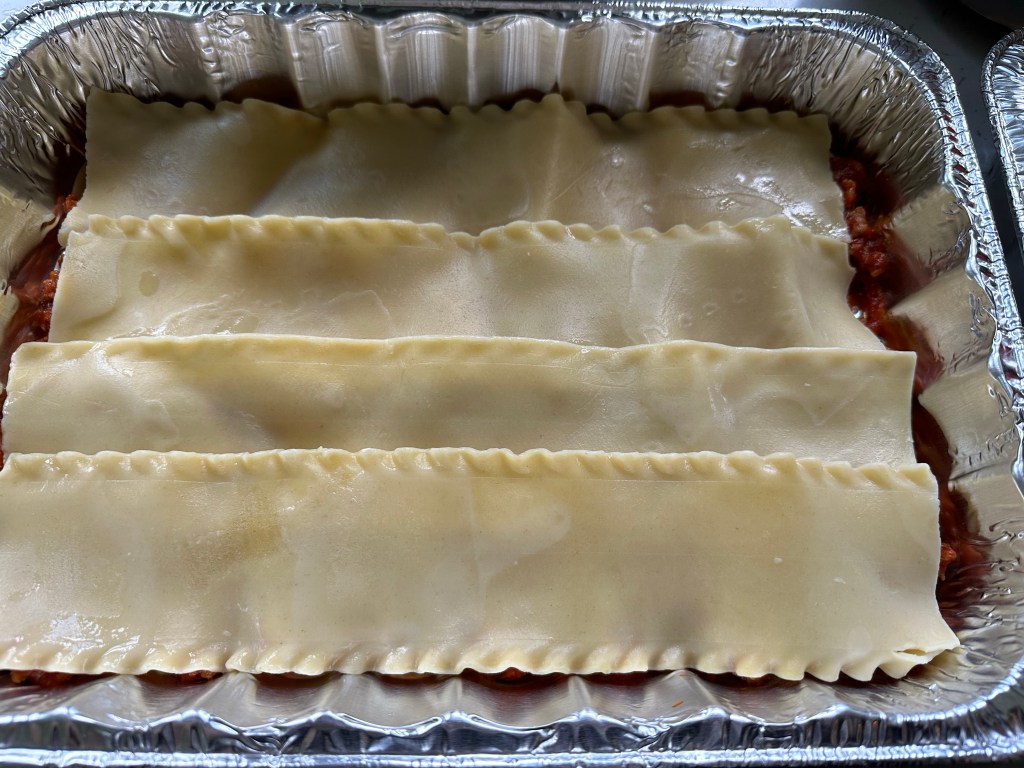
- To assemble, spread 1 1/2 cups of meat sauce in the bottom of a 9×13-inch baking dish. Arrange 6 noodles lengthwise over meat sauce. Spread with 1/2 of the ricotta cheese mixture. Top with 1/2 of the mozzarella cheese. Spoon 1 1/2 cups meat sauce over mozzarella, and sprinkle with 1/2 of the Parmesan cheese.
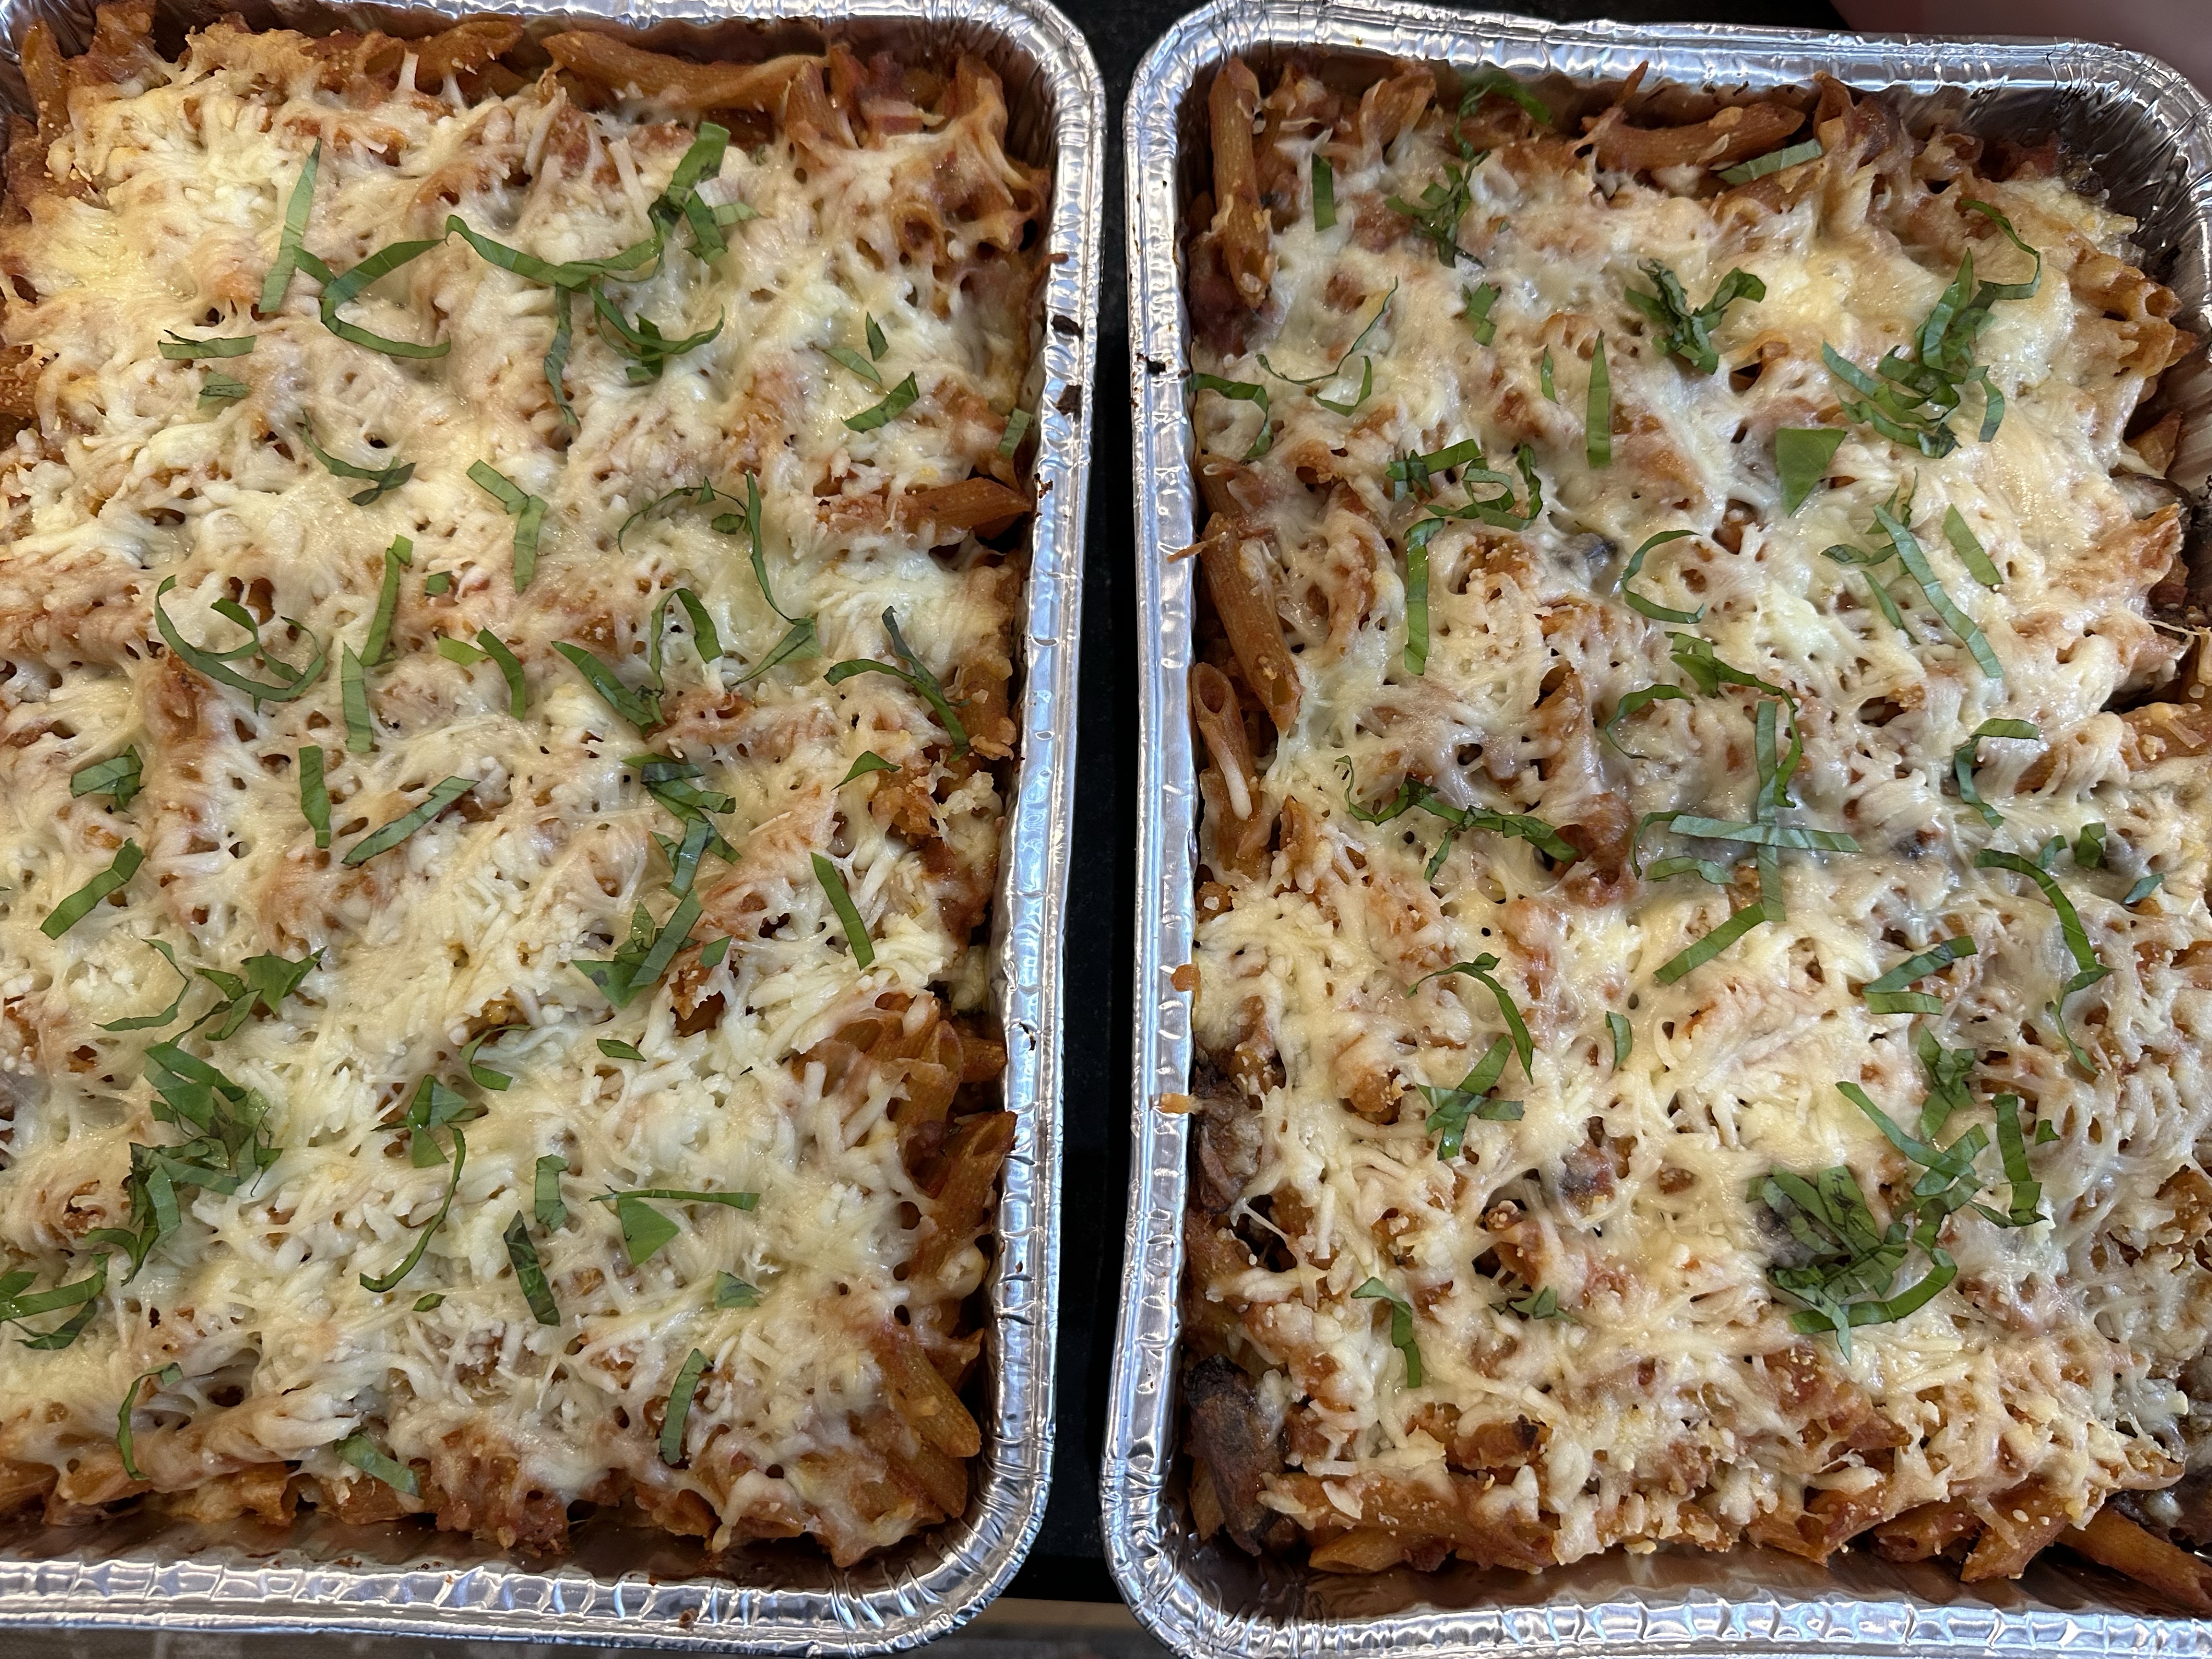
- Repeat layers, top with remaining mozzarella and Parmesan cheese. Cover with foil: to prevent sticking, either spray foil with cooking spray or make sure the foil does not touch the cheese. If freezing lasagna, place on level shelf in freezer. Thaw frozen lasagna in refrigerator and follow the next steps to fully cook.
- Bake in the preheated oven for 25 minutes. Remove the foil and bake for an additional 25 minutes.
- Rest lasagna for 15 minutes before serving. Enjoy!