
 They always say breakfast is the most important meal of the day. I’m never quite sure who “they” refers to, but in this case I concur with “they”. I love savory breakfast foods and you can count me in for anything containing egg! These egg bites were quick, easy, and best of all they can last all week in the fridge and are great from frozen.
  Another great thing about these egg bites is you can just throw in whatever you happen to have on hand at the moment since they don’t contain any crazy ingredients. I created my recipe by using the same concept in the Instant Pot Bacon-Cheddar Egg Bites recipe at Cooking with Curls.
 Ingredients
- 5 eggs
- 1/4 cup milk
- bacon, ham, or other meat of choice chopped
- vegetable(s) chopped
- 1 cup shredded Parmesan cheese
- 1/8 tsp black pepper
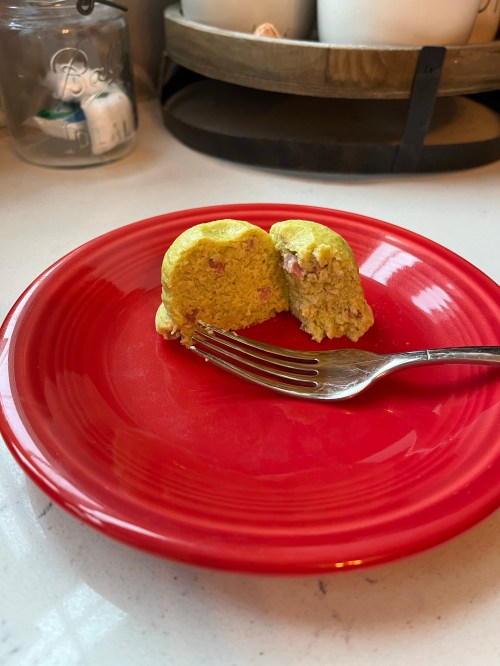
 This is where you can get creative with whatever vegetables or proteins you would like to include. I originally planned on using spinach, but didn’t happen to have any. Instead, I used a whole avocado, which basically made this batch taste just like an avocado. Other vegetable ideas are onion, bell peppers, and spinach.
Similarly, if you’re like me and might as well be a full-blown carnivore, you can use any meat you’d like or leave it out altogether!
I used whole milk for my egg bites, but any milk substitute works great as long as it isn’t sweetened or flavored.
 Directions
- Mix all ingredients in mixing bowl using immersion blender or blend in blender until smooth. If you are adding vegetables like bell pepper and prefer them to hold their shape, save these until all other ingredients are blended, then mix in thoroughly.
- Pour mixed ingredients evenly into 7 sections of silicone Instant Pot mold. Loosely cover silicone mold with lid or loosely with aluminum foil.
- Add 1 cup of water to Instant Pot. Place silicone mold onto Instant Pot trivet and carefully lower into Instant Pot.
- Secure the Instant Pot lid and make sure the steam knob is in the “sealing” position. Press the “Steam” setting and set it to 8 minutes.
- Once the timer ends let the Instant Pot release pressure naturally (this should take about 5-10 minutes).
- Remove the egg bites and let cool in the mold for a few minutes. Turn the mold upside down and gently push the egg bites out of the silicone mold.
- Enjoy the egg bites immediately, refrigerate for up to a week, or freeze for later!


 I always see pins on Pinterest about the “What a Difference a Day Makes” DIY. After much delay, I actually attempted my own version. I figured there HAD to be a template somewhere, right? I mean, as much as I see this darn thing repinned someone had to post their template, but alas… no template was found. I did however find a template for a Microsoft Project, um… project (yeah, that sounds odd to me as well…), but the normal, average, person doesn’t have Project (or maybe that’s just me). I took matters into my own hands and decided I would make my own template in PowerPoint. After about 15 minutes (yeah, a miracle happened… FIFTEEN MINUTES), I was able to make a template I was pretty proud of.


 Alright, everyone… it’s here! The first installment of Recipe of the Week. The format of these posts will follow the same format: recipe first (because who wants to hear me ramble on and on about a recipe that you have to scroll to the bottom to find… not me!), then comments on what I liked about the recipe, what I didn’t like, how easy (or not) it was to make, and just general comments. This week’s was great because you can freeze them and they still taste like the day you baked them! If you like the recipe, stop by

