Save the Trees… and Get Crafty!

Save the Trees… and Get Crafty!

When I was a kid, maybe Kindergarten or First Grade, I brought home a tiny little pine tree and planted it in my backyard.  That little tree lived until a few years ago and had to be cut down.  My parents left the stump because my mom couldn’t bear to see it go, so she made it an adorable little garden.

img_2971

My dad saved a few branches for me, so I decided I had to do something with them.  One branch almost looked like a coat rack all on its own, so that’s what I rolled with.  Thanks to Amazon, I found cast iron owl hooks that went with the branch perfectly.  I screwed the owls onto the branch, drilled two wholes in the branch, then screwed the branch to the wall.  Perfect coat rack!


img_3462

A few weeks after making the coat rack my oldest son came home with a few tiny pine cones in hand and said “Mommy, these are so you remember your tree”.  I’m not crying, you’re crying.  Seriously.  So, of course I hung those babies up next to the coat rack (yes… that is our fingerprint family below the pine cones… minus the tiny one).

img_3465

Hope this inspired all of you to get a little creative with your memories!


Pizzadillas

Pizzadillas

I have to give credit where credit is due on this one… thanks, Mom!  This recipe is quick, easy, and pleases even the pickiest of eaters.  As long as you have tortillas and cheese in the house, I guarantee you have any other ingredients you will need to make this easy recipe.
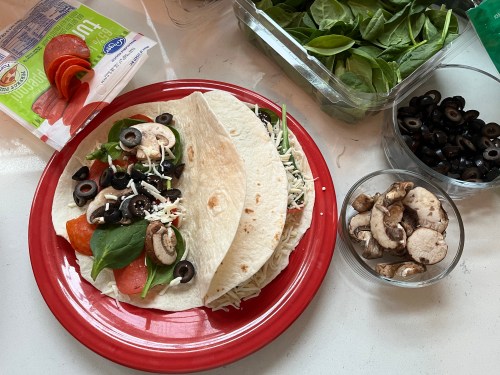
Ingredients

  • Flour tortillas (I like the large burrito size)
  • Shredded mozzarella cheese
  • Pizza toppings.  Here are some of our favorites
    • turkey pepperoni (makes for a less greasy and easier to eat pizzadilla, but traditional pepperoni works just fine, too!)
    • diced ham
    • shredded or diced chicken
    • mushrooms
    • black olives
    • fresh spinach
    • diced bell pepper
    • diced onion

Directions

  1. Heat a large skillet on medium heat and spray non-stick spray in the skillet evenly.
  2. Add toppings such as cheese, meat, and vegetables to half of a tortilla and fold over.
  3. Heat the pizzadilla with toppings inside in skillet until partially melted and lightly browned on the bottom.
  4. Flip pizzadilla and brown other side.
  5. Cut into even triangles using pizza cutter or knife.
  6. Serve with pizza sauce or pasta sauce of choice.

The best part of this recipe is that you can use anything you have on hand.  Picky eaters?  No problem!  They can have whatever their hearts desire in their pizzadilla!

Free Books: Update!

Free Books: Update!

You guys… we’re STILL enjoying free books from Imagination Library.  I can’t say enough good things about this awesome program.  If you missed my post a few years ago about how you can get a free book every month for your child until they reach age 5, take a look here!

In fact, our oldest child has received so many books I had to get creative with some book storage solutions :/

img_1563

Ikea FTW!  Ikea spice racks make excellent bookshelves and take up very little space.  You can find them at Ikea or if you’re like me and just can’t Ikea right now, Amazon is always there for you.  It’s always there for me.  We’re besties.

Mom Hack: The Sniff Test

Mom Hack: The Sniff Test

This isn’t necessarily a hack per se, but rather an essential mom skill.

The sniff test can be used in a myriad of situations. For instance, your child has worn their shirt once for like 5 seconds. Is it clean? Administer the sniff test. Is your baby’s diaper dirty? Administer the sniff test. Uhhhh… what the heck is that stain on the couch? Administer the sniff test. I’ve had these yoga pants on for 3 days and haven’t showered. Don’t administer the sniff test… they’re disgusting, but don’t change. It’s the mom uniform.

Slow Cooker Chicken Tortilla Soup

Slow Cooker Chicken Tortilla Soup

This is the easiest soup you can make in the Crock Pot. Hands. Down.  I’m really not sure where I got the original recipe for this one, but I’ve adapted it slightly over time to make it even easier… if that’s possible.

Ingredients

  • 1 lb chicken breasts
  • 1 diced onion
  • 1 can red kidney beans, drained
  • 1 can black beans, drained
  • 1 can whole kernel corn, drained
  • 2 cans Ro-Tel tomatoes (I prefer cilantro lime for extra flavor, but original is great, too!)
  • 2 cans chicken broth
  • 1 pack taco seasoning
  • fresh or dried cilantro

For Serving

  • shredded cheese of choice (I use Mexican blend or cheddar)
  • sour cream
  • tortilla strips or crushed tortilla chips

Directions

  1. Mix all ingredients in crock pot.  Add chicken breasts to top of mixture.
  2. Cook on low 6-8 hours or high 2-4 hours until chicken is thoroughly cooked to an internal temperature of 165 degrees F.
  3. Serve with shredded cheese, sour cream, and tortilla strips or crushed tortilla chips.

To make life REALLY easy on a busy weekday, here are my tips:

  • Use frozen chicken breast-they cook great in this soup from frozen!
  • Use frozen diced onion instead of chopping a fresh onion.  This is my favorite substitute in a lot of meals-it cuts back on so much time and cleanup.
  • Use dried cilantro instead of chopping fresh.  I hardly ever keep fresh cilantro on hand anymore and this saves on grocery shopping and chopping!

Hope you enjoy this easy, hearty meal as much as our family does!

Baked Turkey Meatballs

Baked Turkey Meatballs

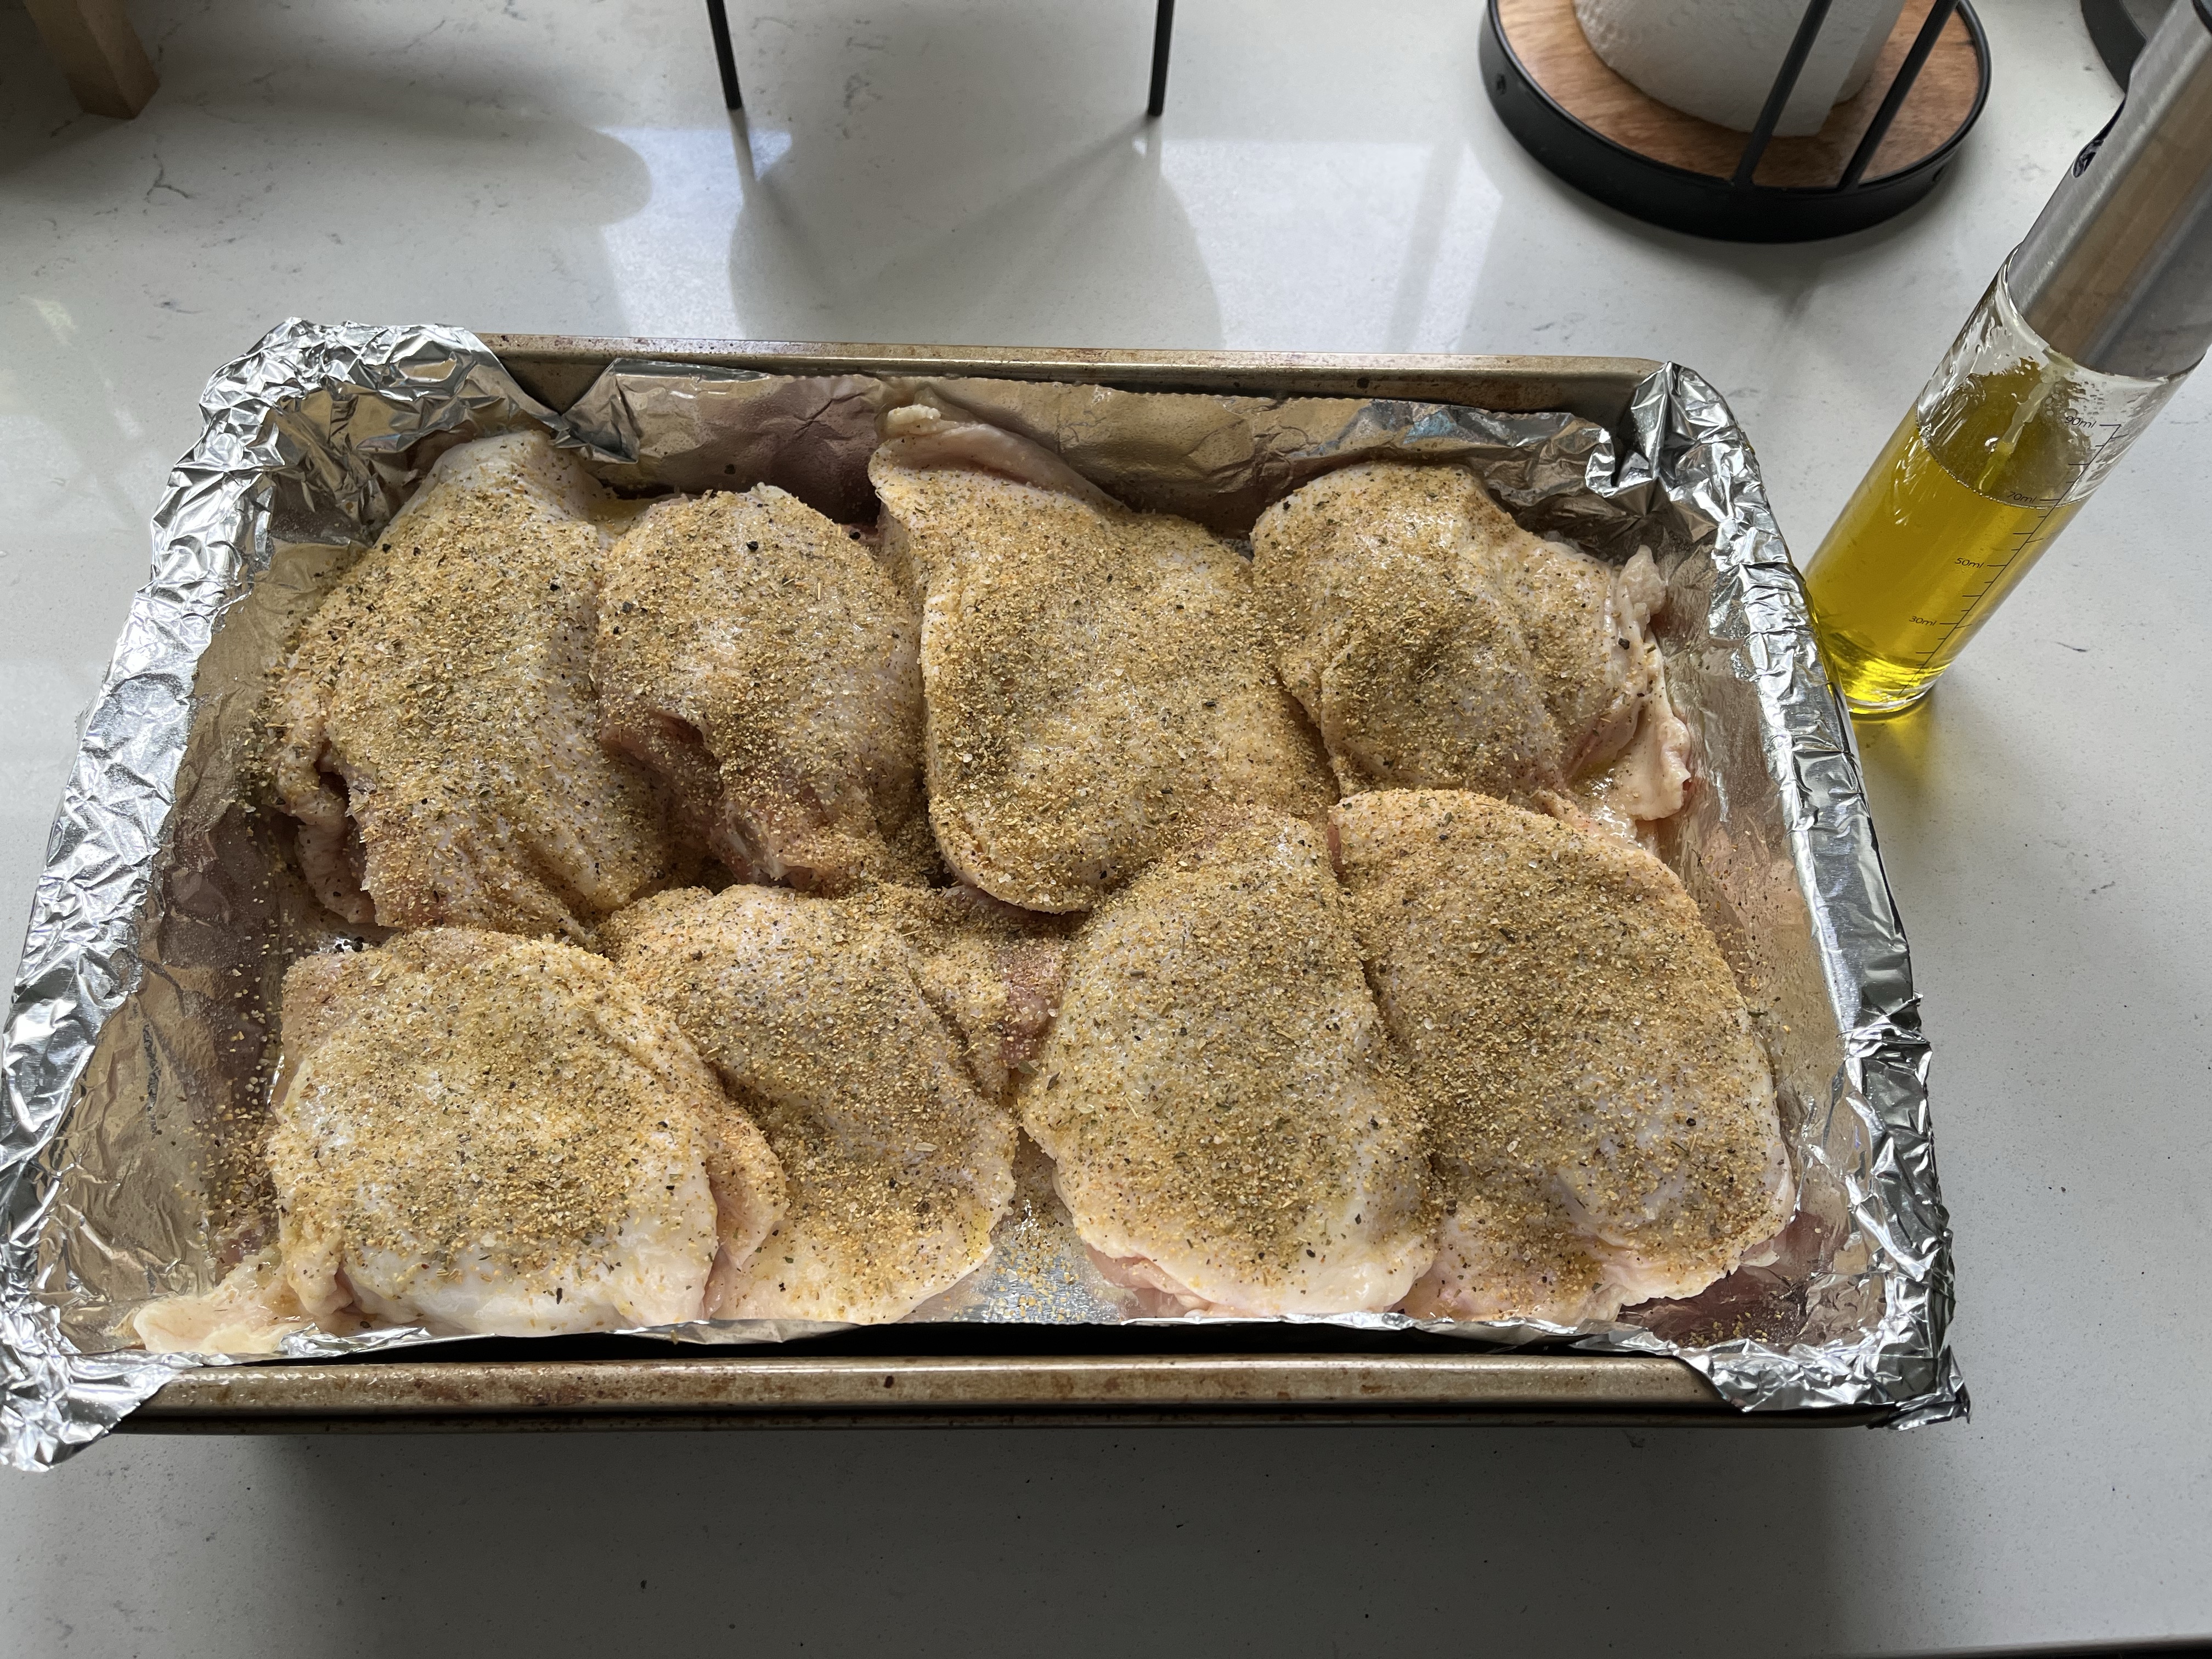
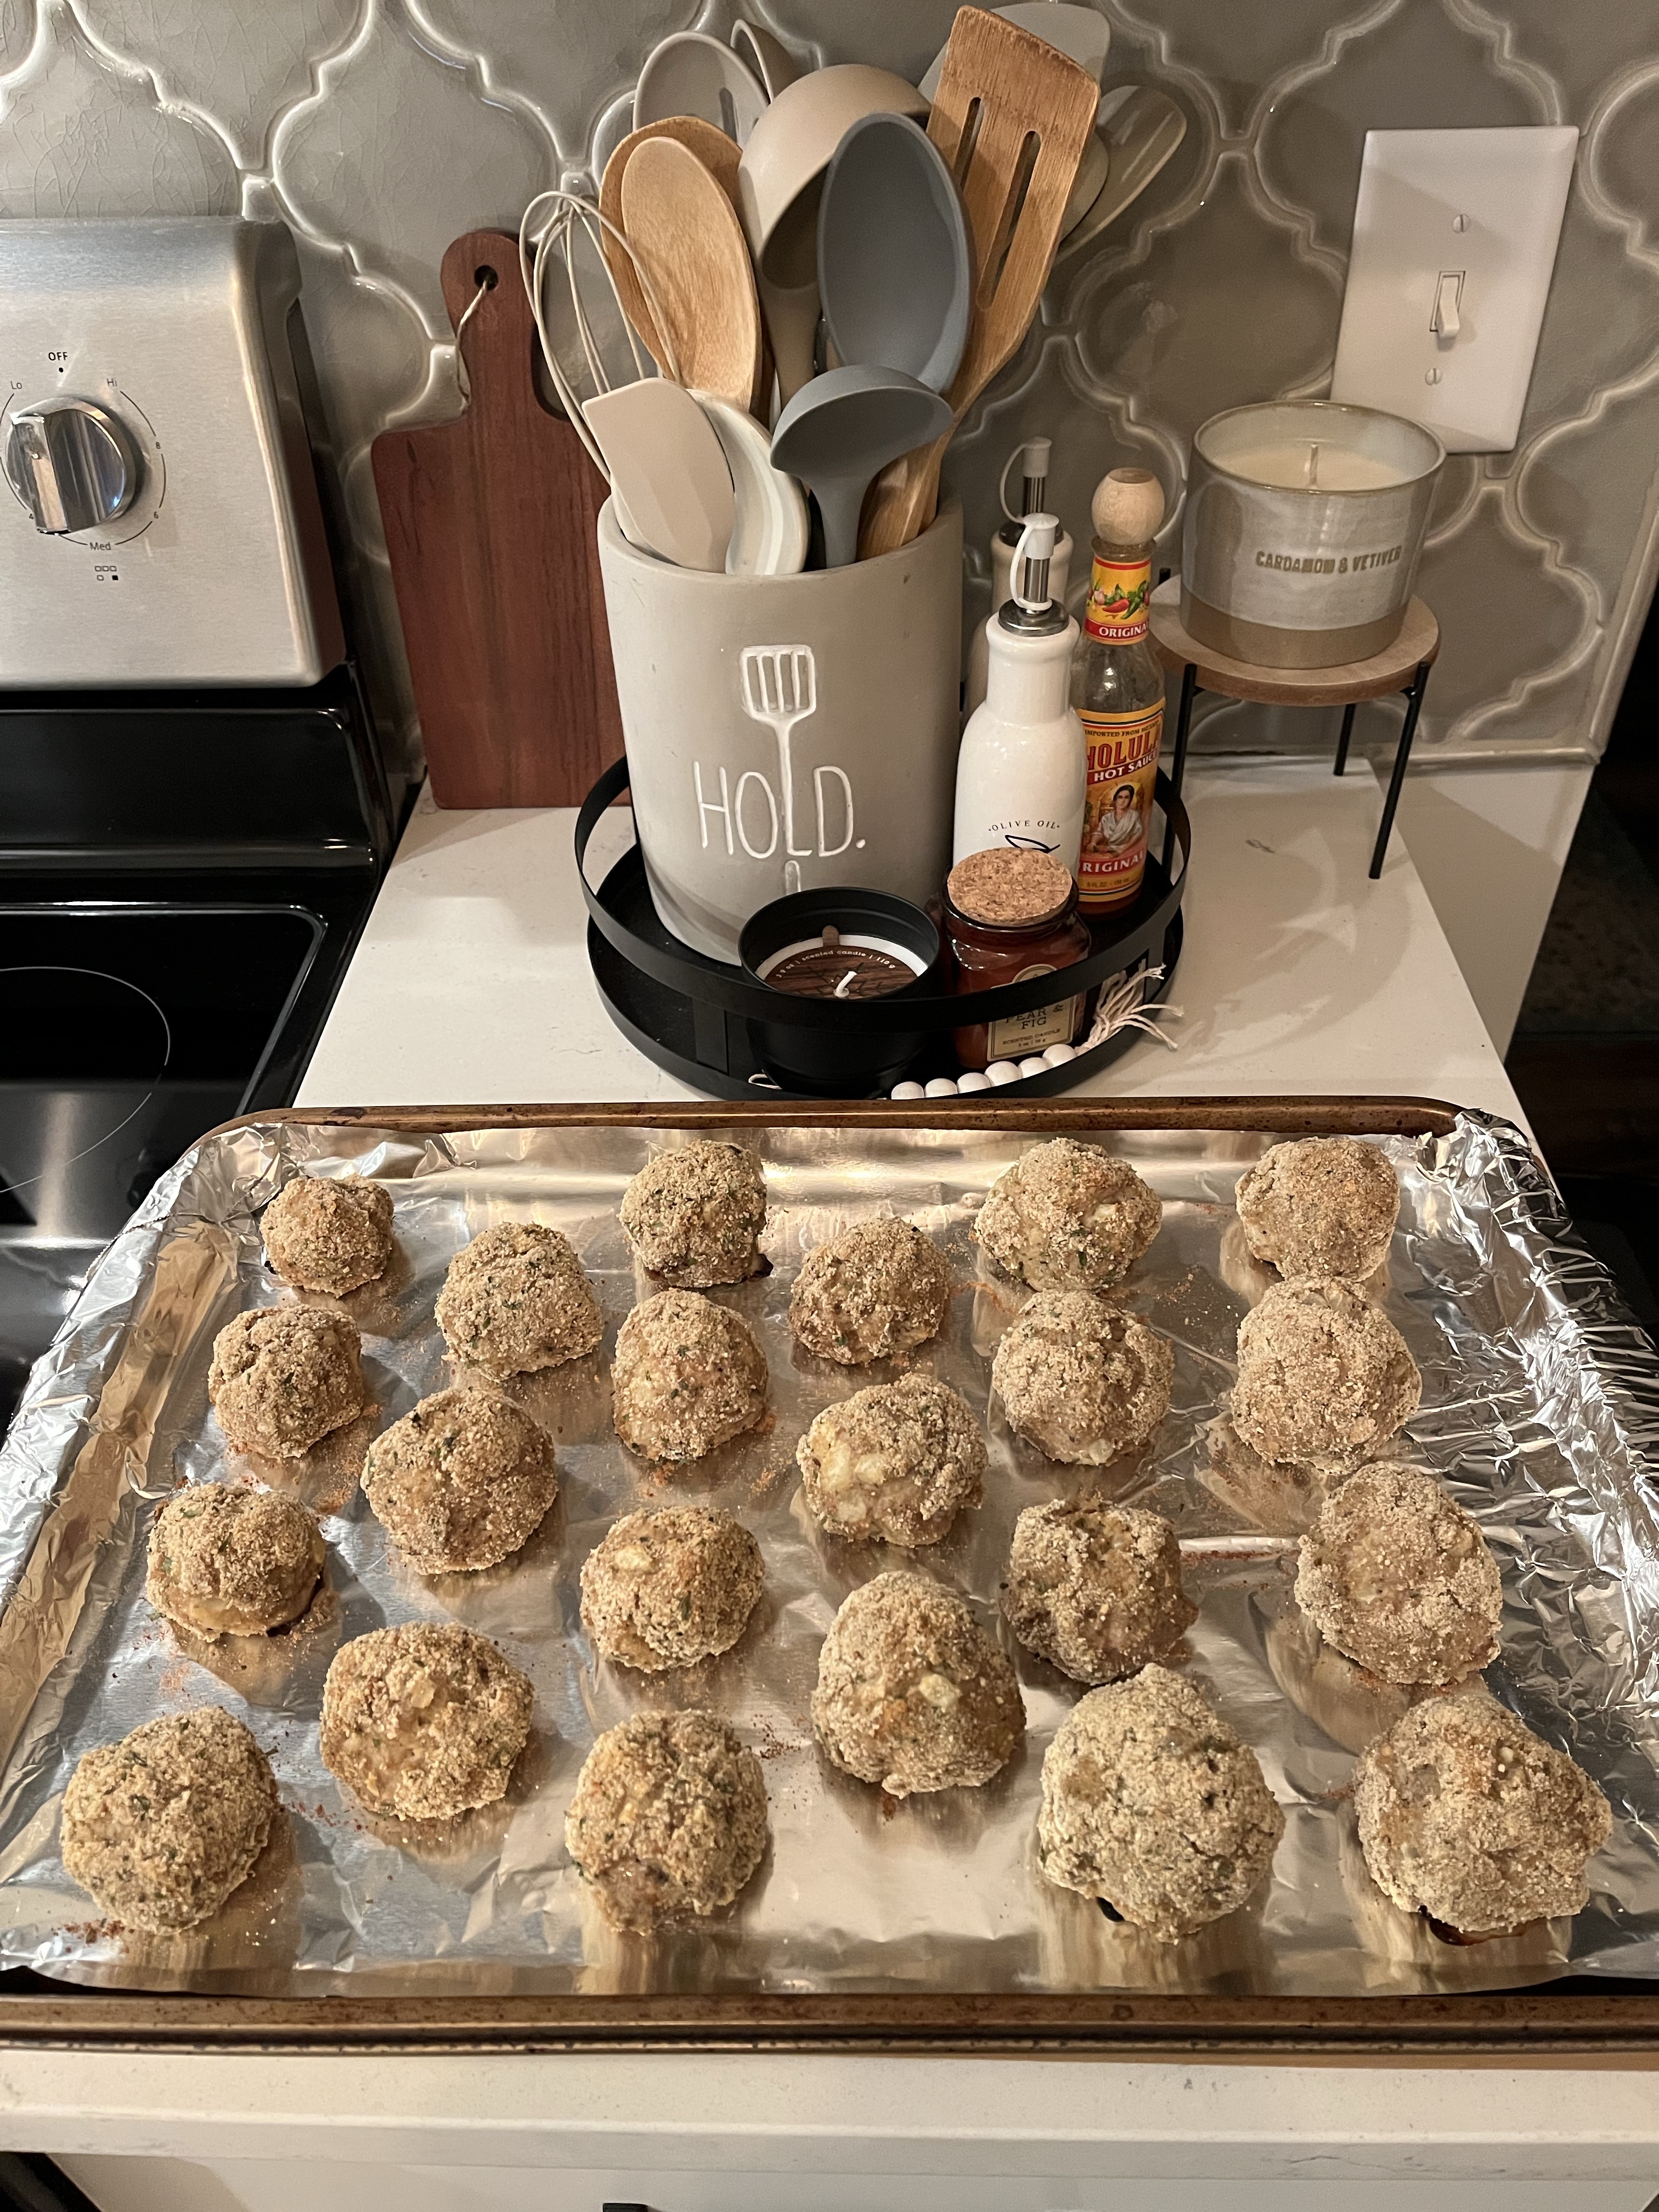
When I don’t know what to make for dinner this is my favorite go-to.  They’re fairly low fat, filling, and everyone seems to love them!  An added bonus to this one is that I can stick them in the oven and leave them there until they’re finished-no splattering on the stove with tiny people running around the kitchen while I worry about them burning on the stove while I wipe a nose or get a snack for the millionth time.

Ingredients

  • 1 lb lean ground turkey or beef
  • 3 cloves minced garlic
  • 1/4 cup chopped onion
  • 1/2 cup Italian bread crumbs (+ extra for rolling meatballs in bread crumbs)
  • 1 egg, lightly beaten
  • 1/2 tsp salt
  • 1/2 tsp pepper

Directions

  1. Preheat oven to 350 degrees Fahrenheit and line a baking sheet with aluminum foil for easy clean-up.
  2. Mix all ingredients in mixing bowl.  Roll mixture into ball (approximately 1 inch in diameter to ensure they bake thoroughly), roll in extra breadcrumbs, and place on baking sheet.
  3. Bake 35 minutes or until meatballs reach an internal temperature of 165 degrees Fahrenheit.
  4. Serve with pasta or desired side.

I take a few shortcuts with this recipe that make my life so much easier.  I use jarred minced garlic instead of fresh.  If you have time to peel and mince garlic when you come home from work with a child and an infant, you’re my hero, please teach me your ways.  I also substitute frozen chopped onion for fresh chopped onion because… onions make me cry.  I also usually use whatever lean meat I have on hand.  I normally have turkey, but when I don’t I use very lean ground beef and they are just as delicious!

Hope you enjoy this simple one!

Instant Pot Egg Bites

Instant Pot Egg Bites

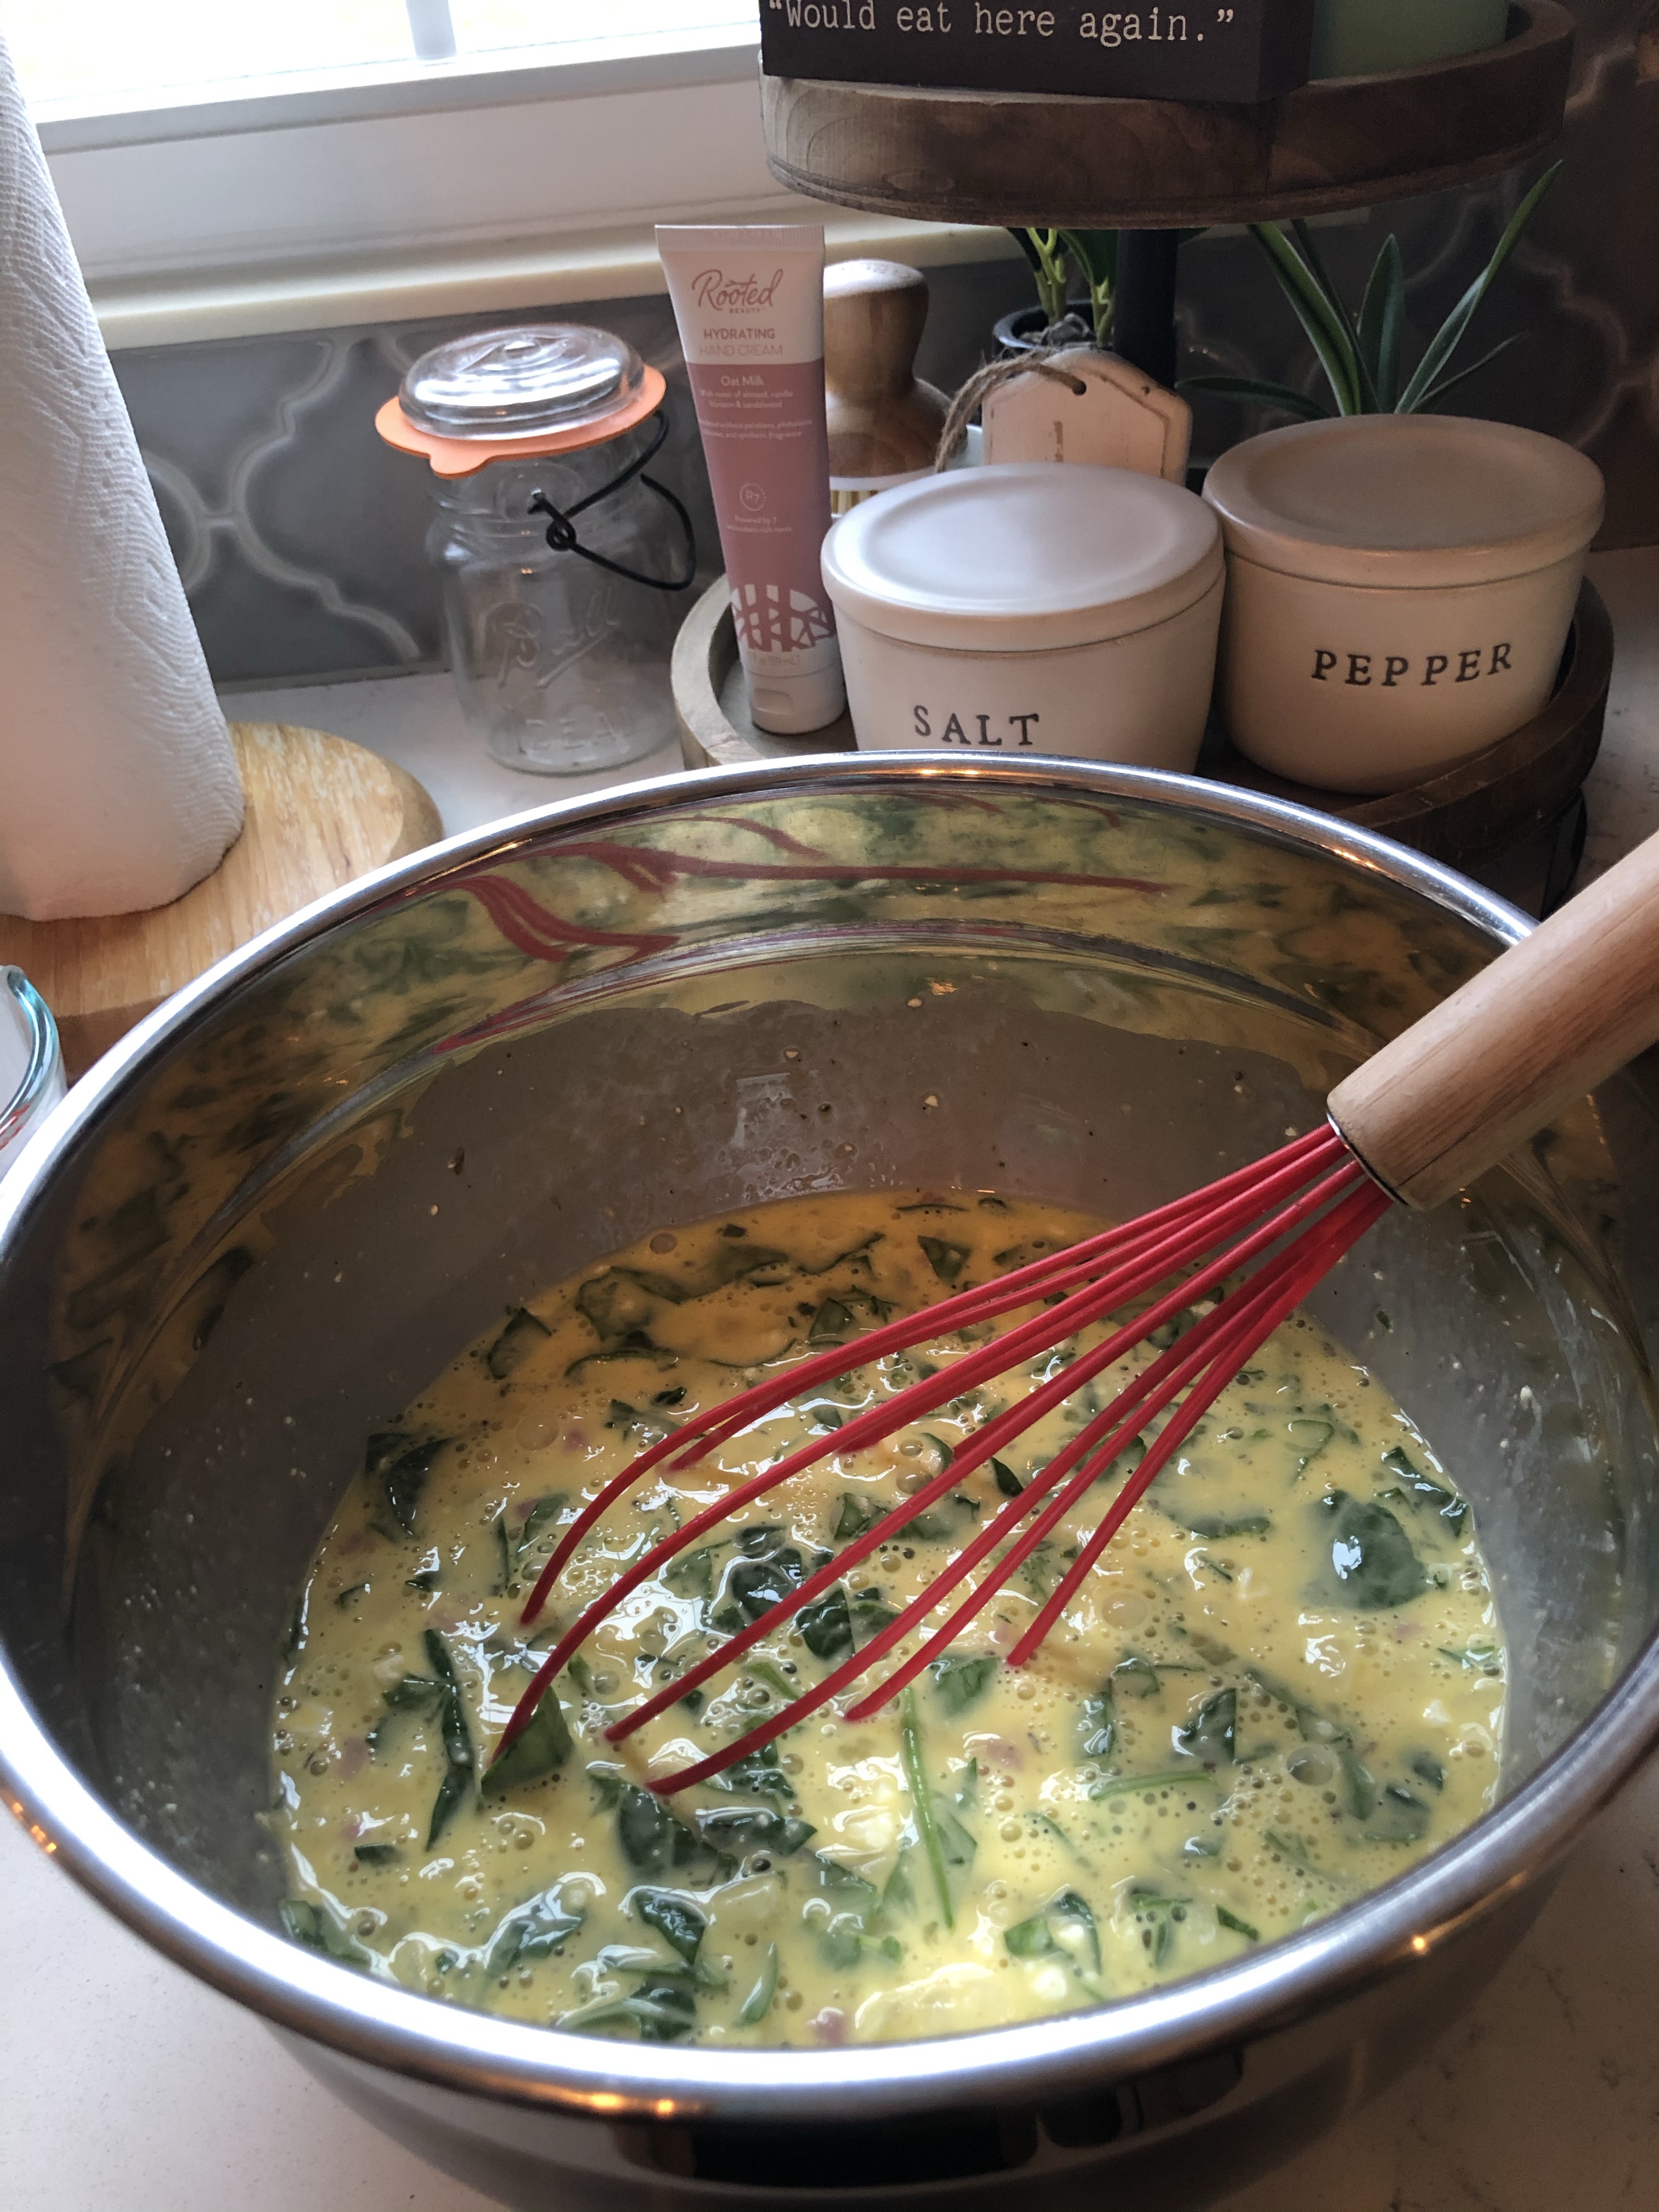
They always say breakfast is the most important meal of the day.  I’m never quite sure who “they” refers to, but in this case I concur with “they”.  I love savory breakfast foods and you can count me in for anything containing egg!  These egg bites were quick, easy, and best of all they can last all week in the fridge and are great from frozen.  Another great thing about these egg bites is you can just throw in whatever you happen to have on hand at the moment since they don’t contain any crazy ingredients.  I created my recipe by using the same concept in the
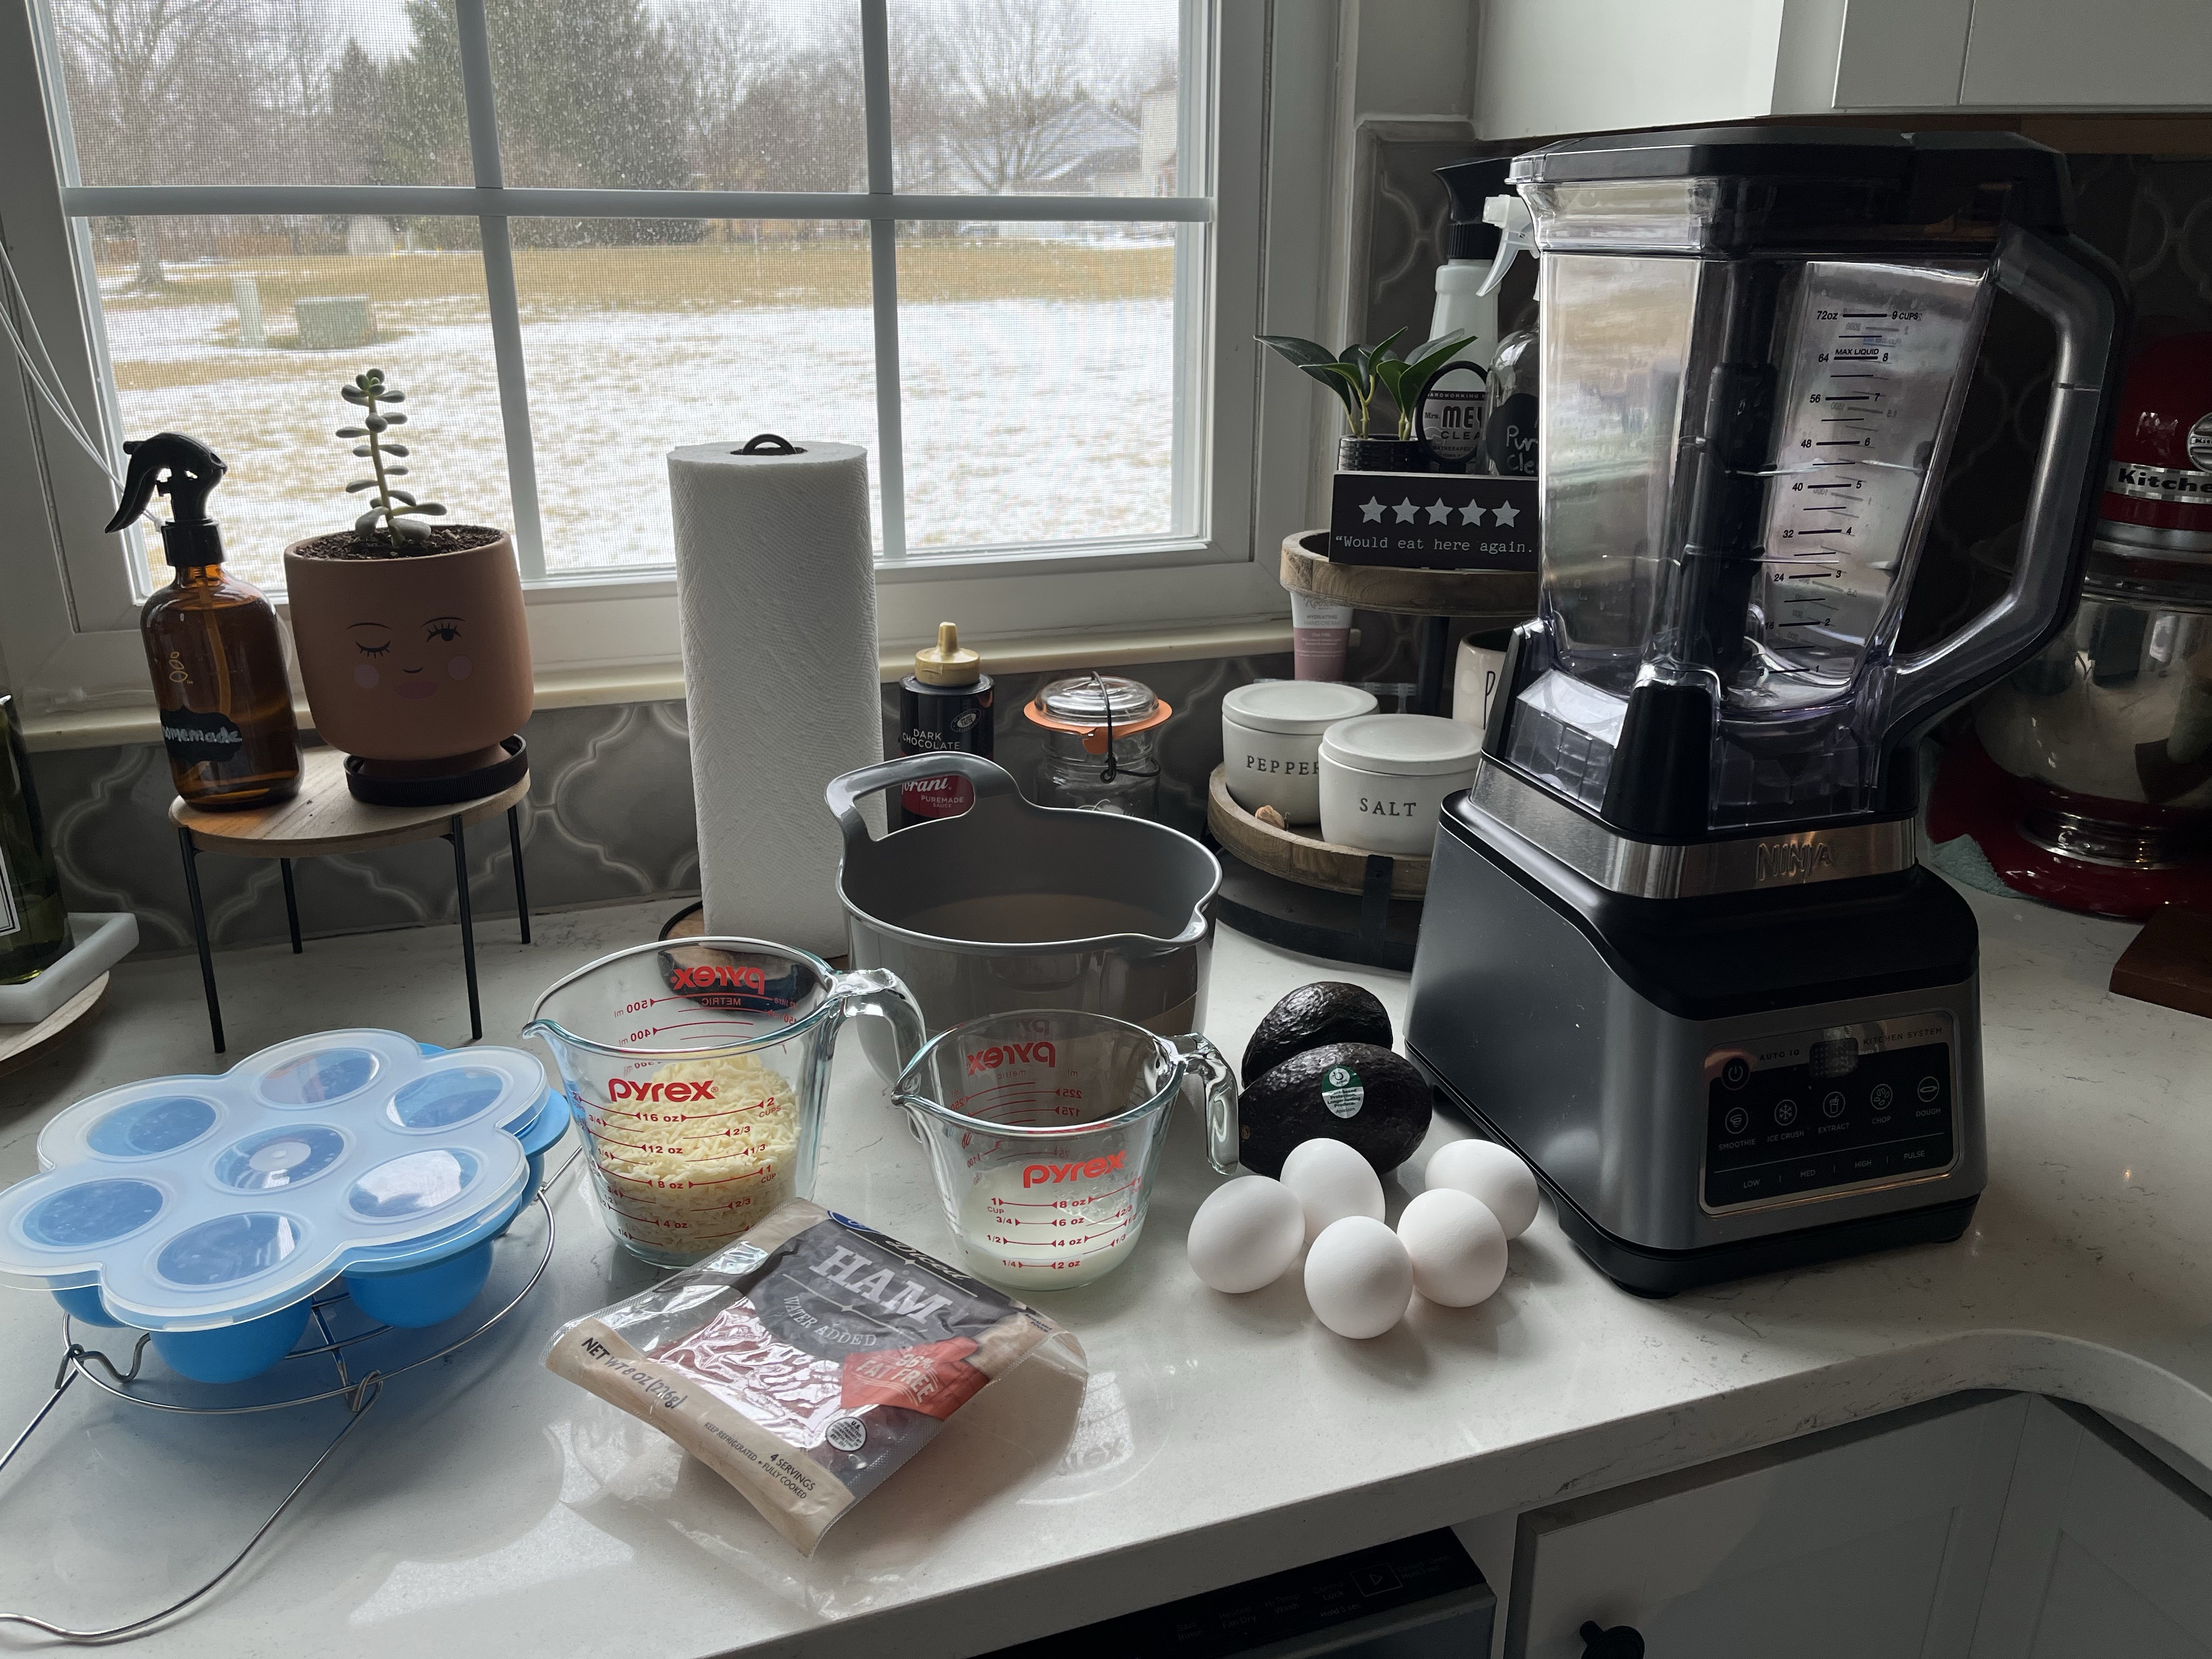
 Instant Pot Bacon-Cheddar Egg Bites recipe at Cooking with Curls.

Ingredients

  • 5 eggs
  • 1/4 cup milk
  • bacon, ham, or other meat of choice chopped
  • vegetable(s) chopped
  • 1 cup shredded Parmesan cheese
  • 1/8 tsp black pepper

This is where you can get creative with whatever vegetables or proteins you would like to include.  I originally planned on using spinach, but didn’t happen to have any.  Instead, I used a whole avocado, which basically made this batch taste just like an avocado.  Other vegetable ideas are onion, bell peppers, and spinach.

Similarly, if you’re like me and might as well be a full-blown carnivore, you can use any meat you’d like or leave it out altogether!

I used whole milk for my egg bites, but any milk substitute works great as long as it isn’t sweetened or flavored.

Directions

  1. Mix all ingredients in mixing bowl using immersion blender or blend in blender until smooth.  If you are adding vegetables like bell pepper and prefer them to hold their shape, save these until all other ingredients are blended, then mix in thoroughly.
  2. Pour mixed ingredients evenly into 7 sections of silicone Instant Pot mold.  Loosely cover silicone mold with lid or loosely with aluminum foil.
  3. Add 1 cup of water to Instant Pot. Place silicone mold onto Instant Pot trivet and carefully lower into Instant Pot.
  4. Secure the Instant Pot lid and make sure the steam knob is in the “sealing” position.  Press the “Steam” setting and set it to 8 minutes.
  5. Once the timer ends let the Instant Pot release pressure naturally (this should take about 5-10 minutes).
  6. Remove the egg bites and let cool in the mold for a few minutes. Turn the mold upside down and gently push the egg bites out of the silicone mold.
  7. Enjoy the egg bites immediately, refrigerate for up to a week, or freeze for later!
A Force to be Reckoned With

A Force to be Reckoned With

Alright, guys… I fell for a Facebook ad.  Ok, so it’s not the first time, but hey, it’s worked out well every time I’ve fallen for one, so that’s a good thing, right (just nod your head in agreement… it will make me feel better)?  Maybe I’m a good skeptic and only fall for the ones I know will work out in my favor or maybe I’m just lucky, but back to the original reason I fell for the Force of Nature ad.

No, I’m not talking about a hurricane, tornado, or any other natural disaster: it’s a cleaning product.  One you make AT HOME.  Weird, right?  Now, if you know me well at all you know I hate bleach.  So much so I don’t even know if we currently have a bottle of bleach in our house right now <gasp!>.  But seriously, guys… bleach has been proven to be more harmful than beneficial (don’t just take my word for it… do your own research. No, really.  Do it… you’ll thank me later) and there are other cleaning products out there that disinfect as well or better than bleach.  This ad claimed that the cleaning product is proven to be more effective at disinfecting than bleach, is completely safe around infants and pets (yes, Rem the chiweenie… it’s safe for you, too, buddy), doesn’t stain or discolor fabrics, deodorizes, is cheaper to produce, does your laundry, and cooks breakfast for you.  You can’t just blow up my Facebook feed with these claims and not pique my interest, sneaky marketing people.

Since they had such a “great deal” with a Facebook discount code I decided what’s the harm in just trying it?  I mean, I’m getting a good deal!  Yeah… just let me believe that, k?  So… after it arrived, here’s what happened…

I. Love. It.  No joke-this stuff is amazing!  I’ve been using it for years now and I have to tell you… it’s my go-to for cleaning almost anything.  Here’s why I love it:

  • Safe around kids and pets
  • Disinfects BETTER than bleach (yes, you read that correctly…)
  • Doesn’t stain my fabrics
  • Deodorizes (hey… I know you have stinky shoes, too… don’t act like you don’t)
  • Cost effective
  • Refills may be ordered on Amazon… AMAZON, YOU GUYS.  If that doesn’t sell you on this product, I don’t know what will…

How it Works

Force of Nature uses only salt, vinegar, and water that uses electricity to create electrolyzed water making a product that disinfects and deodorizes in a safe, non-toxic way.  A starter kit includes a spray bottle, a mixing bottle, a 5-pack of salt and vinegar mix refills, and the device that electrifies the salt, vinegar, and water to create the Force of Nature cleaner.

The Verdict

The Good…

So far, so good.  I’ve had great luck with it as a cleaner and deodorizer and it is far cheaper than purchasing multiple products.  My favorite part is that it is so safe I sometimes spray down my child’s pacifiers, rinse, and they’re good to go!  It is now my everything cleaner from counter tops, sinks, bathroom counters, stinky shoes, wet dog smell (looking at you, Rem), and any general messes  I come across.  I’ll have to confess I always forget to try it out on carpet stains.  We generally don’t have massive stains in our carpet, but what I do come across I find myself grabbing the Resolve and forgetting all about my handy-dandy cure all on my counter top.

It’s really simple to make the cleaner and even easier to order refills.  I purchase mine on Amazon, because, well… Amazon.

The Bad…

There aren’t many negatives that I have to complain about. The only inconvenience I see is that the chemicals break down after 14 days, so new cleaner must be made every 2 weeks. To me, I’ll accept this minor inconvenience when it’s easy to use, safe, and most of all, extremely effective at cleaning.

But What Do I REALLY Think?

Totally worth replacing many other cleaners!  My selling points: easy to make, safe, cleans effectively, competitive price.  I found myself cleaning A LOT of things in my house with vinegar.  While that’s fairly effective, vinegar isn’t necessarily safe on many surfaces and stinks.  Like, smells horrible for days. Overall, I can’t say enough good things about Force of Nature as a safe, effective cleaner.  You’ll see it on my counter top ready to kill germs and squash the stench for a long time to come!

Crustless Mini Quiche (Freezable!)

Crustless Mini Quiche (Freezable!)

img_9297
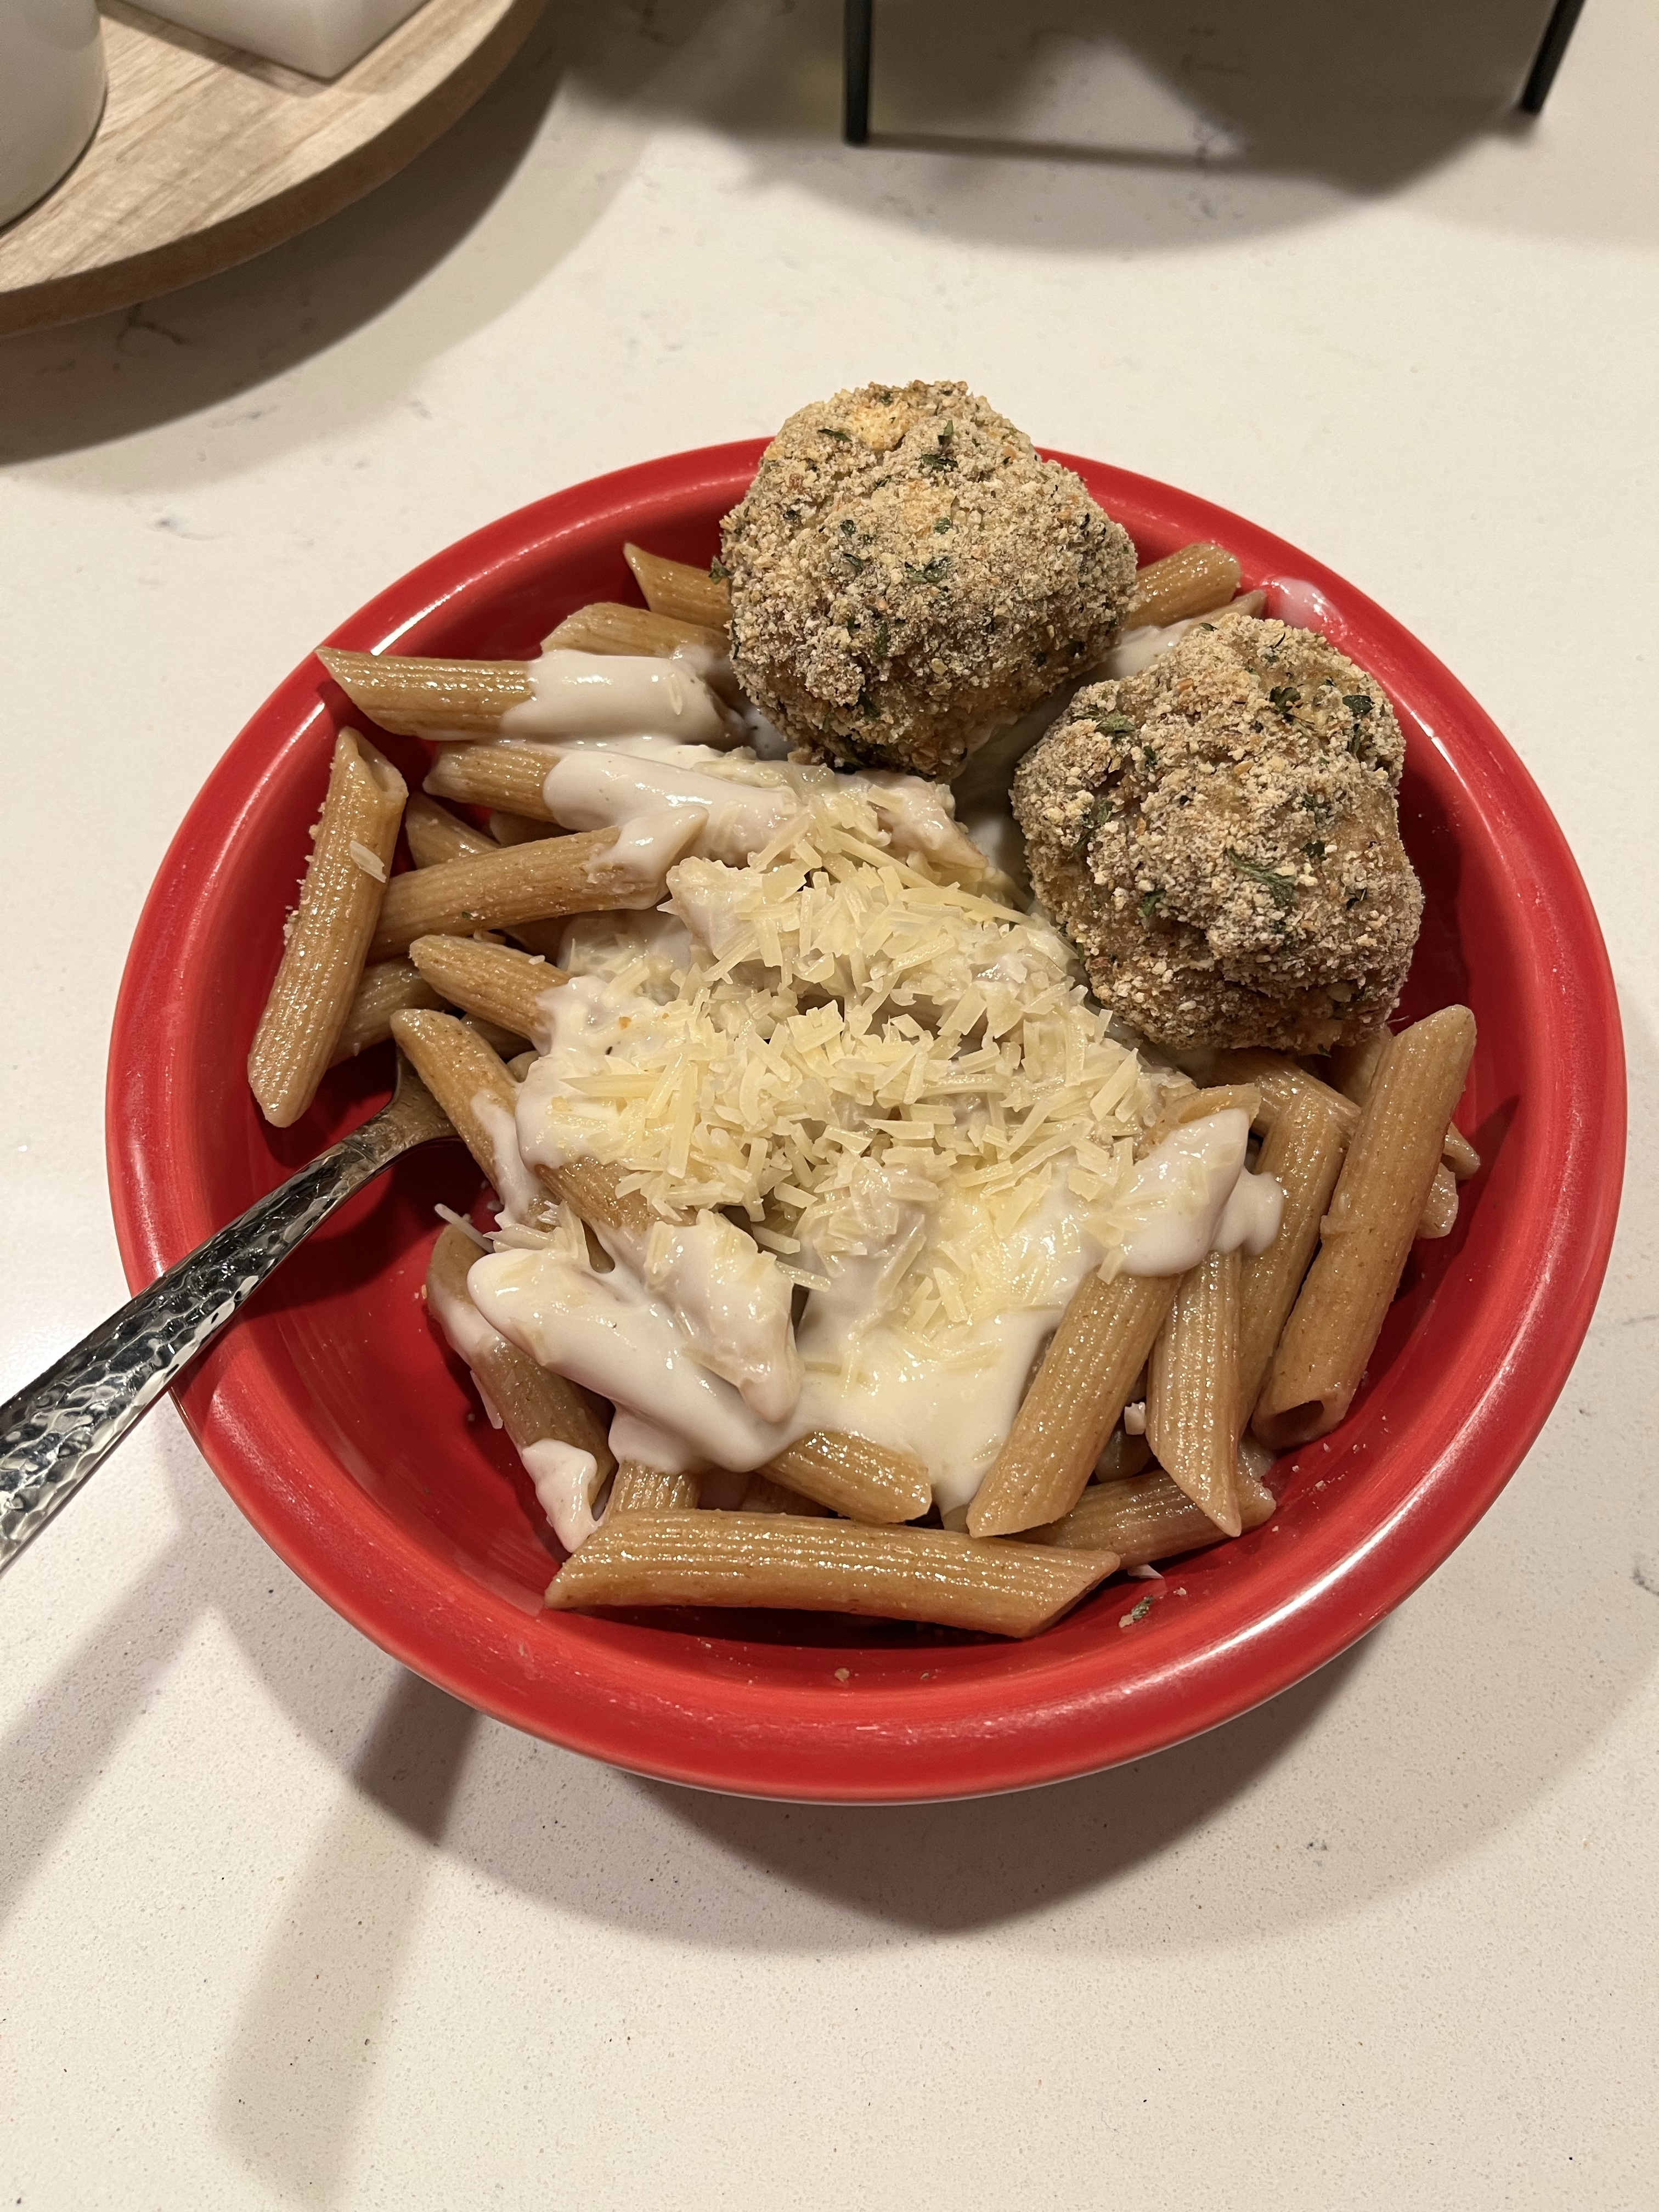
Alright, everyone… it’s here!  The first installment of Recipe of the Week.  The format of these posts will follow the same format: recipe first (because who wants to hear me ramble on and on about a recipe that you have to scroll to the bottom to find… not me!), then comments on what I liked about the recipe, what I didn’t like, how easy (or not) it was to make, and just general comments.  This week’s was great because you can freeze them and they still taste like the day you baked them!   If you like the recipe, stop by Will Cook for Friends to find more great recipes.

Ingredients

Base:

  • 12 large eggs
  • 1/2 cup heavy cream
  • 1/4 cup milk
  • 1 tsp dried parsley (optional)
  • 1 tsp dried basil (optional)
  • 1/4 tsp. salt
  • 1/4 tsp. pepper

Vegetables:

  • 1 cup vegetables of choice (see below for some options!)
    • spinach
    • bell pepper
    • broccoli (diced very small)
    • avocado
    • jalapeno
  • 1/4-1/2 cup onion, diced fine

Add-Ins (optional):

  • 1 1/2 cups cheddar, gruyere, mozzarella, parmesan, feta, or other cheese, divided
  • 1 lb bacon, sausage, or other meat, fully cooked

Directions

  1. If using meat (bacon, sausage, etc.), cook fully first.  Set aside to cool, then cut into small pieces.
  2. Preheat oven to 375 degrees F, and thoroughly grease (butter, coconut oil, or non-stick spray) a muffin tin.
  3. In a large bowl, whisk together the eggs, cream, milk, parsley, basil, salt, and pepper.  Set aside.img_9295
  4. Dice all vegetables. Set aside.
  5. Add all vegetables to the bowl with the egg mixture and stir to combine.  Stir in half of the cheese and all of the meat, if using.
  6. Using an ice cream scoop or 1/4 cup measure, scoop the mixture into the prepared muffin pan.  Fill to about 1/4 inch from the top, then sprinkle a small amount of reserved cheese over each.  Place in the oven and bake for 20-25 minutes or until the egg mixture is fully set and the cheese starts to turn golden brown on top.
  7. Remove from oven and let cool for 5-10 minutes before running a butterknife around each muffin and gently removing from the pan.img_9296

Reheating, Freezing, and Thawing

Once cooled, the quiches should be stored in an airtight container in the refrigerator or frozen.  If heating from refrigerator, heat in the microwave for several seconds.  If reheating from frozen, heat in the microwave 30 seconds.

If Freezing:

Place each mini quiche in a small baggy.  Place all bagged mini quiches in a gallon size Ziploc freezer bag and place in the freezer.

Recipe Review and Suggestions

This is probably one of my favorite recipes to date.  It’s easy, filling, and convenient.  The recipe makes several servings, so I like to freeze them and grab them on my way out the door for work in the morning.  This recipe is also great because all of your favorite ingredients can be added.  My favorites are bacon or diced ham and asparagus.  I know it sounds strange, but the asparagus adds great flavor!  Here are some other great options I’ve tried:

  • Avocado, bacon, and cheddar
  • Ham, dill, and feta
  • Spinach, bacon or ham, feta, and shredded parmesan for topping
  • Bell pepper, ham, and parmesan
Easy Baked Chicken Thighs

Easy Baked Chicken Thighs

These chicken thighs are crispy on the outside, tender on the inside, and have just enough flavor to be delicious, but not overpowering.  They’re great for a busy weeknight because you season them, throw them in the oven, make a few simple sides to go with them and you have a simple, delicious dinner.  I found this particular recipe from allrecipes-check out more on their website if you like this one!

Ingredients

  • 8 bone-in chicken thighs with skin
  • olive oil
  • 1/4 tsp garlic salt
  • 1/4 tsp onion salt
  • 1/4 tsp dried oregano
  • 1/4 tsp ground thyme
  • 1/4 tsp paprika
  • 1/4 tsp ground pepper

Directions

  1. Preheat oven to 350 degrees F.  Line a baking sheet with aluminum foil.
  2. Arrange chicken thighs on prepared baking sheet and coat with olive oil.
  3. Combine garlic salt, onion salt, oregano, thyme, paprika, and pepper together in a small container with a lid.  Close the lid and shake container until spices are thoroughly mixed.  Sprinkle spice mixture liberally over chicken thighs.
  4. Bake chicken in the preheated oven until skin is crispy, thighs are no longer pink at the bone, and the juices run clear, about 1 hour.  An instant-read thermometer inserted near the bone should read 165 degrees F.

This has to be one of the easiest things to make on a busy weeknight.  There is hardly any prep time whatsoever and they taste great.  The good thing is, these are on sale frequently and you can purchase a large family pack that usually has anywhere from 8 – 10 thighs in a package.  You know what that means… LEFTOVERS FOR LUNCH ALL WEEK!  Maybe I’m the only one excited about that, but to me, that means no figuring out lunches for a few days.  I usually make a simple side like whole grain brown rice or my personal favorite… shells and cheese.  Make a simple vegetable and you’re good to go.

Most people don’t care for any bone-in meat or meat with skin, but the skin gives it so much more flavor.  Try it and see what you think!