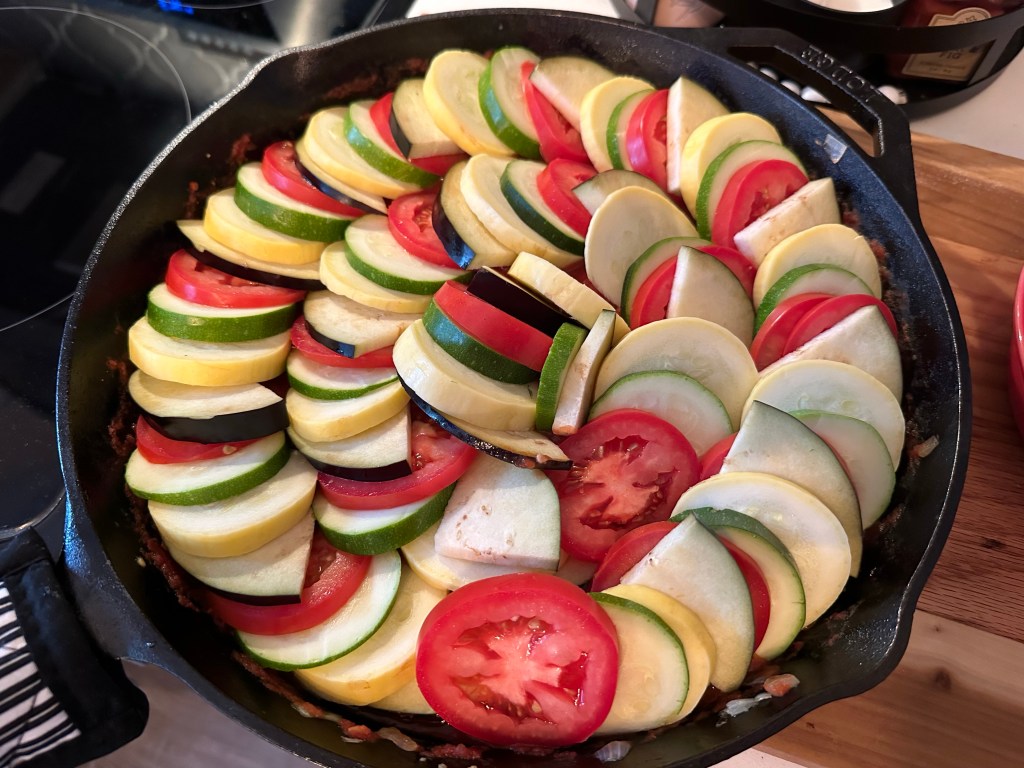
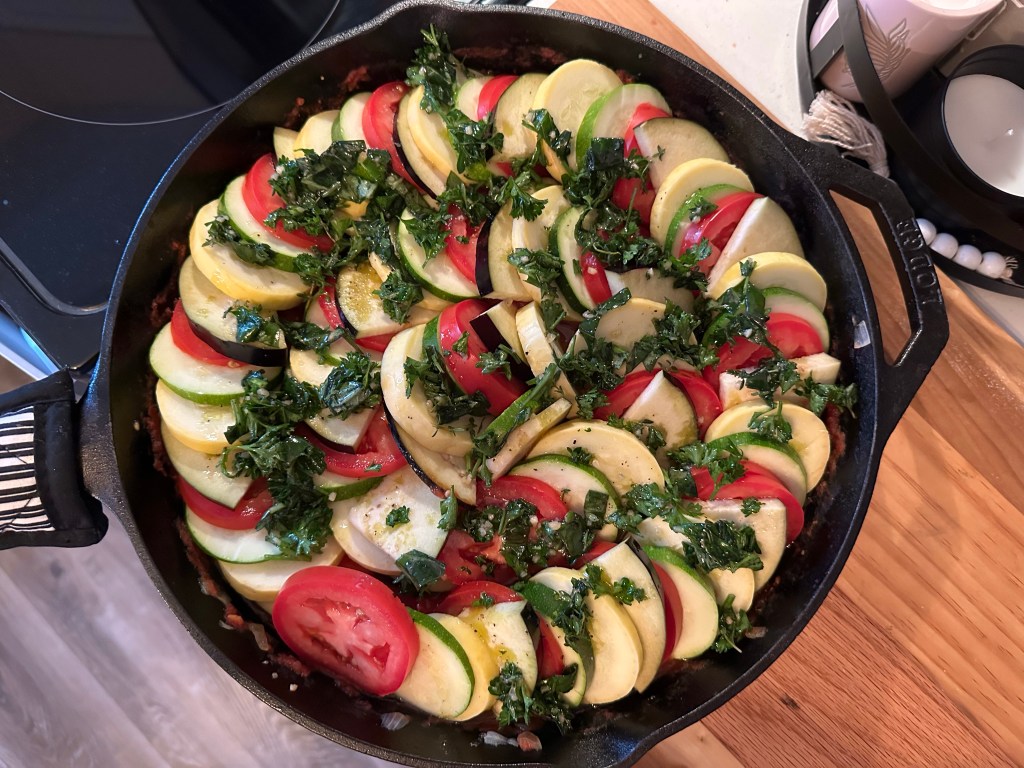
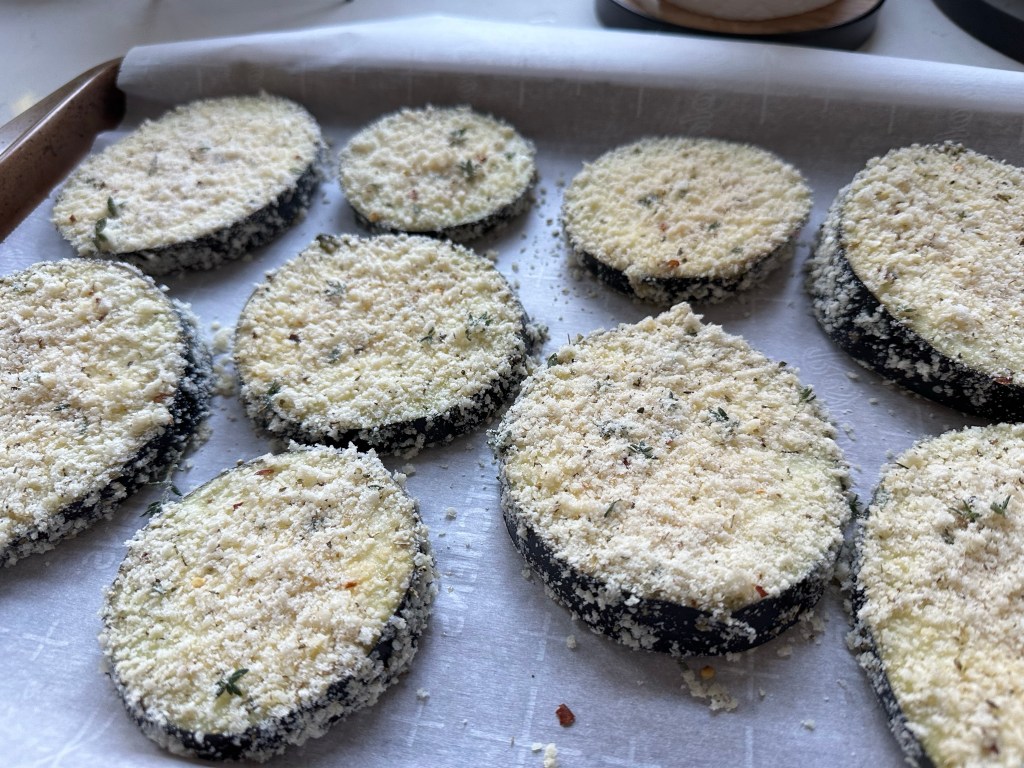
I had a bunch of eggplant left after making ratatouille for the first time and thought what better dinner to make than eggplant parmesan? So here is a great eggplant parmesan recipe from Love & Lemons. The baked eggplant is so good right of the oven some of it didn’t even make it into the baking dish. I just might have to make some for a snack sometime without sauce and cheese!
Ingredients
- 2 large eggplant, cut into ¼-inch thick rounds
- 2 eggs, beaten
- ¼ cup milk
- 1½ cups panko breadcrumbs
- 1¼ cup grated Parmesan cheese, divided
- 2 tsp oregano
- 2 Tbsp fresh thyme
- ½ tsp red pepper flakes
- ½ tsp sea salt, more for sprinkling
- Freshly ground black pepper
- Extra-virgin olive oil, for drizzling
- 28 ounces Marinara Sauce (I prefer tomato basil, but any variety will do)
- 2 large balls fresh mozzarella, thinly sliced
- ⅓ cup fresh basil leaves
Directions
- Preheat the oven to 400°F and line 2 baking sheets with parchment paper.
- In a medium-sized shallow dish, whisk the eggs and milk.
- In another medium-sized shallow dish, combine the panko, 1 cup Parmesan cheese, oregano, thyme, red pepper flakes, salt, and several grinds of pepper.
- Dip the eggplant slices into the egg mixture and then into the panko mixture. Place onto the baking sheets, drizzle with olive oil, and bake for 18 minutes or until tender and golden brown.


- In an 8×12 or 9×13-inch baking dish, spread ½ cup marinara, layer half the eggplant, and top with 1 cup of marinara and half the mozzarella. Repeat with the remaining eggplant, the remaining marinara, and the remaining mozzarella. Sprinkle with the remaining ¼ cup Parmesan cheese, drizzle with olive oil, and sprinkle with a few more pinches of sea salt. Bake for 20 minutes or until the cheese is nicely melted. Turn the oven to broil and broil for 2 to 4 or until the cheese is browned and bubbling.
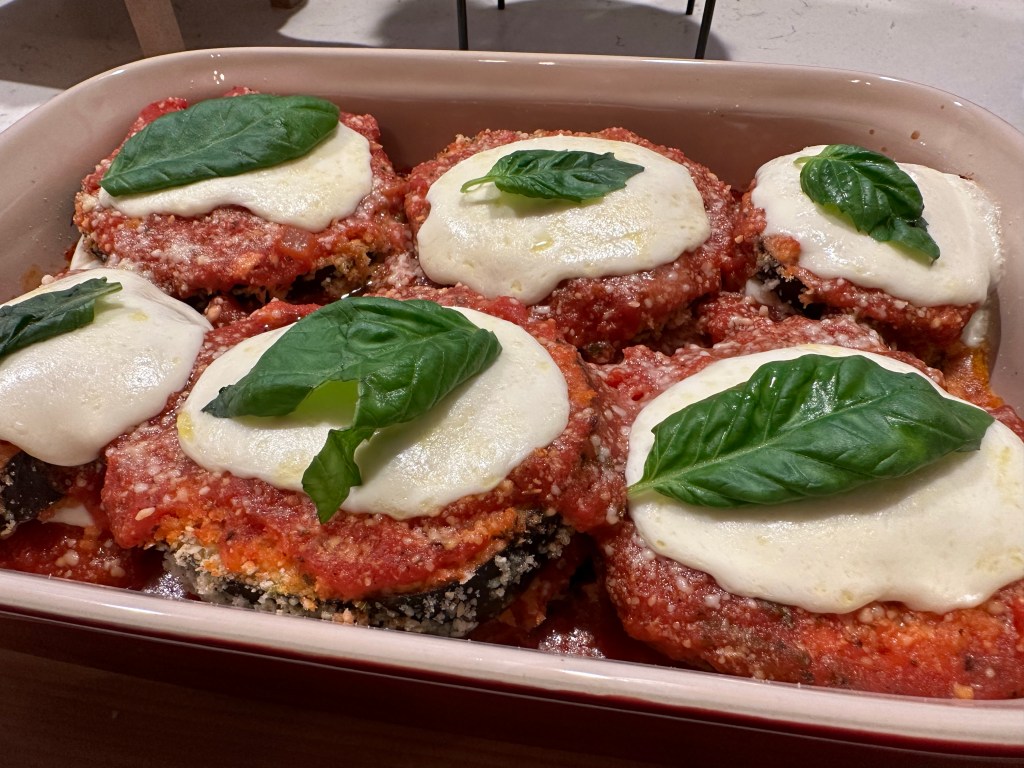
- Remove from the oven and top with fresh basil.