Pasta should be considered the 6th love language… at least for me. It would definitely come in a close second for my top love language. Well, maybe coffee would, but anyways… back to pasta. This recipe is from Food Dolls and has quickly become one of our favorites. It’s a great meal on its own or paired with a protein or salad. Once of our favorites is Italian sausage links, but chicken would also be a great addition to this meal.
Ingredients
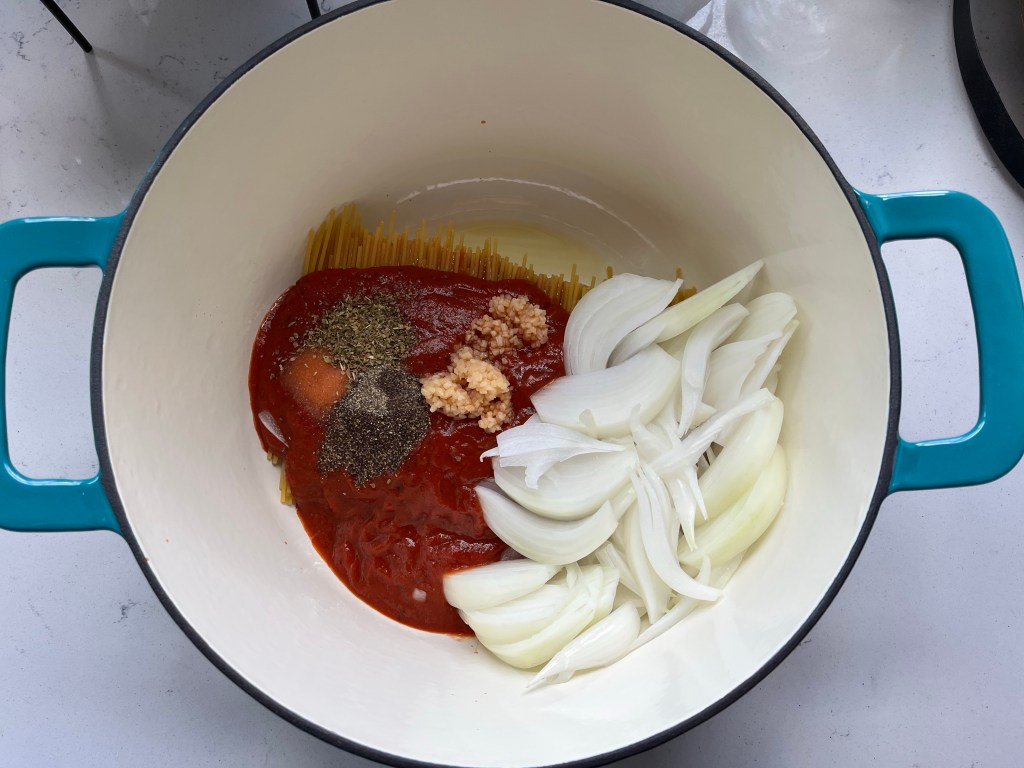
16 oz spaghetti, uncooked (I recommend pot-sized spaghetti-Target’s Good & Gather is excellent in this recipe!)
16 oz jar pasta sauce
3 cups water
1 tsp oregano or Italian seasoning
1 tsp salt, more or less to taste
1 tsp black pepper, more or less to taste
5 cloves garlic, minced
1 onion, sliced thin or diced
1 cup mozzarella cheese, shredded
2 Tbsp olive oil
Directions
Preheat oven to 375 degrees F.
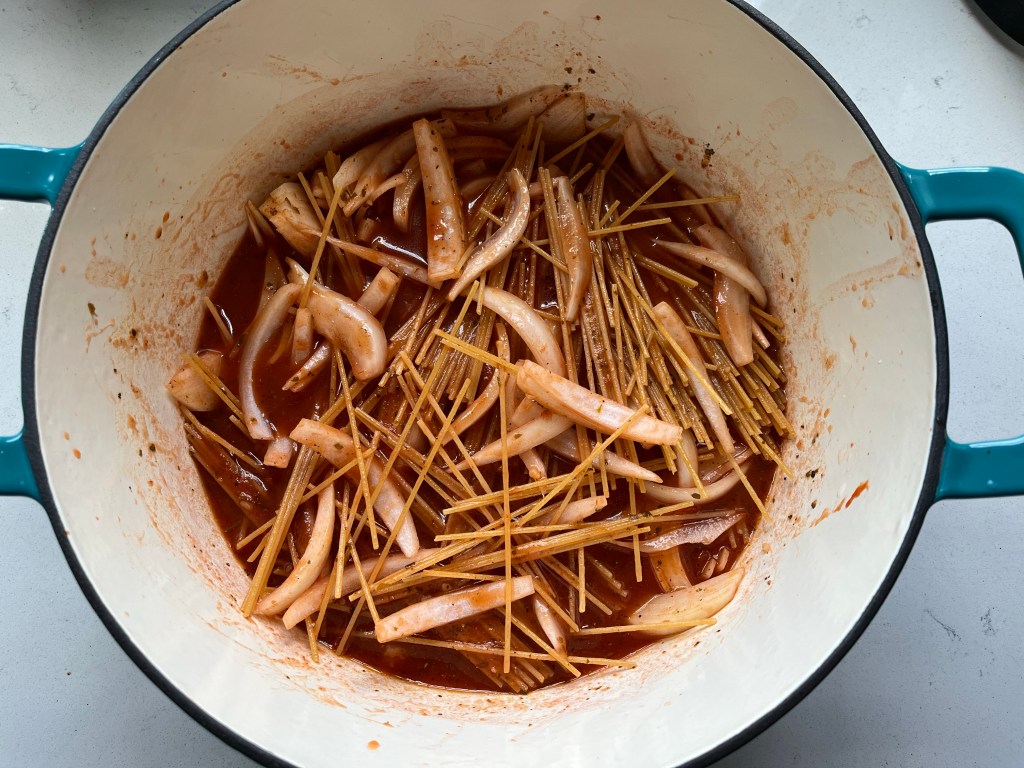
Add all the ingredients except for the mozzarella cheese. Stir well.
Cover and bake for 20 minutes. Remove from the oven and stir. Replace lid and bake covered an additional 25 minutes.
Top with mozzarella cheese and bake uncovered for an additional 8-10 minutes or until cheese is bubbly.
I always seem to prepare asparagus the same way: steamed. I have made sheet pan meals with asparagus that have turned out well, so I figured, why not try baked in foil? This method had zero cleanup, a lot of flavor, and perfectly cooked asparagus with practically no effort so I call this one a win!
Ingredients
asparagus
butter, to taste
salt, to taste
grated parmesan, to taste (optional)
herbs or seasonings, to taste (optional)
Directions
Preheat oven to 360 degrees F.
Cut the ends off of the asparagus to remove the tougher portions. Place the asparagus on a piece of aluminum foil large enough to create a foil packet for the asparagus and place the foil and asparagus on a baking sheet for easy cleanup in case the foil packet leaks during baking.
Place pads of butter, salt, grated parmesan, or other desired seasonings on the asparagus. Cold the foil over the asparagus and add an extra piece around the delicate tender ends of the asparagus to keep it from over cooking.
Place the asparagus in the oven and bake for 30 minutes.
Keep the asparagus in the foil packet until serving.
I’m trying to think spring thoughts, people. Recipes like this help me keep the positivity going! This one has all of my favorites-crispy baked chicken (crowd pleaser for kids), tomatoes, mushrooms, asparagus, garlic, and lemon. This is a light, but satisfying sheet pan meal. Or, if you’re like me and like leftovers, maybe grab an extra sheet pan! This recipe is adapted from a recipe given to me by a friend that comes from EatingWell.
Ingredients
Lemon Vinaigrette
1 lemon
1 Tbsp olive oil
1 Tbsp crumbled feta cheese (or more if you love feta like we do!)
½ tsp honey
Greek Chicken with Roasted Spring Vegetables
2 (8 ounce) skinless, boneless chicken breast halves, cut in half lengthwise (I usually use more to make this recipe stretch a little further)
¼ cup light mayonnaise
6 cloves garlic, minced
½ cup panko bread crumbs (additional if you use more than 2 chicken breasts)
3 Tbsp grated Parmesan cheese
½ tsp kosher salt
½ tsp black pepper
Nonstick olive oil cooking spray
2 cups 1-inch pieces asparagus (or additional if you prefer)
1 ½ cups sliced fresh baby bella (cremini) mushrooms (or additional if you prefer)
1 ½ cups halved grape tomatoes (or additional if you prefer)
1 tablespoon olive oil
Snipped fresh dill
Directions
Prepare vinaigrette: Remove 1/2 tsp zest and squeeze 1 tablespoon juice from lemon. In a small bowl, whisk together lemon zest and juice and the remaining ingredients. Set aside.
Prepare chicken and vegetables: Place a 15×10-inch baking pan in oven (or two large sheets if you’re preparing more than one chicken breast and extra vegetables). Preheat oven to 475 degrees F.
Meanwhile, using the flat side of a meat mallet, flatten chicken between two pieces of plastic wrap until 1/2 inch thick.
Place chicken in a medium bowl. Add mayonnaise and 2 of the garlic cloves; stir to coat. In a shallow dish, whisk together bread crumbs, cheese, 1/4 tsp of the salt, and 1/4 tsp of the pepper. Dip chicken into crumb mixture, turning to coat. Lightly coat tops of chicken with cooking spray.
In a large bowl, combine asparagus, mushrooms, tomatoes, oil and the remaining 4 cloves garlic and 1/4 tsp salt and pepper.
Carefully place chicken in one end of hot pan and place asparagus mixture in other end of pan (or on separate large pans if opting for larger quantities of chicken and vegetables). Roast 18 to 20 minutes or until chicken is done (165 degrees F) and vegetables are tender.
Drizzle chicken and vegetables with vinaigrette and sprinkle with dill and extra feta.
I love coffee. Hot, cold, large, small, flavored, unflavored, in an IV… you get the point. This recipe is the easiest I’ve found for cold foam for cold brew. I love it because it’s ingredients I keep on hand and requires minimal effort. If you’ve never made cold brew, you can find my favorite cold brew maker here!
Ingredients
Cold brew, any amount according to caffeine need 😉
3 Tbsp milk
2 Tbsp half and half (heavy cream will work, too!)
1 Tbsp vanilla syrup (or other flavored syrup of choice)
Directions
Pour cold brew over ice in a glass.
Combine milk, half and half, and flavored syrup in a cup and mix with milk frother. I typically use my Keurig K-Cafe to froth the mixture using the iced latte setting and it works great!
Pour frothed milk mixture over cold brew and enjoy!
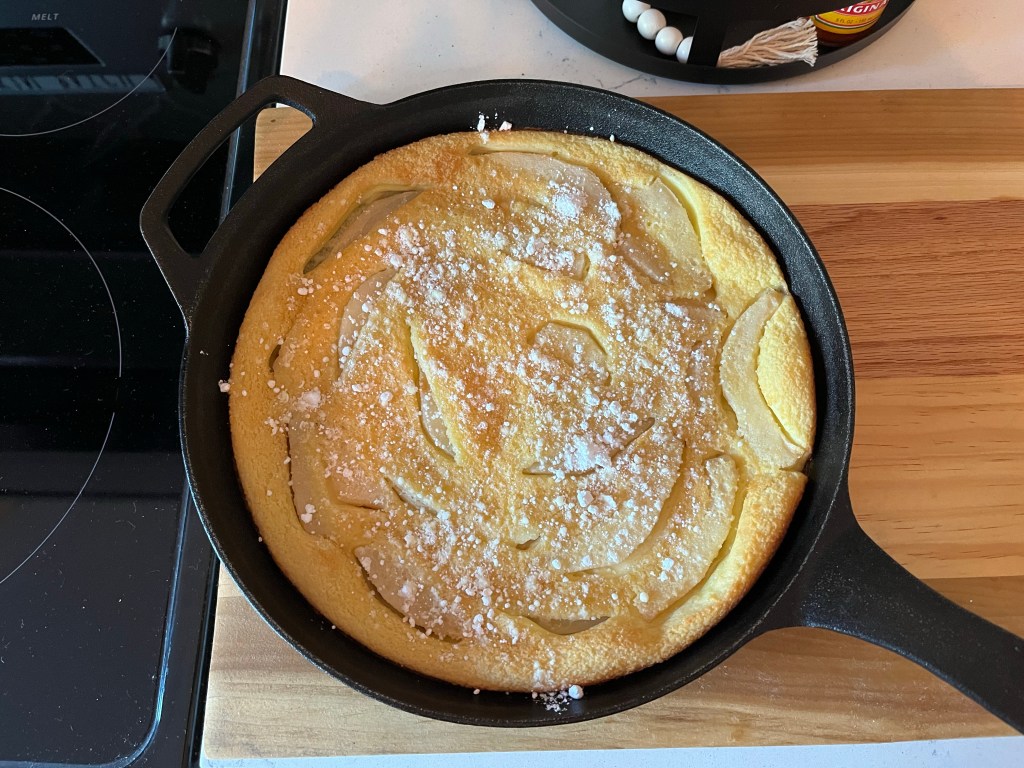
Pear. Custard. Pie. All things I love. I’ll admit, all of them combined? Sounds a little strange, but it’s absolutely DELICIOUS! This recipe comes from Dinner at the Zoo. Check out all of their recipes-some of my favorites come from them-you won’t be disappointed!
Ingredients
4 firm pears of any variety; cored, peeled, and thinly sliced
1/4 cup unsalted butter; melted
3 eggs
3/4 cup milk
1/4 tsp kosher salt
1/3 cup granulated sugar
1/3 cup all purpose flour
2 tsp pure vanilla extract
powdered sugar, for garnish
cooking spray
Directions
Preheat the oven to 350 degrees Fahrenheit. Coat a 9 inch round pan with cooking spray.
Arrange the pear slices in the pan.
Put the butter, eggs, milk, salt, granulated sugar, flour and vanilla into a blender; process until smooth.
Pour the batter over the pears. Bake for 40-45 minutes until the custard is golden and firm to the touch. Dust the top with powdered sugar before serving.
My adventurous college self traveled to Taiwan and a tiny hole in the wall restaurant had what we called “peanut butter noodles”. I have no idea what they were actually called, but it has taken me all this time to find anything that comes close to our “peanut butter noodles”. This recipe is adapted from a recipe from from the Bettered Blondie that she is calling Pad Thai, so if you’re a fan of Pad Thai, this recipe is somewhat similar!
Ingredients
3 chicken breasts, cubed
¼ cup green onion, chopped
½ cup low sodium soy sauce
2 Tbsp fish sauce (you can use less for lower sodium)
1 cup low sodium chicken broth (you can also use water)
8 oz rice noodles (I prefer Annie Chuns-the Bettered Blondie specifically mentions this brand and comments I’ve ready mention their noodles didn’t cook thoroughly enough, but this brand worked great in my recipe!)
¼ cup cilantro, chopped
½ cup peanuts, chopped
2 limes, one for juice and one cut into wedges for serving
Directions
Place the cubed chicken, green onions, and carrots into the Instant Pot.
In a small bowl, mix the soy sauce, fish sauce, sesame oil, brown sugar, rice vinegar, peanut butter, pepper flakes, juice of one lime, ginger, and garlic until well combined and pour over the ingredients in the Instant Pot. Add the chicken broth and stir well.
Put the lid on and set the instant pot to manual low pressure to 7 minutes. When time goes off, do a quick release and remove the lid after pressure has fully released.
Stir in the rice noodles and set the lid back on and leave it for 10 minutes. Stir together and check the doneness of the noodles. Replace the lid if they need a little more time to soften.
Once done, serve with fresh lime wedges and top with cilantro, green onions, and chopped peanuts.
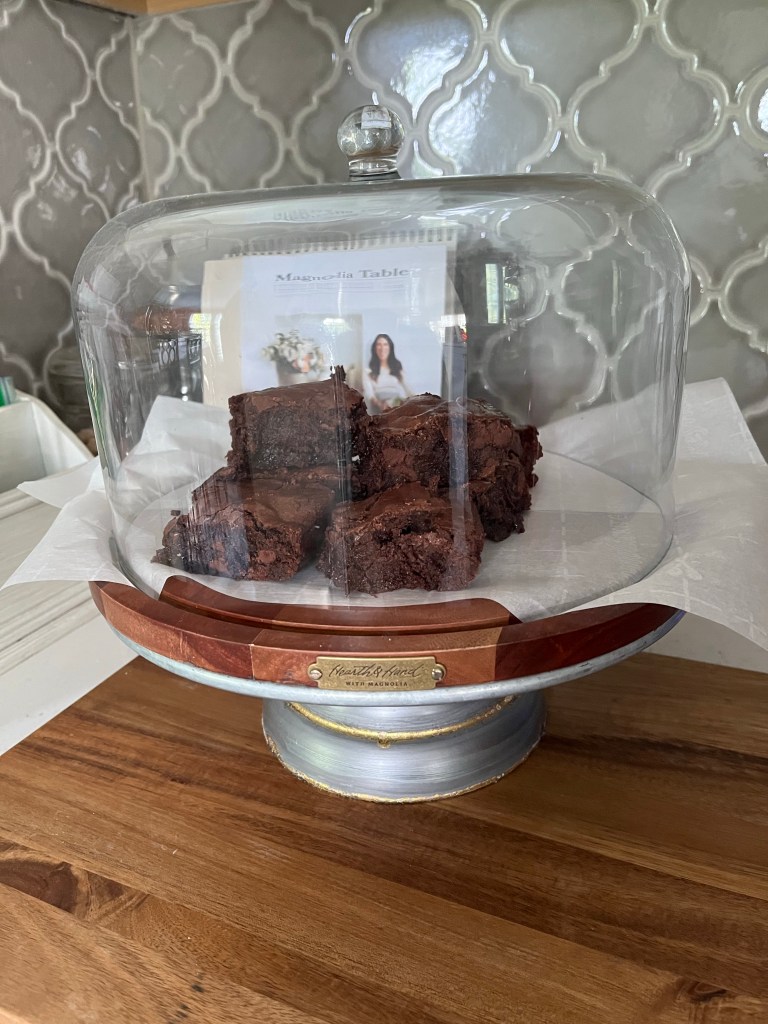
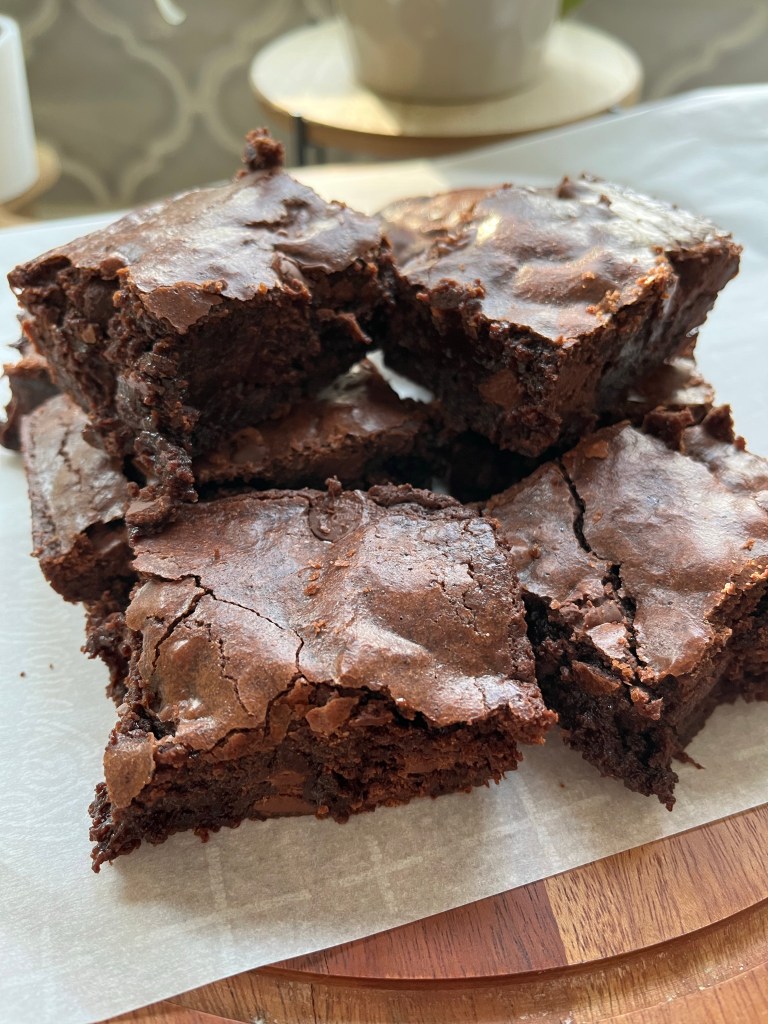
Brownies just might be my favorite dessert. Who doesn’t love chocolate? If you don’t, we seriously can’t be friends… ok, not really, but you might want to get that checked. It’s not normal…
This recipe comes from Love & Lemons. Check them out! Although, fair warning-it WILL destroy your summer bod…
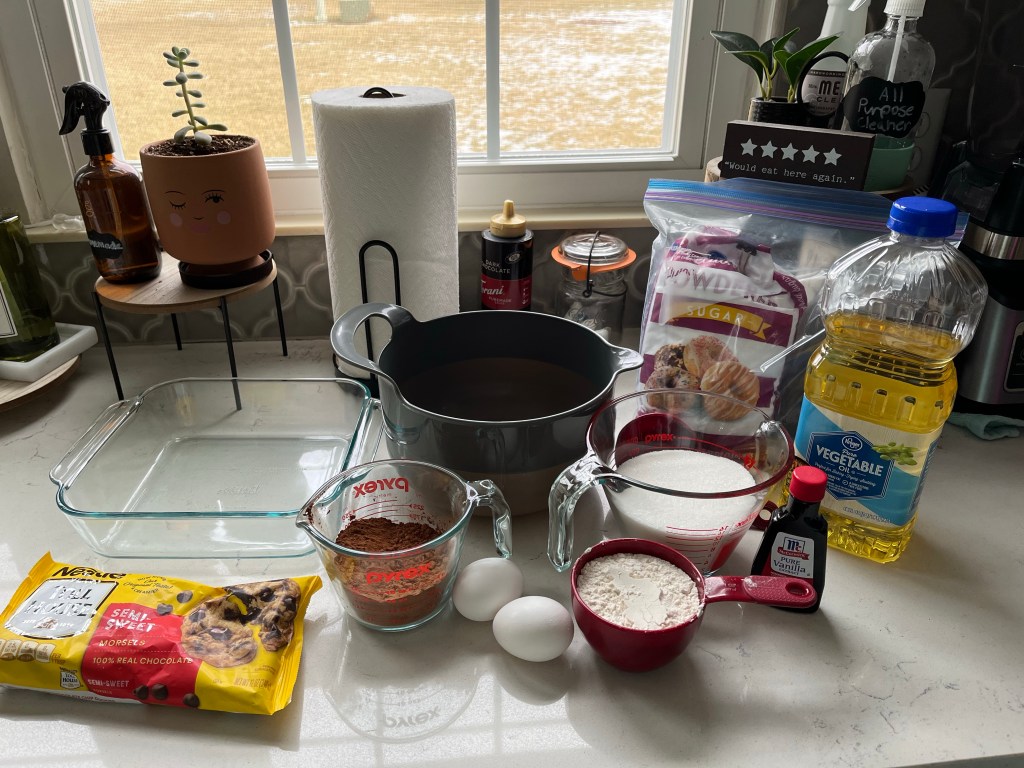
Ingredients
1 1/2 cups granulated sugar
3/4 cup all-purpose flour
2/3 cup cocoa powder
1/2 cup powdered sugar,
1/2 cup dark chocolate chips
3/4 tsp salt
2 large eggs
1/2 cup canola oil (or substitute extra virgin olive oil if you prefer)
2 Tbsp water
1/2 tsp vanilla
Directions
Preheat oven to 325°F. Lightly spray an 8×8 baking dish (not a 9×9 dish or your brownies will overcook) with cooking spray.
In a medium bowl, combine the sugar, flour, cocoa powder, powdered sugar, chocolate chips, and salt.
In a large bowl, whisk together the eggs, oil, water, and vanilla.
Sprinkle the dry mix over the wet mix and stir until just combined.
Pour the batter into the prepared pan and use a spatula to smooth the top. Bake for 40 to 48 minutes, or until a toothpick comes out with only a few crumbs attached. It’s better to pull the brownies out early, so the edges aren’t too crispy or thick to eat. Loosely tent the pan with a sheet of aluminum foil and leave to fully cool before enjoying.
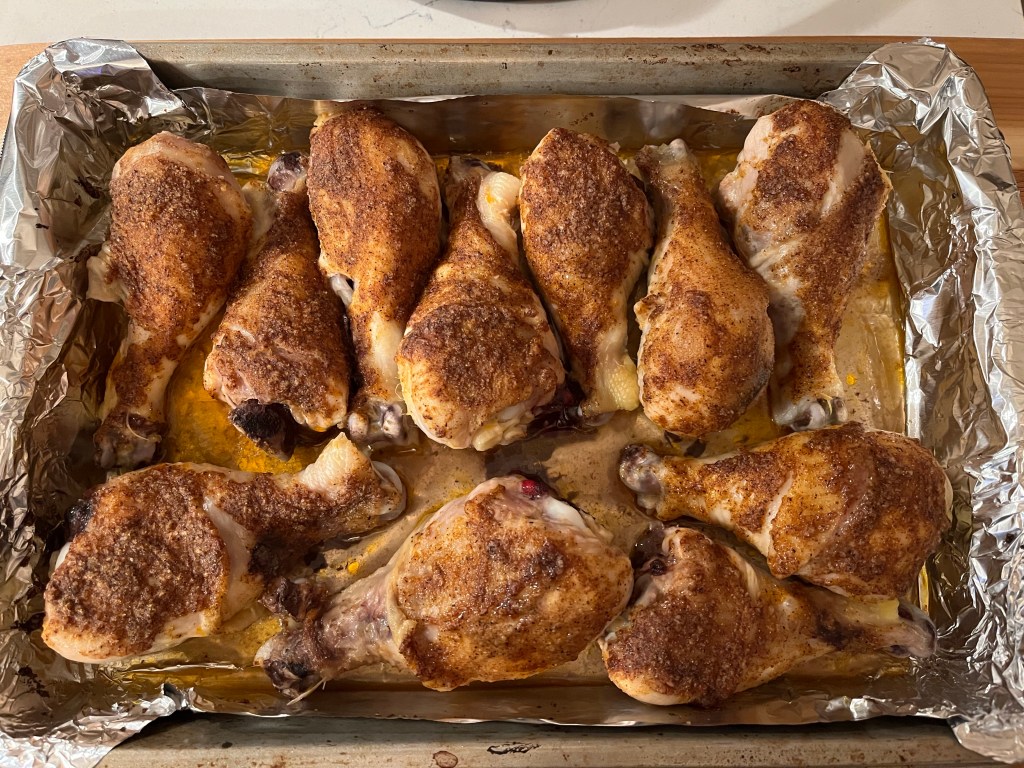
I bake chicken thighs frequently because they can be juice, crispy, and flavorful all at the same time, but I often forget that drumsticks can have all of those things as well. They were recently on sale and I found this recipe from Healthy Recipes and now I’m hooked. They’re quick and simple, full of flavor, and they can be paired with any sides you have on hand.
Ingredients
8 skin-on chicken drumsticks (about 2 lb. total weight)
2 Tbsp olive oil
1 tsp kosher salt
½ tsp black pepper
1 tsp garlic powder
1 tsp onion powder
1 tsp paprika
¼ tsp cayenne pepper
Directions
Preheat oven to 400 degrees F. Line a rimmed baking pan with parchment paper or aluminum for for easy cleanup and arrange the drumsticks in a single layer in the pan.
Mix the seasoning/rub: In a medium bowl, mix the olive oil, salt, pepper, and spices.
Coat the chicken pieces with the seasoning paste.
Bake the drumsticks uncovered for 40 minutes or until their internal temperature reaches 165 degrees F.
Baste the drumsticks with the pan juices. Serve immediately.
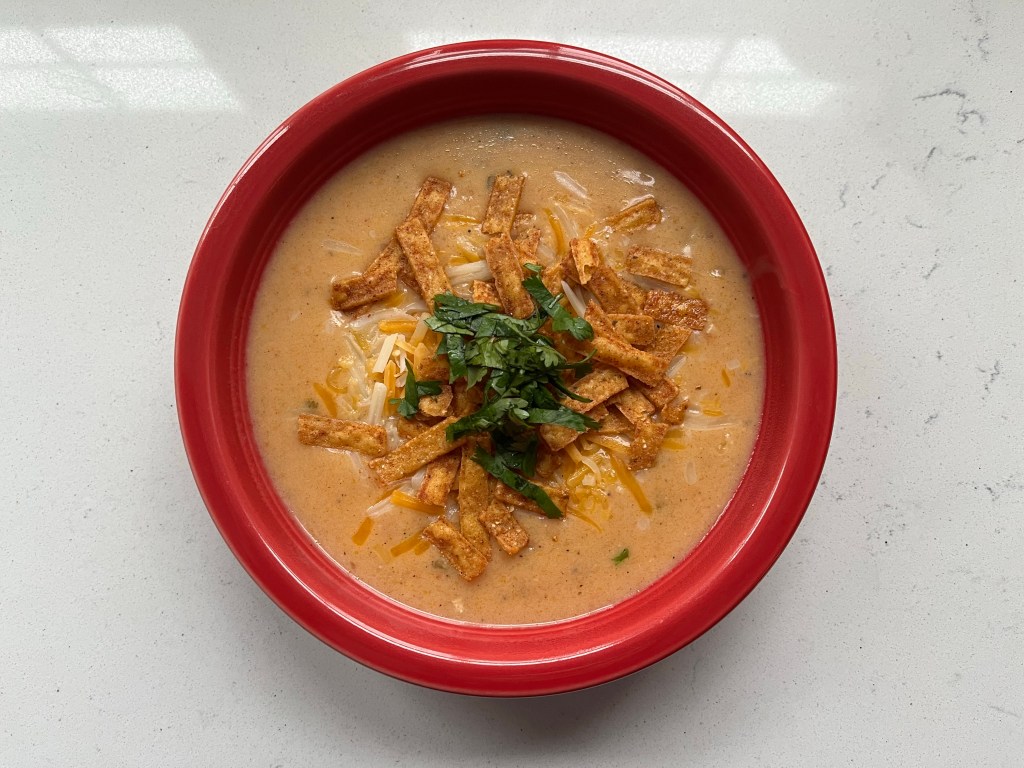
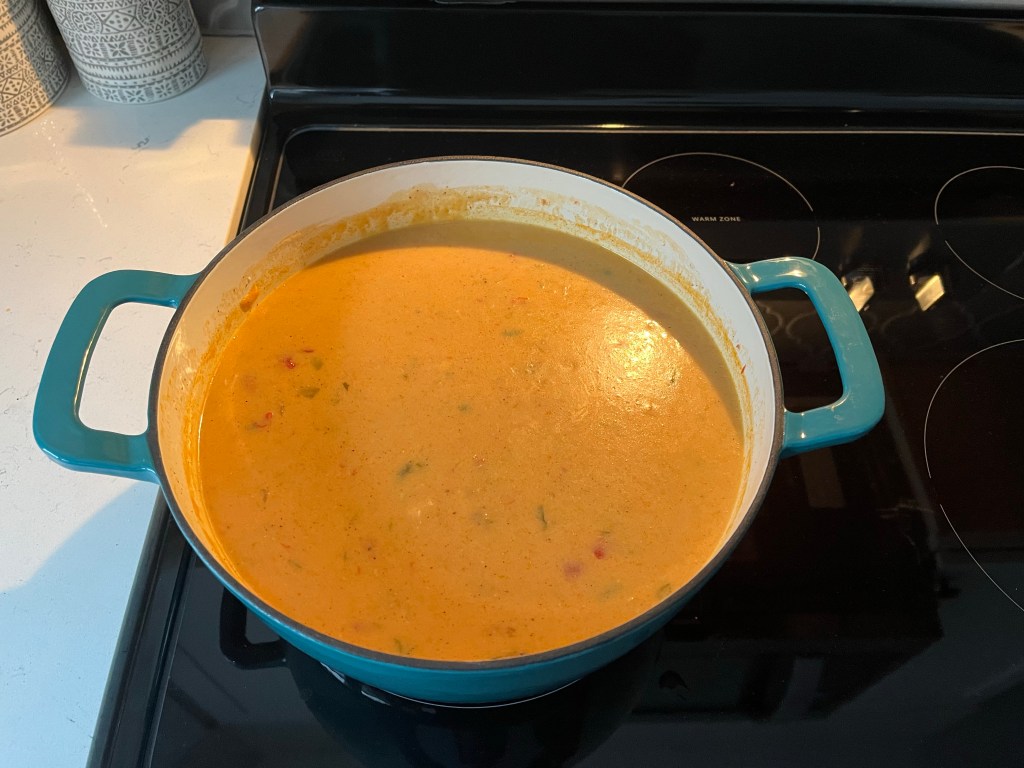
Winter is in full swing, cold temperatures are here to stay, and EVERYONE is sick. So… soup it is! I’ve been dying for Max and Erma’s Chicken Tortilla Soup (RIP Max and Erma’s *tear*). I went on the hunt for a copycat recipe with the best reviews and landed on this one from Food.com. Now, I will say that I’m using the term “recipe” loosely here because the canned soup game is strong in this one. I mean STRONG. This also means that you can uncheck the “healthy” box on this recipe. However, if you have a craving for Max and Erma’s Chicken Tortilla Soup, this one comes fairly close, so I’ll take it! If you plan on feeding this recipe to less than an army, I suggest halving the recipe because it makes enough to feed an entire neighborhood. I also skipped making my own tortilla strips because… ain’t nobody got time for that! If you’d like to make your own, go for it… I will be impressed by your dedication to this recipe!
Ingredients
2 cans Cream of Mushroom Soup
2 cans Cream of Chicken Soup
2 cans Cream of Celery Soup
2 cans Cheddar Cheese Soup
2 (15 ounce) cans chicken broth
1 (15 ounce) can diced tomatoes
1 cup picante salsa (Pace brand medium hot)
1 (4 1/2 ounce) can green chilies
1 medium onion, chopped
4 fresh garlic cloves, minced
1 tsp chili powder
salt and pepper, to taste
1⁄4 cup fresh cilantro, chopped
4 cooked chicken breasts, cut into small chunks
shredded Colby Jack cheese, for serving
Directions
In a large (8-10 quart) stockpot combine and whisk together until smooth all eight cans of soup.
Add chicken broth, tomatoes, salsa, green chiles, onion, garlic, chili powder, salt, and pepper. Bring all ingredients to a full boil, reduce heat, and simmer for 1 hour.
Add cilantro and chicken breast chunks. Simmer another hour.
Serve with tortilla strips, shredded cheese, and cilantro.
You guys… YOU GUYS! I haven’t blow dried or straightened my thick, wavy hair since our oldest child was 2… that was over 6 years ago. Why? My hair is THICK… like, thick thick. And wavy. Not a good combination. Sometimes it looks great air-dried with an oil (slight, loose curls) and other times it’s just like, “nope… you ain’t looking cute today without effort”. It takes 45 minutes (and sometimes longer) for me to blow dry it myself and when I do it’s a frizzy hot mess, which requires product, straightening, and a lot of crossed fingers and prayer to make it look somewhat decent. You know what? Ain’t nobody got time for that, so it’s usually a piled bun on top of my head as soon as I exit the shower, or air dry and hope it curls well (which it typically does, so I am thankful for that). If it doesn’t curl well, I add some loose waves and curls with my curling wand or straightener. If you want to see that technique and the products I use, I gotcha covered! Check it out here.
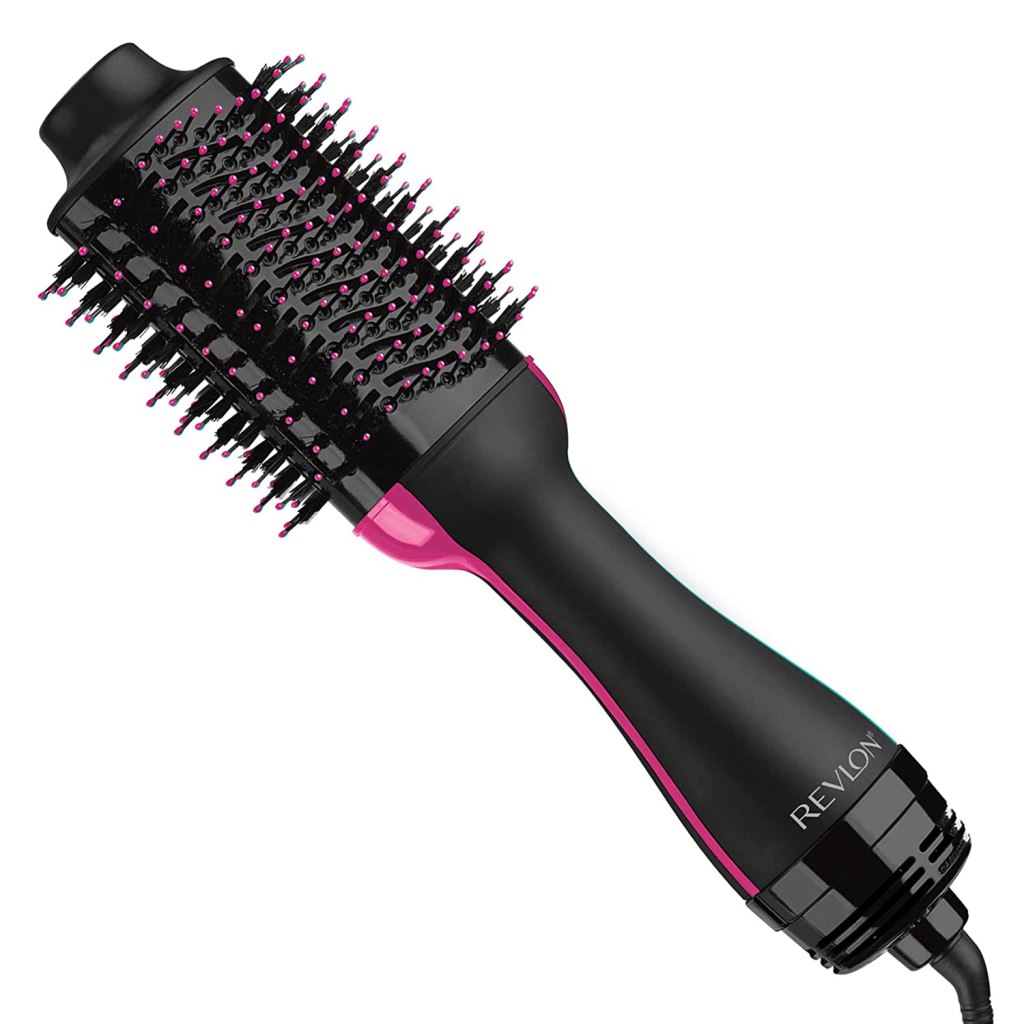
Enter the REVLON One-Step Hair Dryer and Volumizer Hot Air Brush. GAME. CHANGER. I’ve tried hot air brushes in the past and not one has met my expectations, so I was very skeptical on this one. Man… not only were my expectations met, but they were exceeded! The total style/dry time was around 30-45 minutes and it was sleek and perfect at the end. I think if I was going anywhere in public (thanks, COVID… I sit and rot at home even when I’m having a great hair day…) I would’ve run a flat iron through a few portions that I didn’t hit that well, but I was experimenting and going quickly, so overall, I’m definitely a fan! Here are some style tips and products I used for an (almost) effortless blow-out style:
Styling Tips
Pre-Styling
To start, shampoo and condition your hair as you normally would. If you need suggestions on great products, check out some Verb products I reviewed here. Towel dry your hair to remove any excess moisture.
Apply a good heat protector or blow-out product. I’m a fan of John Frieda for protection/volume. I also love a flat-iron spray to help protect my hair and eliminate flyaways post-style. I recommend Garnier’s products for heat protection. Comb these products through your hair with a wide-tooth comb to evenly distribute product and remove any large tangles or knots prior to styling. Allow your hair to air dry approximately 30 -45 minutes if you have thick hair. The air dry time will depend on the thickness of your hair. Allow it to dry until it’s still damp and you’ll be able to style/blow dry it. Don’t allow it to dry too long, otherwise the blow-dry heat won’t style it if it’s dry.
Separate your hair into three sections if it’s very thick: bottom (style this first), middle, and top/crown. Clip the top two sections up and focus on small sections of the bottom layer of hair. If you want your hair to curl under, start with the REVLON brush under the roots of your hair, concentrating for 2-3 seconds to fully dry the roots while pulling tightly through your hair slowly to fully dry/straighten. Curl the brush out down to create an under curl on ends. Do the same for the following two layers.
If you prefer a flipped out style on the bottom, do the reverse and use the REVLON brush on top of the section of hair you’re drying/styling and curl the brush up to create a flipped style.
If you have very long hair and want the loose wave, blowout style, use the brush on the side of the hair and alternate flipping directions to create loose waves.
When you’ve completed your style, finish the look off with a small pump of Verb Ghost Oil. Pump a small amount onto your fingertips and run it through your hair to prevent flyaways or frizziness.